Brass Infill Rabbet Plane

Started 2025-09-14  ·  Project Page

Final photography

Attaching the stuffing

Four brass pins hold the stuffing in place, two for each piece. These are the same alloy as the sides and when properly peened into countersunk holes, vanish. As this was my first go at it, I didn't achieve perfection, but I'm pretty pleased with how it came out. A few lessons for next time around were recorded in the shop notes though!

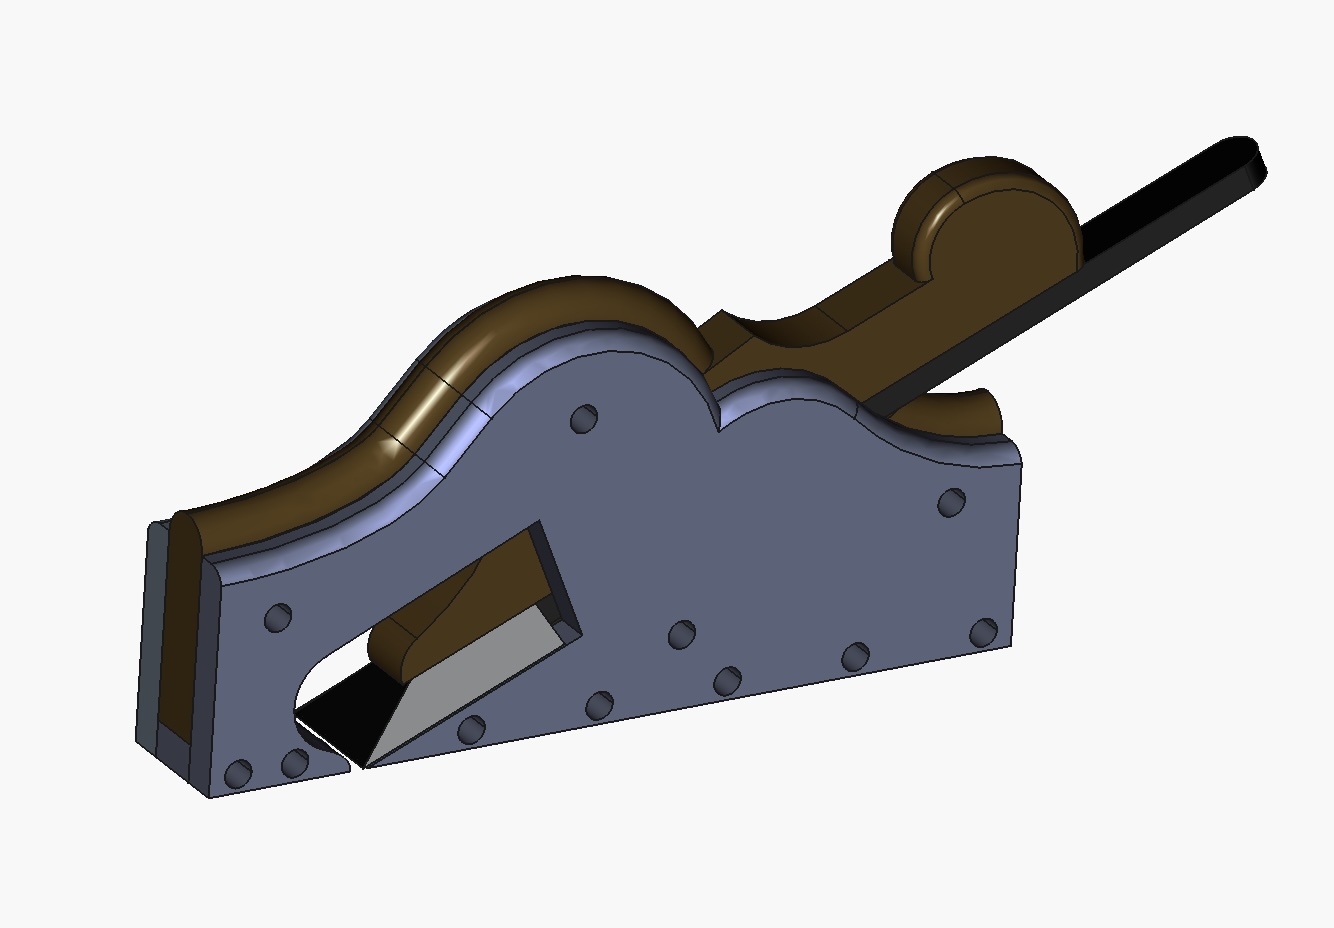
Now I have to give some thought to how I'm going to open the mouth.

Shaping the infills

The rough shaping of the infills was done on the CNC from the CAD drawing out of a blank that was ~0.220 in. thick. That left a bit of fine sanding to take off the strings that this rosewood has and to get it to just slip into the brass sides.

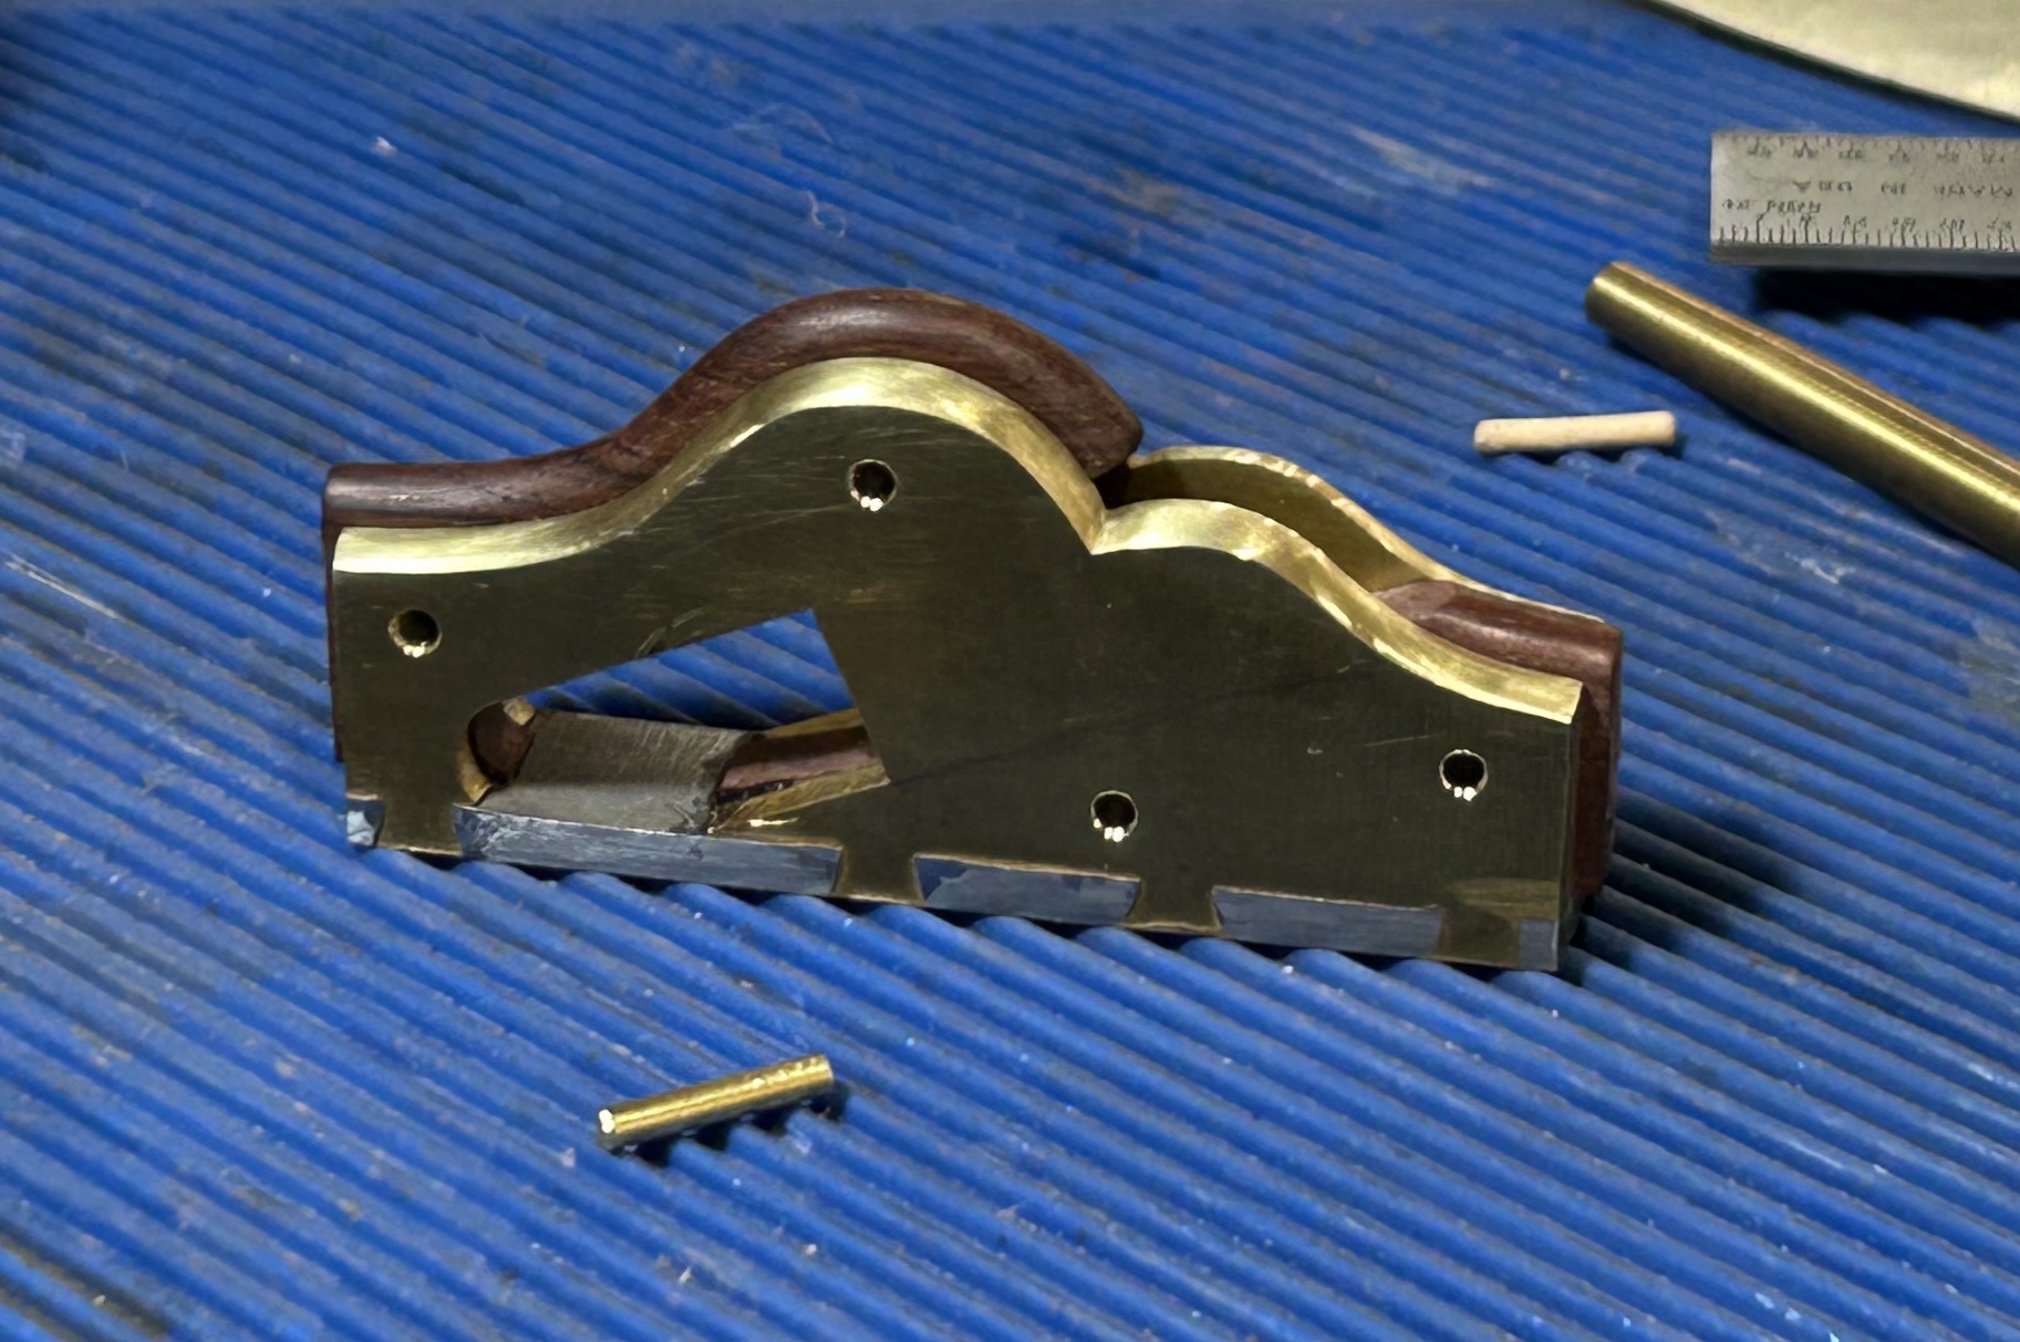
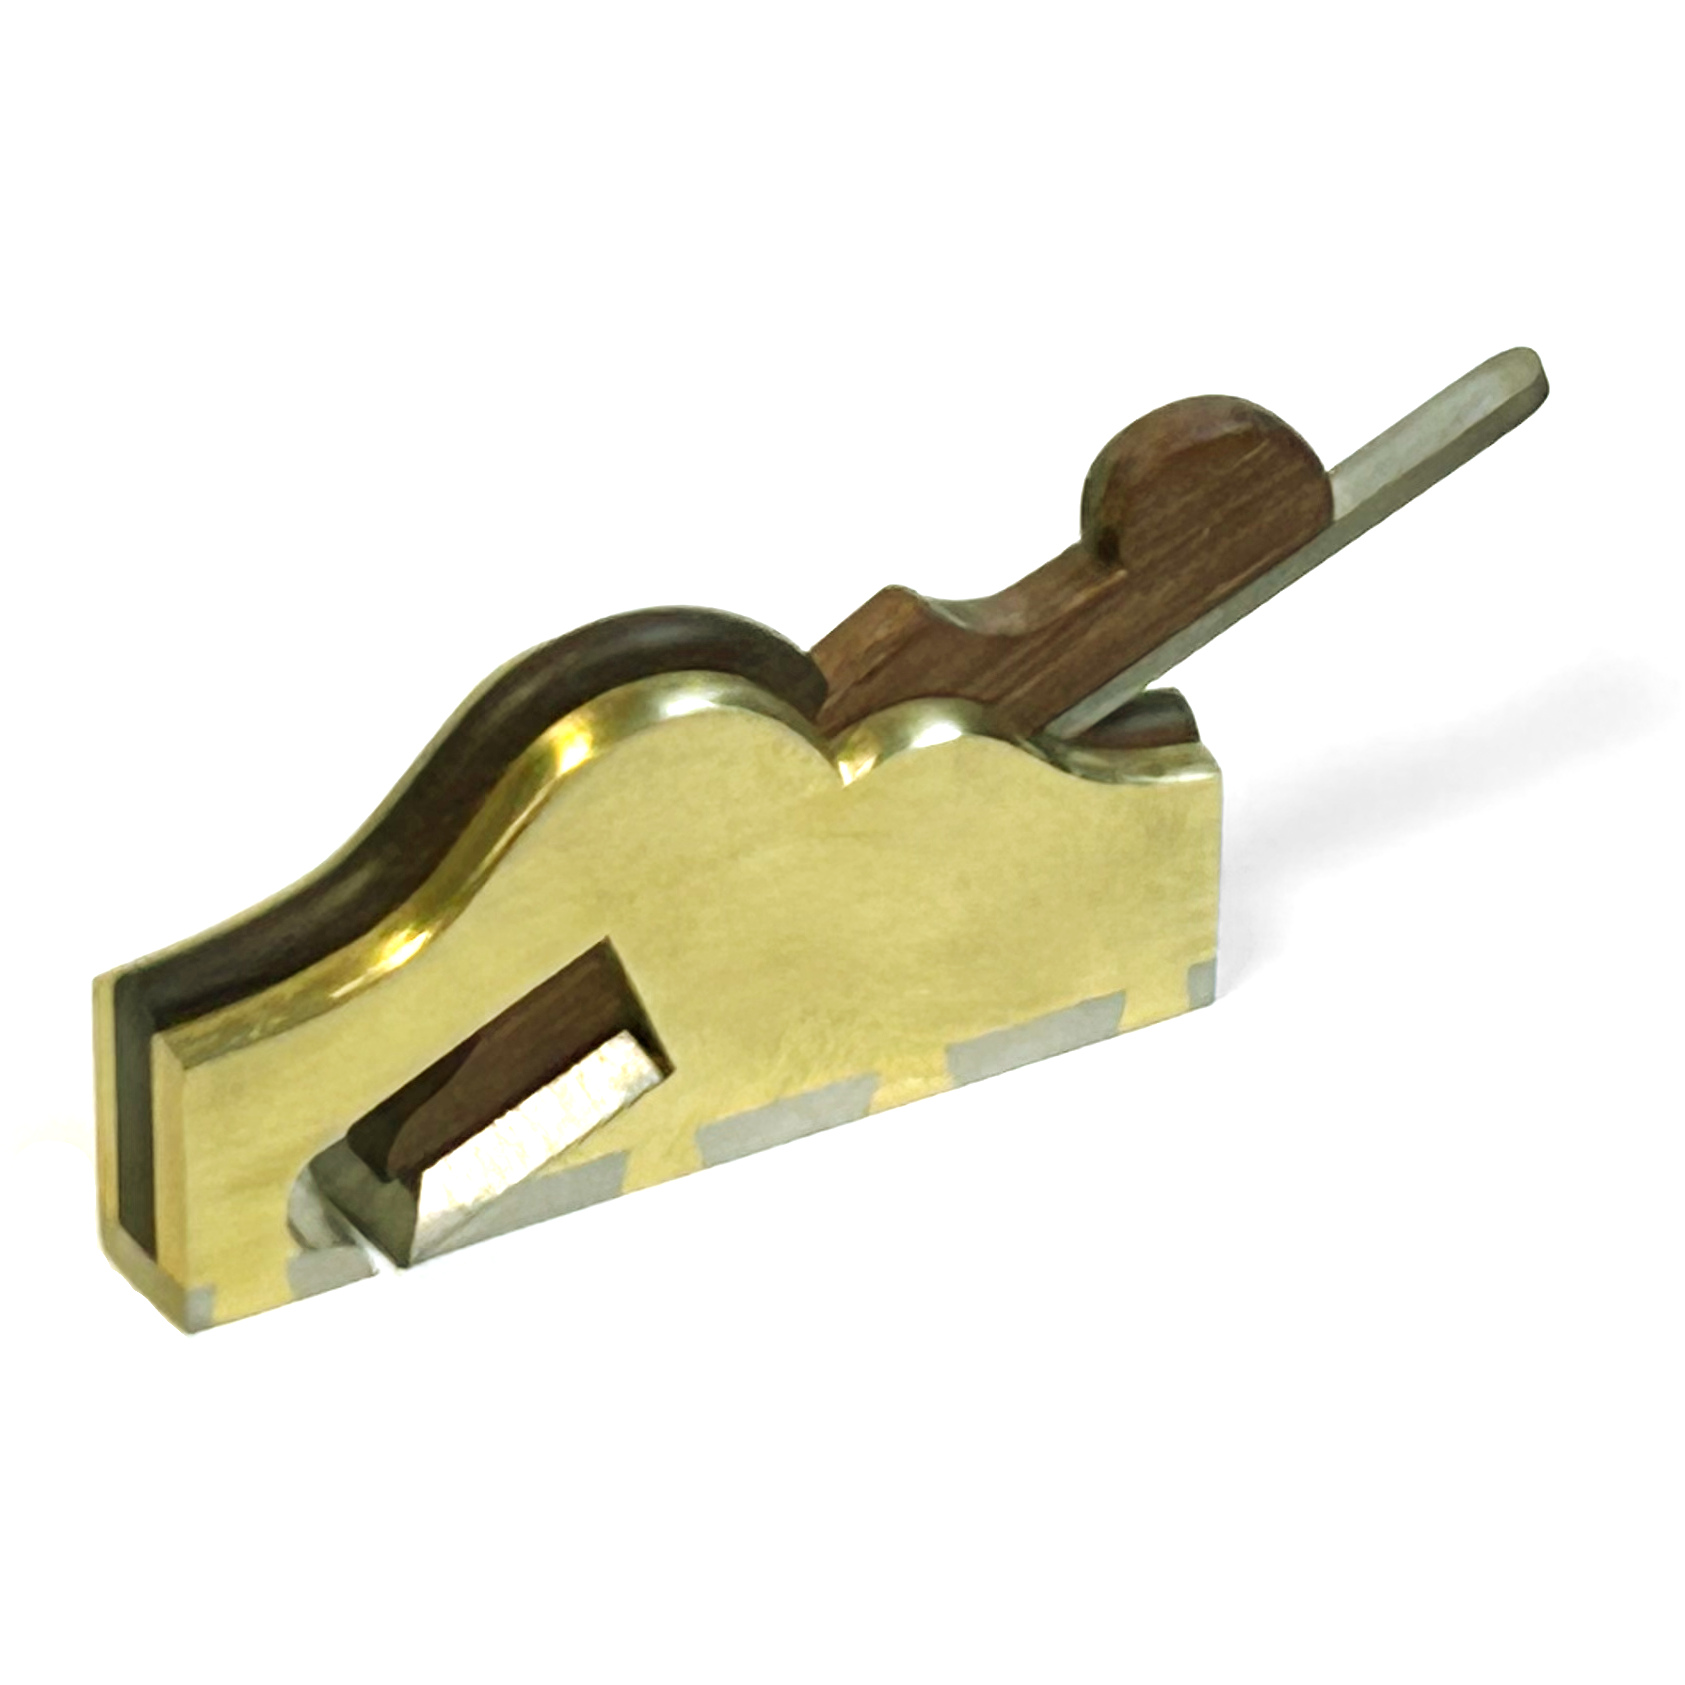
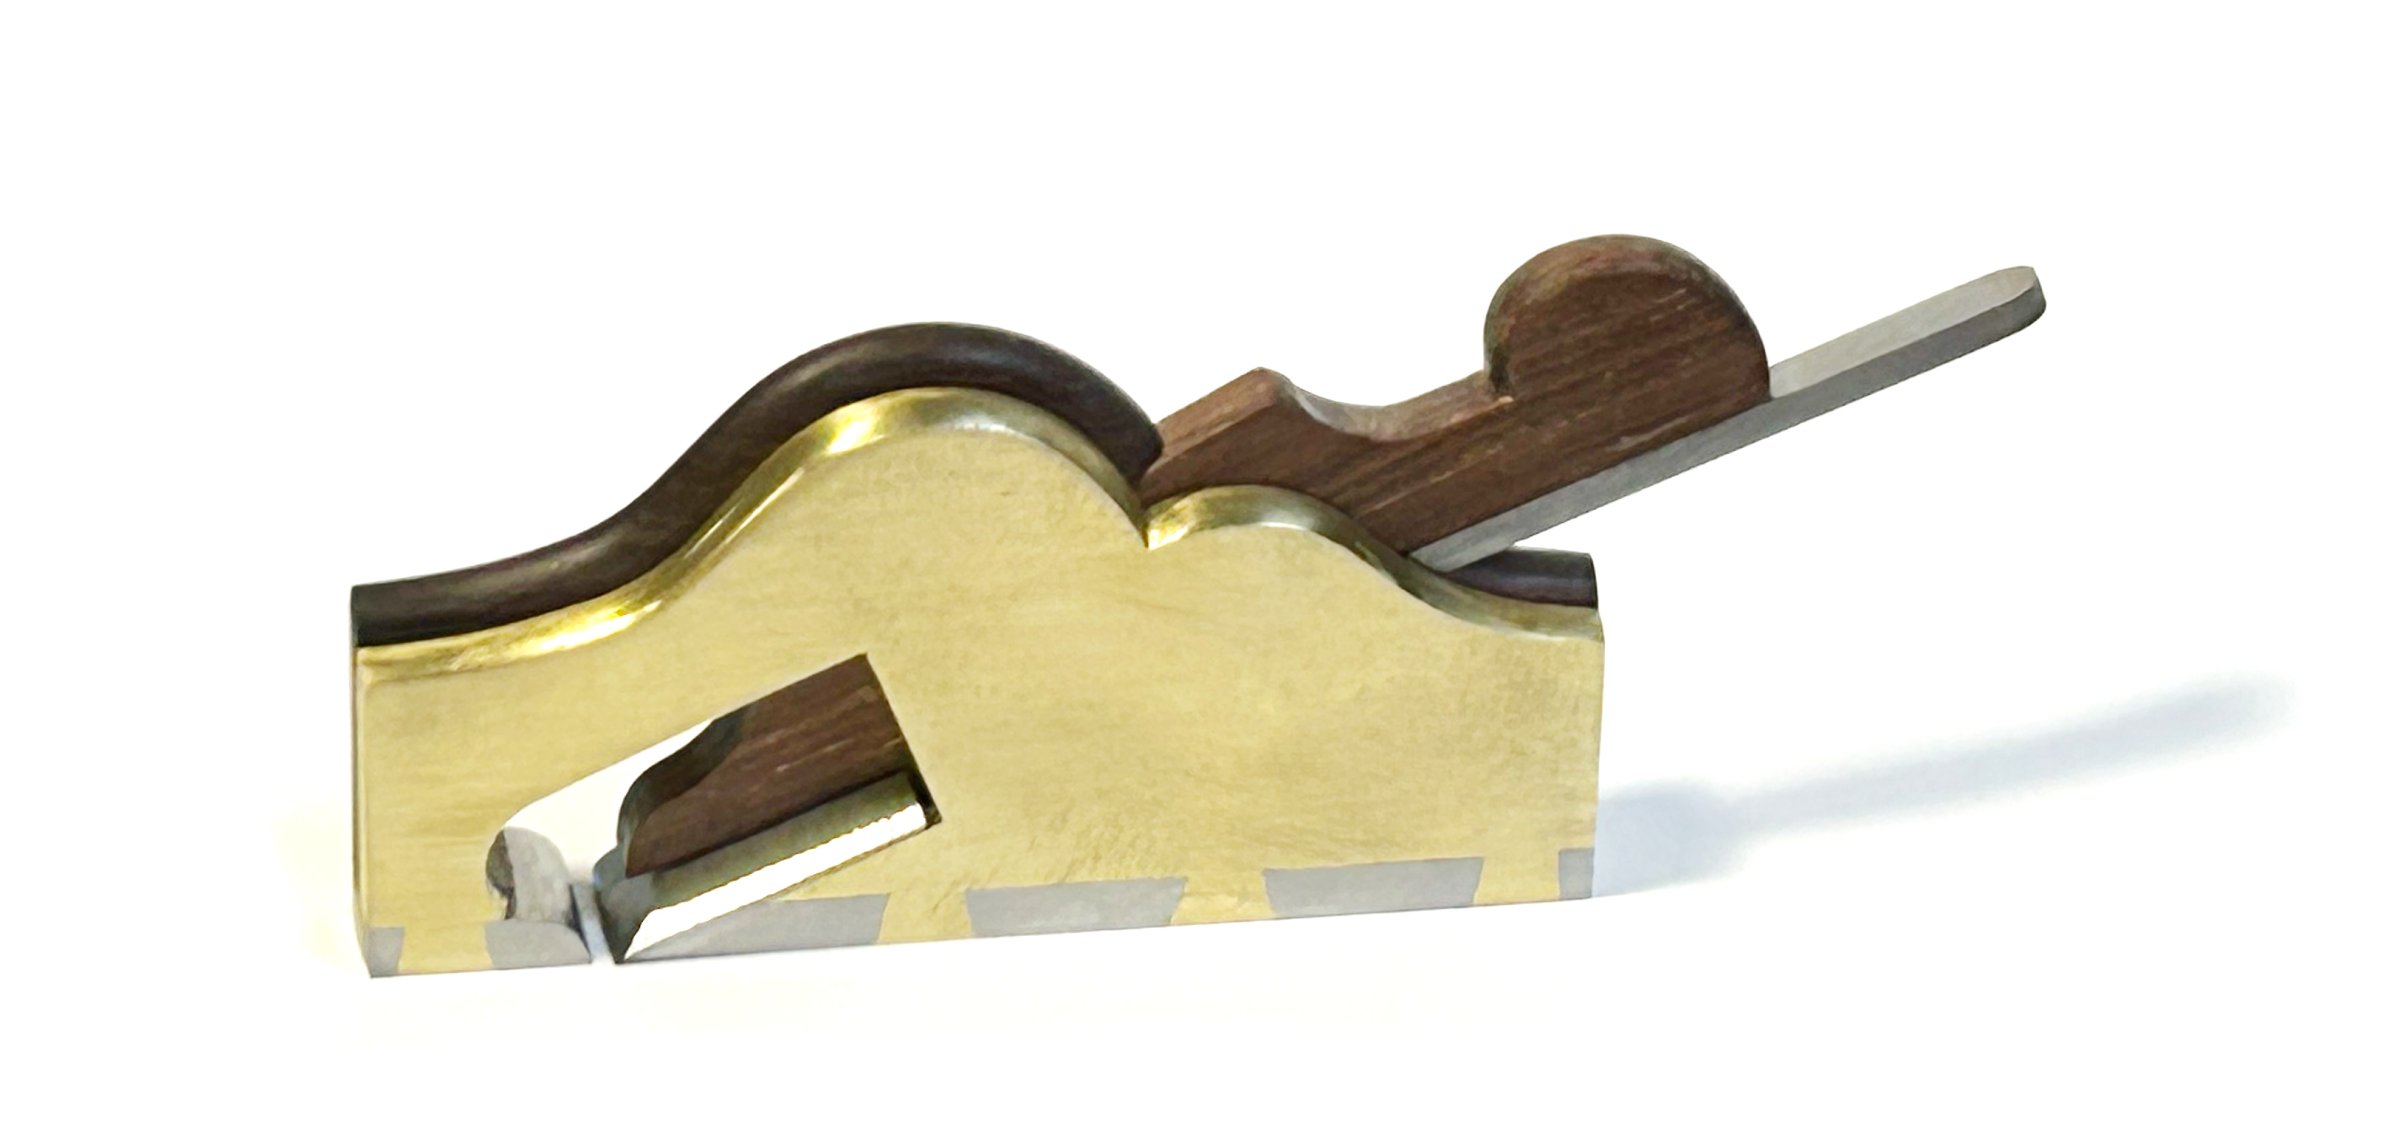
Looking at this side-by-side with the original either my pattern on the rear infill was off by a bit or, more likely, I filed it too aggressively. I'm going to re-cut it with a bit more meat peeking up over the side of the brass and see if I can get it looking less flat at the back. I intentionally left a bit extra sticking out the front and back so that it could be sanded flush after it is attached. The sharpest points of the wood were also left chunky to protect them. They'll get filed back as well once everything is in its final place.

I've got to get the infill completely shaped before fixing it in place because it will be very difficult to alter it without damaging the brass once it's locked in. Likewise, I need to take the top edge of the brass up to final polish next.

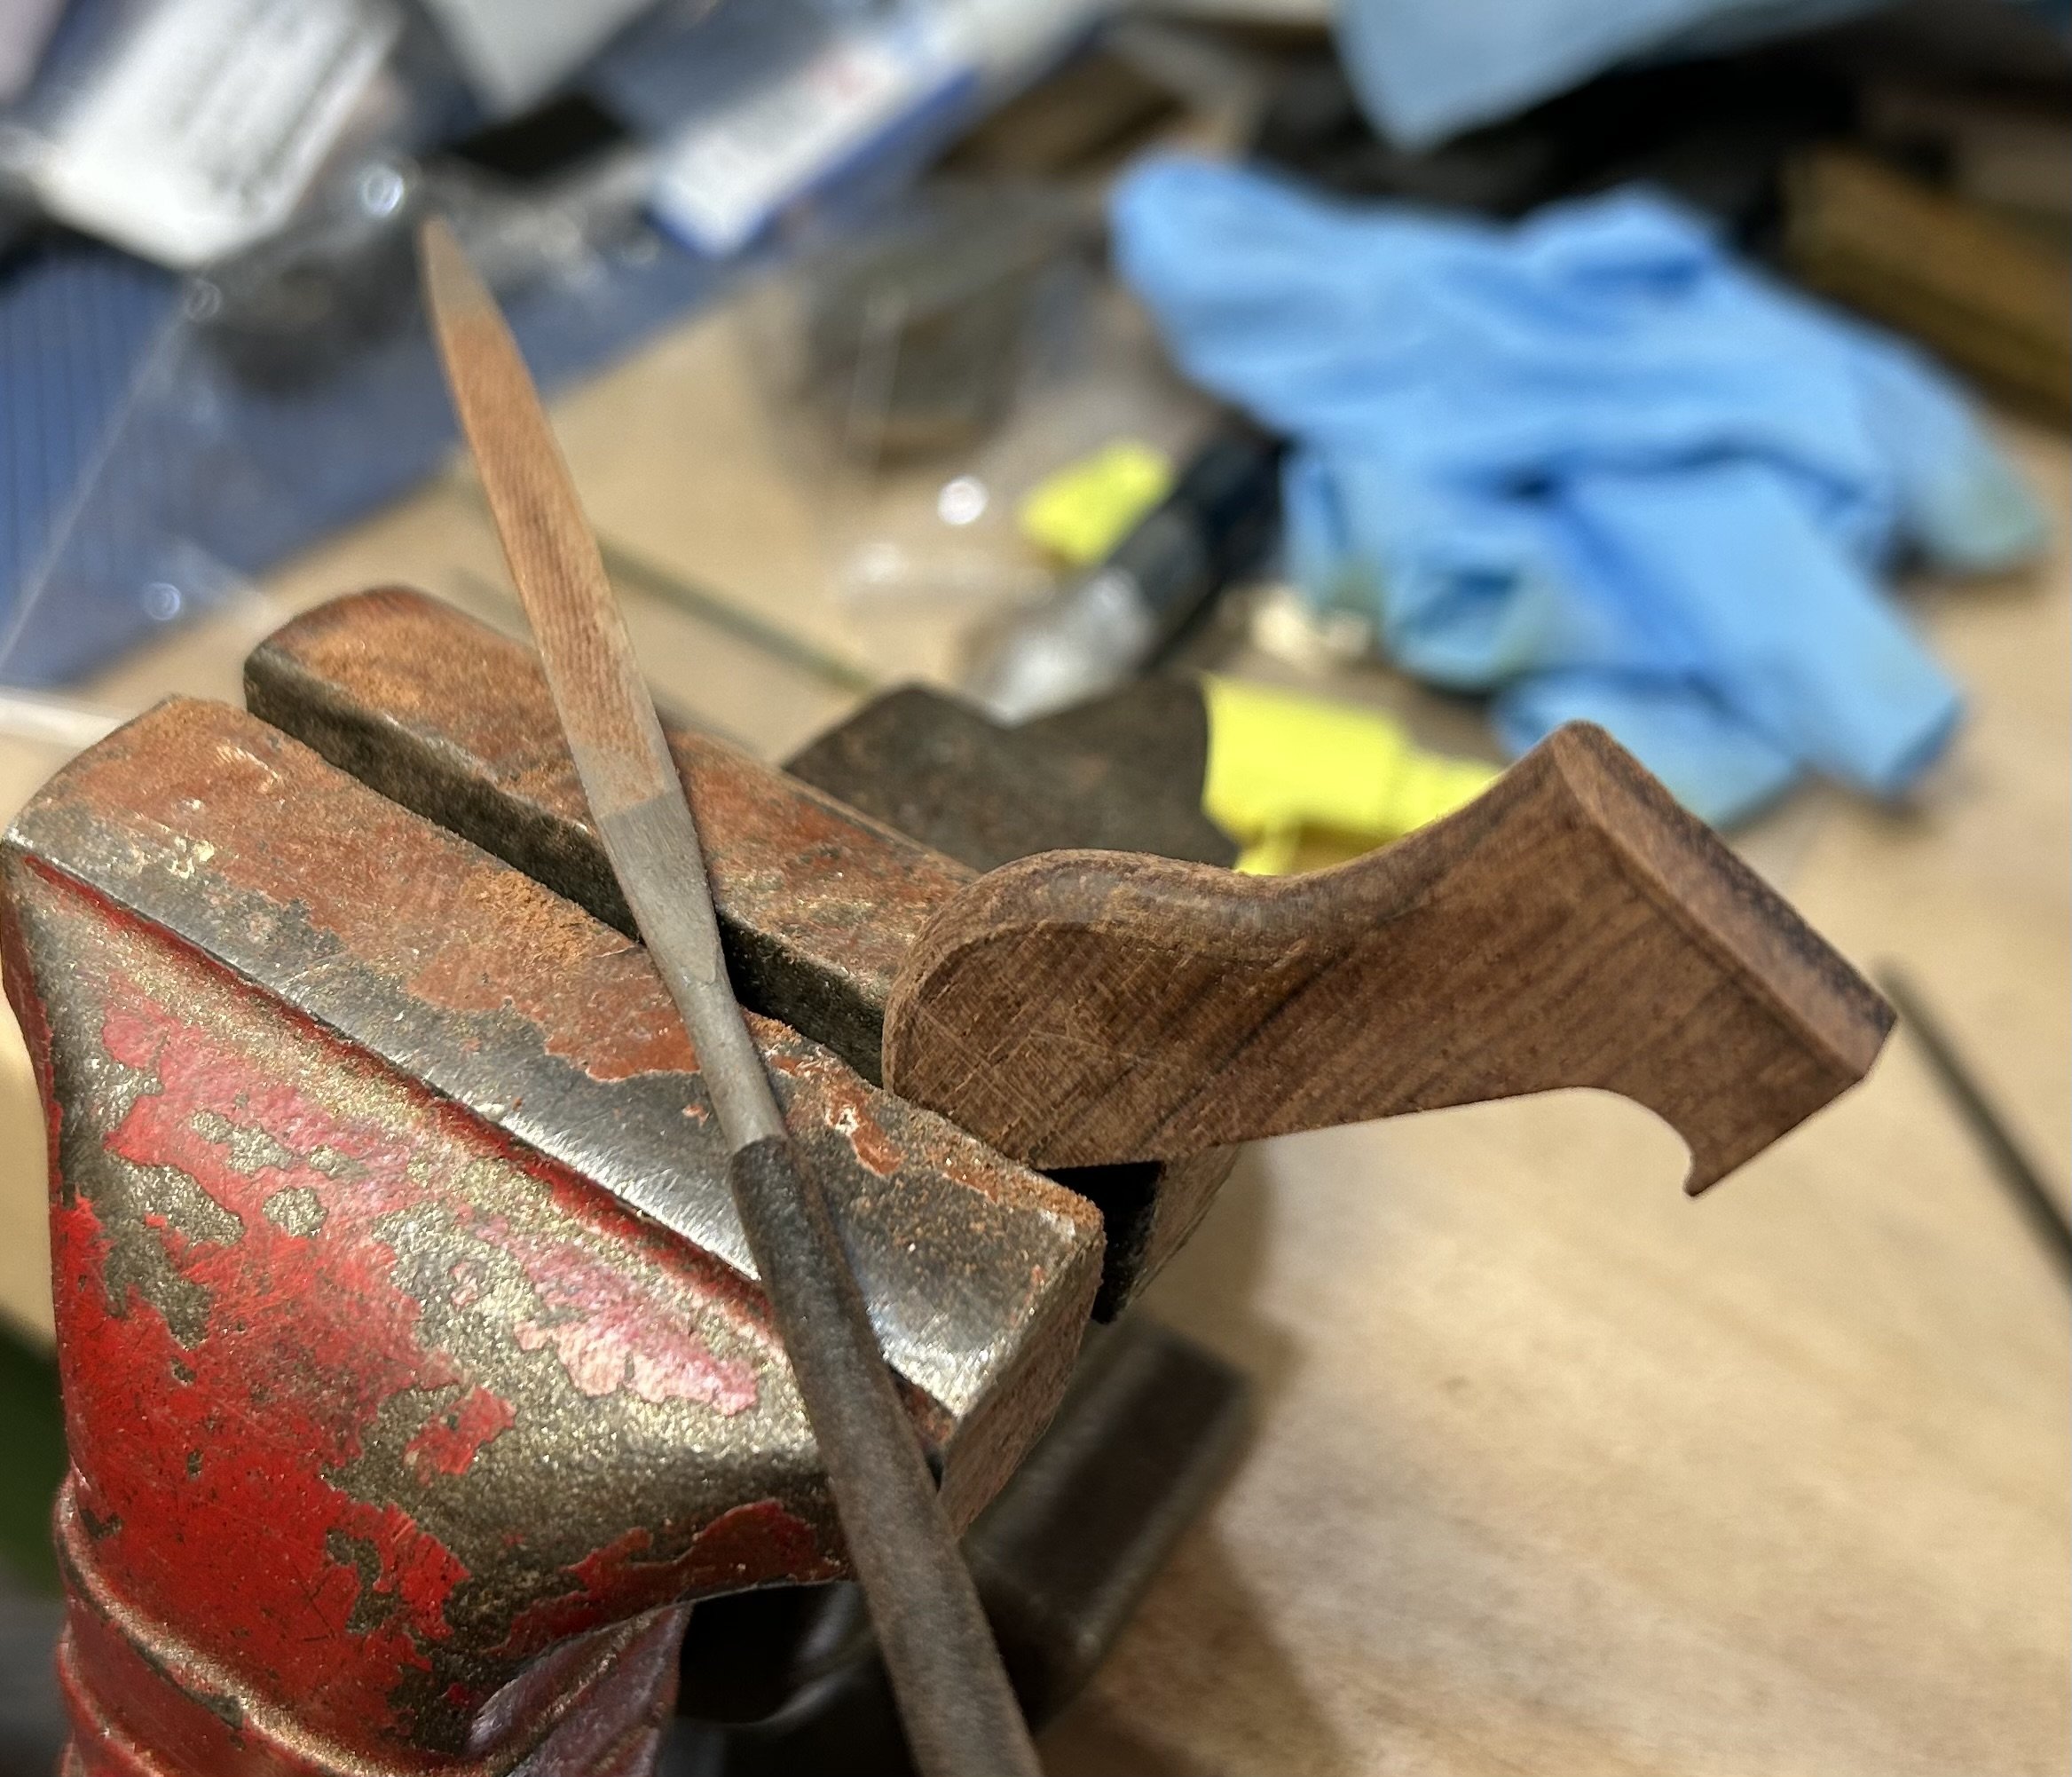
The rosewood took a wonderful burnish; it's exciting to see it coming together at this point.

Dry fit dovetails

Double dovetail sockets in the sole
Dry fit assembly
Assembly before peening
With about 7 hours in to the sole, I've got it in a place where the sides will slip on with just a bit of force. A steady filing rhythm was essential, as well as regular depth checks to make sure I didn't overshoot.

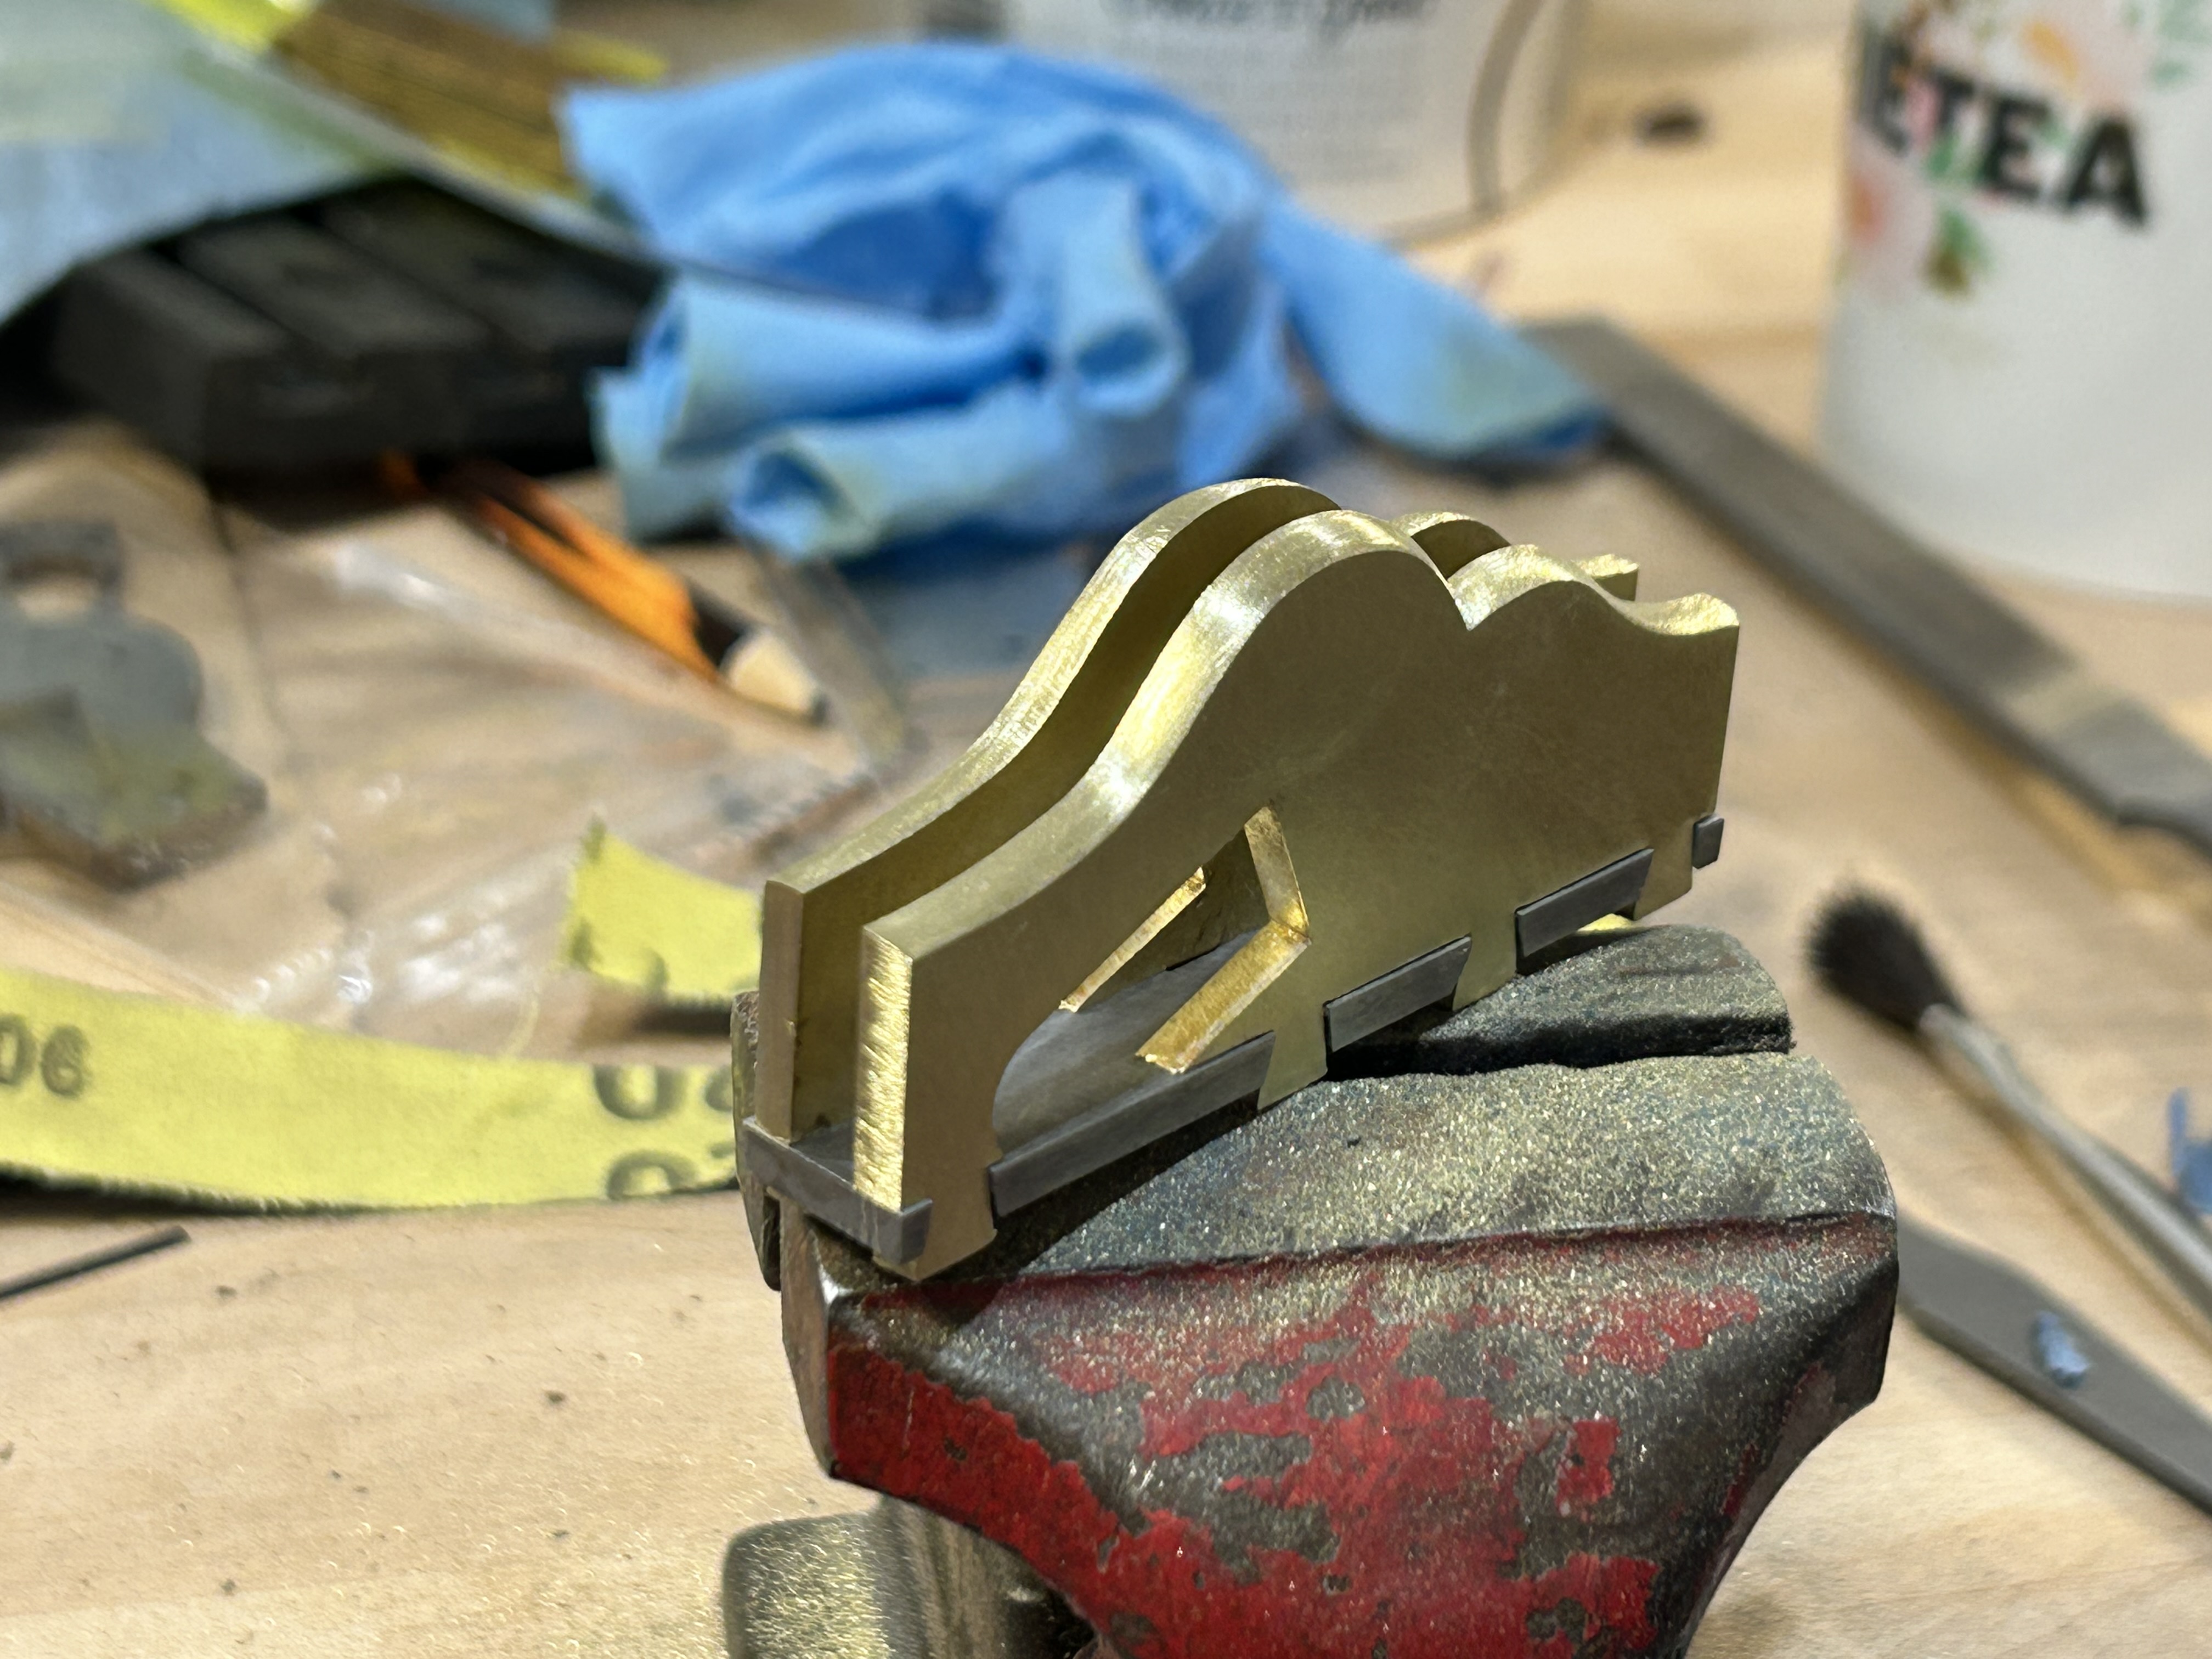
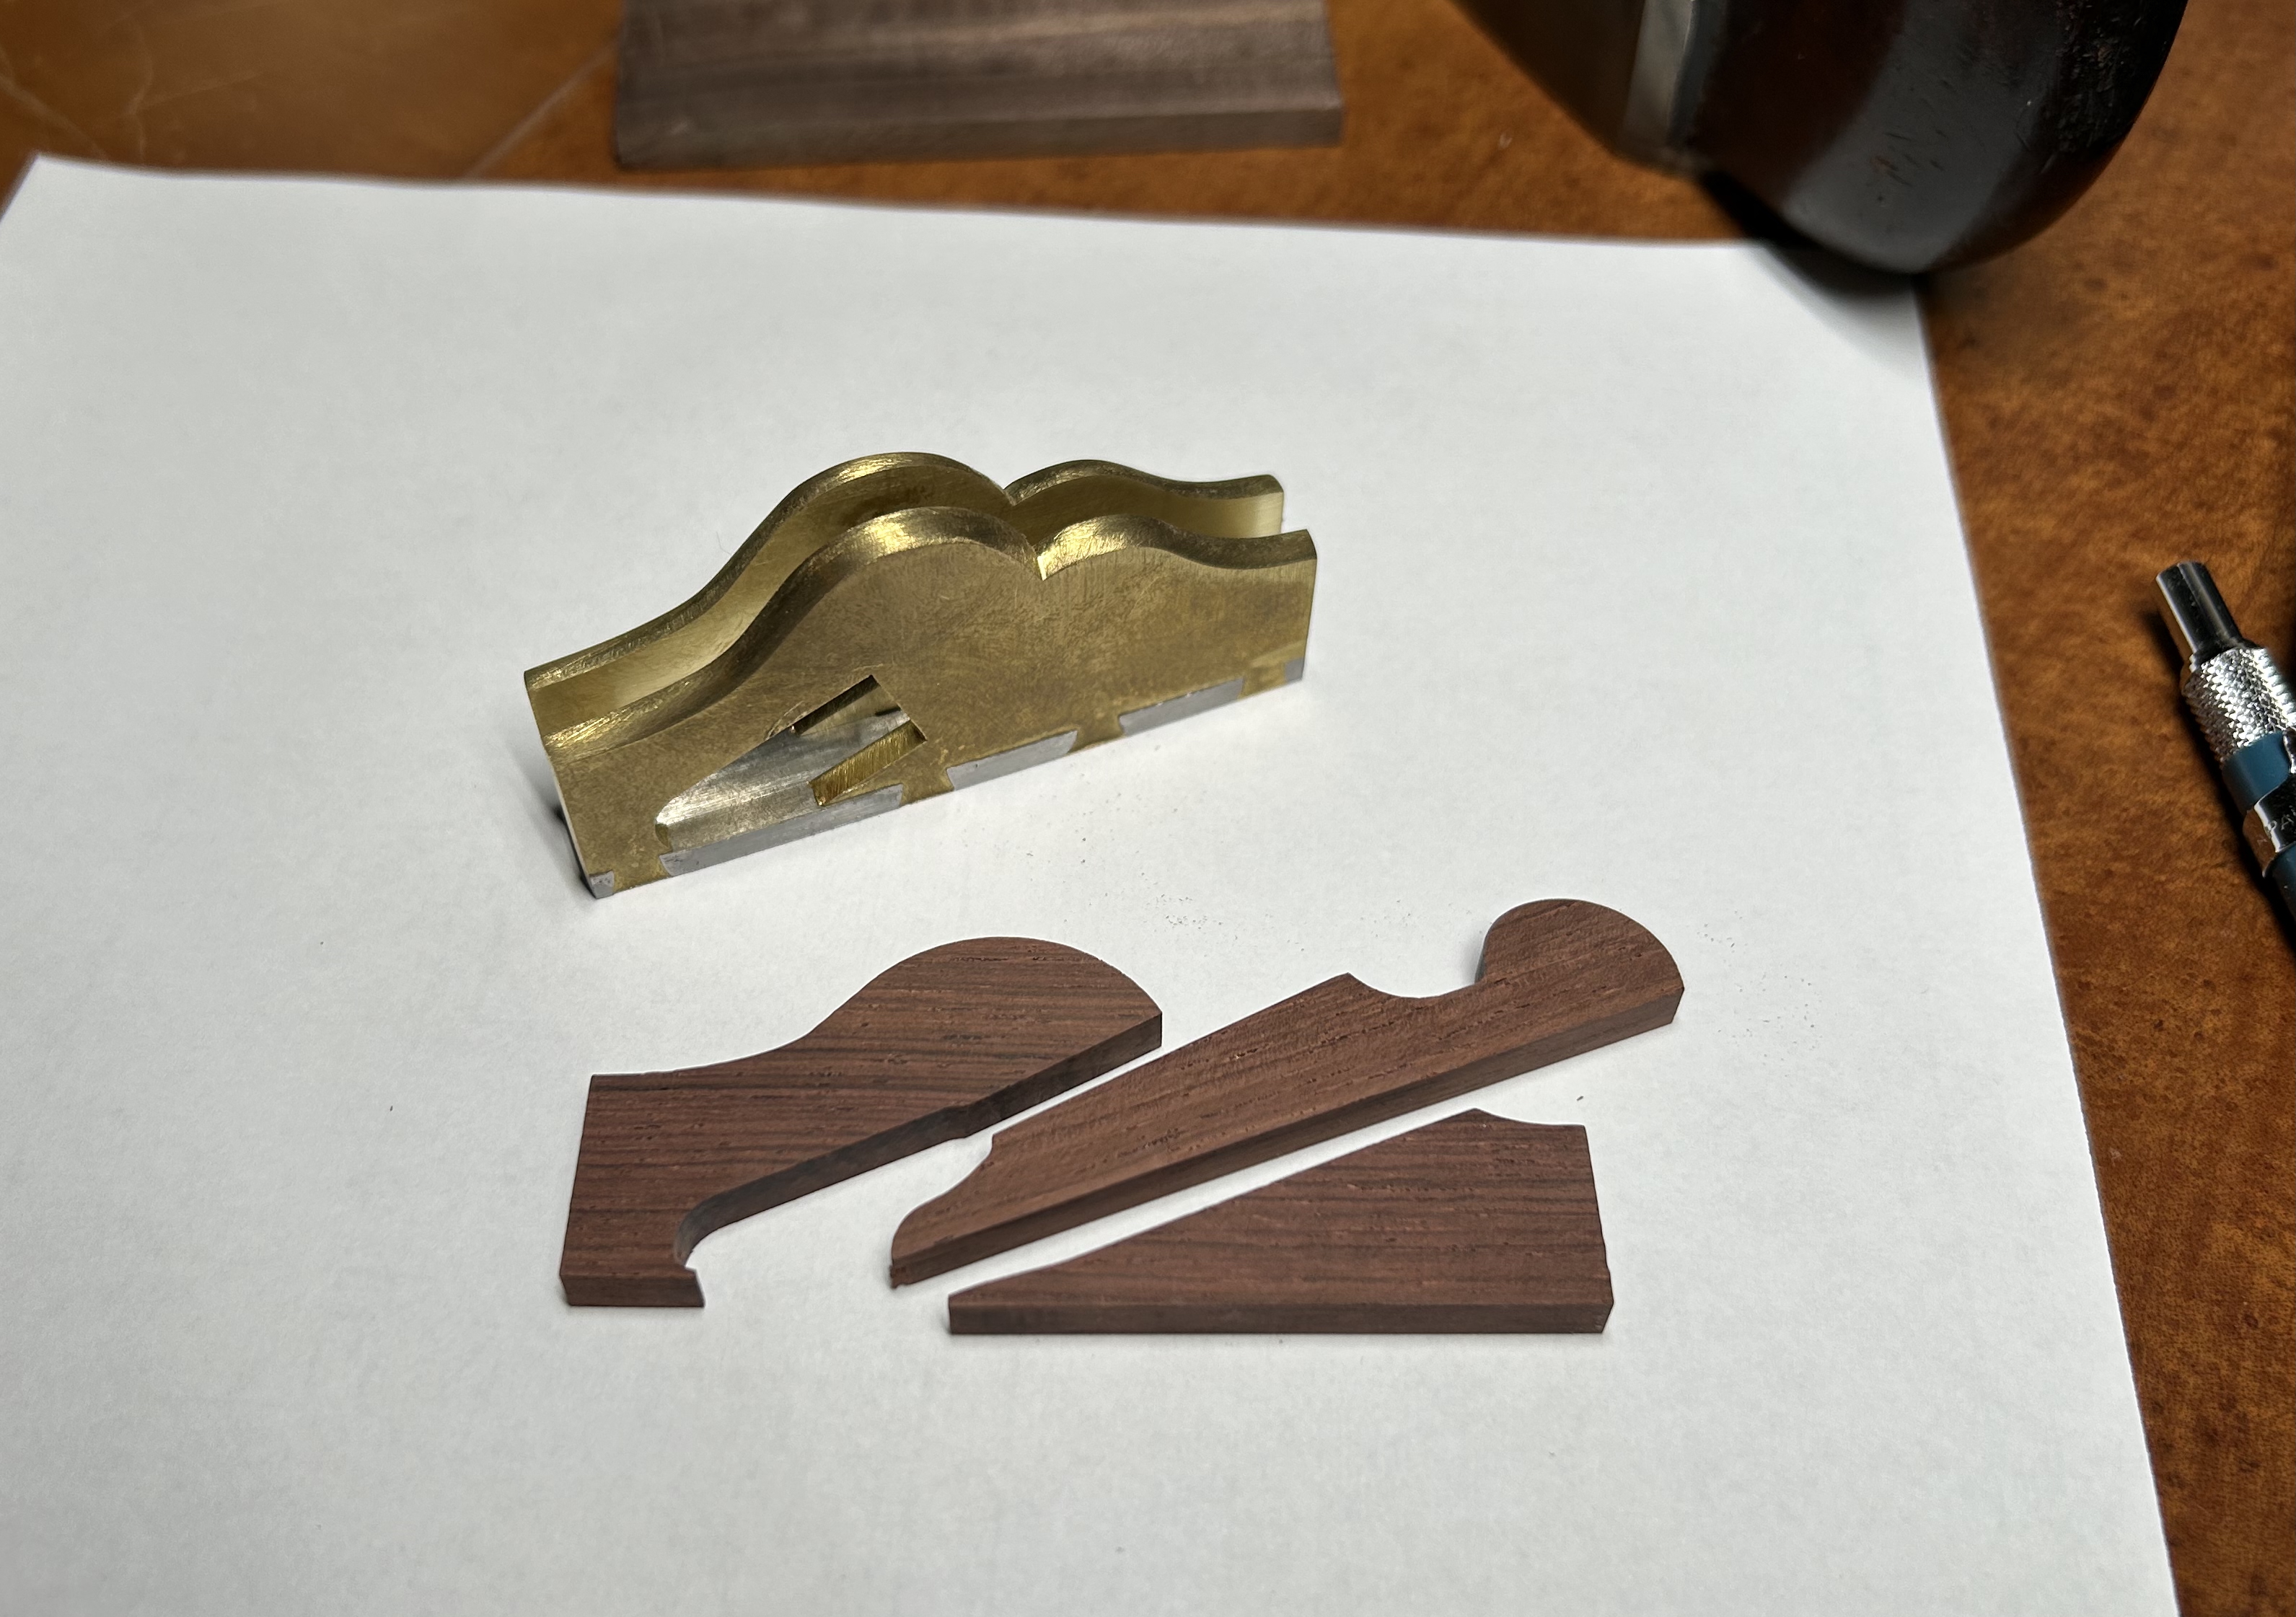
Then it was on to adding edge profiles to the top and ends of the brass. The convex parts were rough shaped with a flat file and then faired with 120 grit sandpaper. It will get a higher degree of polish later in the process, but this is all I need now for the shaping.

Parts and first cuts

Parts ready to work
Rough cut brass and steel
First dovetail sockets in steel
The dovetailed version is up first; the sides were commercially laser cut out of 260 brass from my drawing and need a little bit of work to clean-up. The cuts aren't plumb, particularly on the dovetail tails, but that's not a problem given the peening that will be happening later in the process.

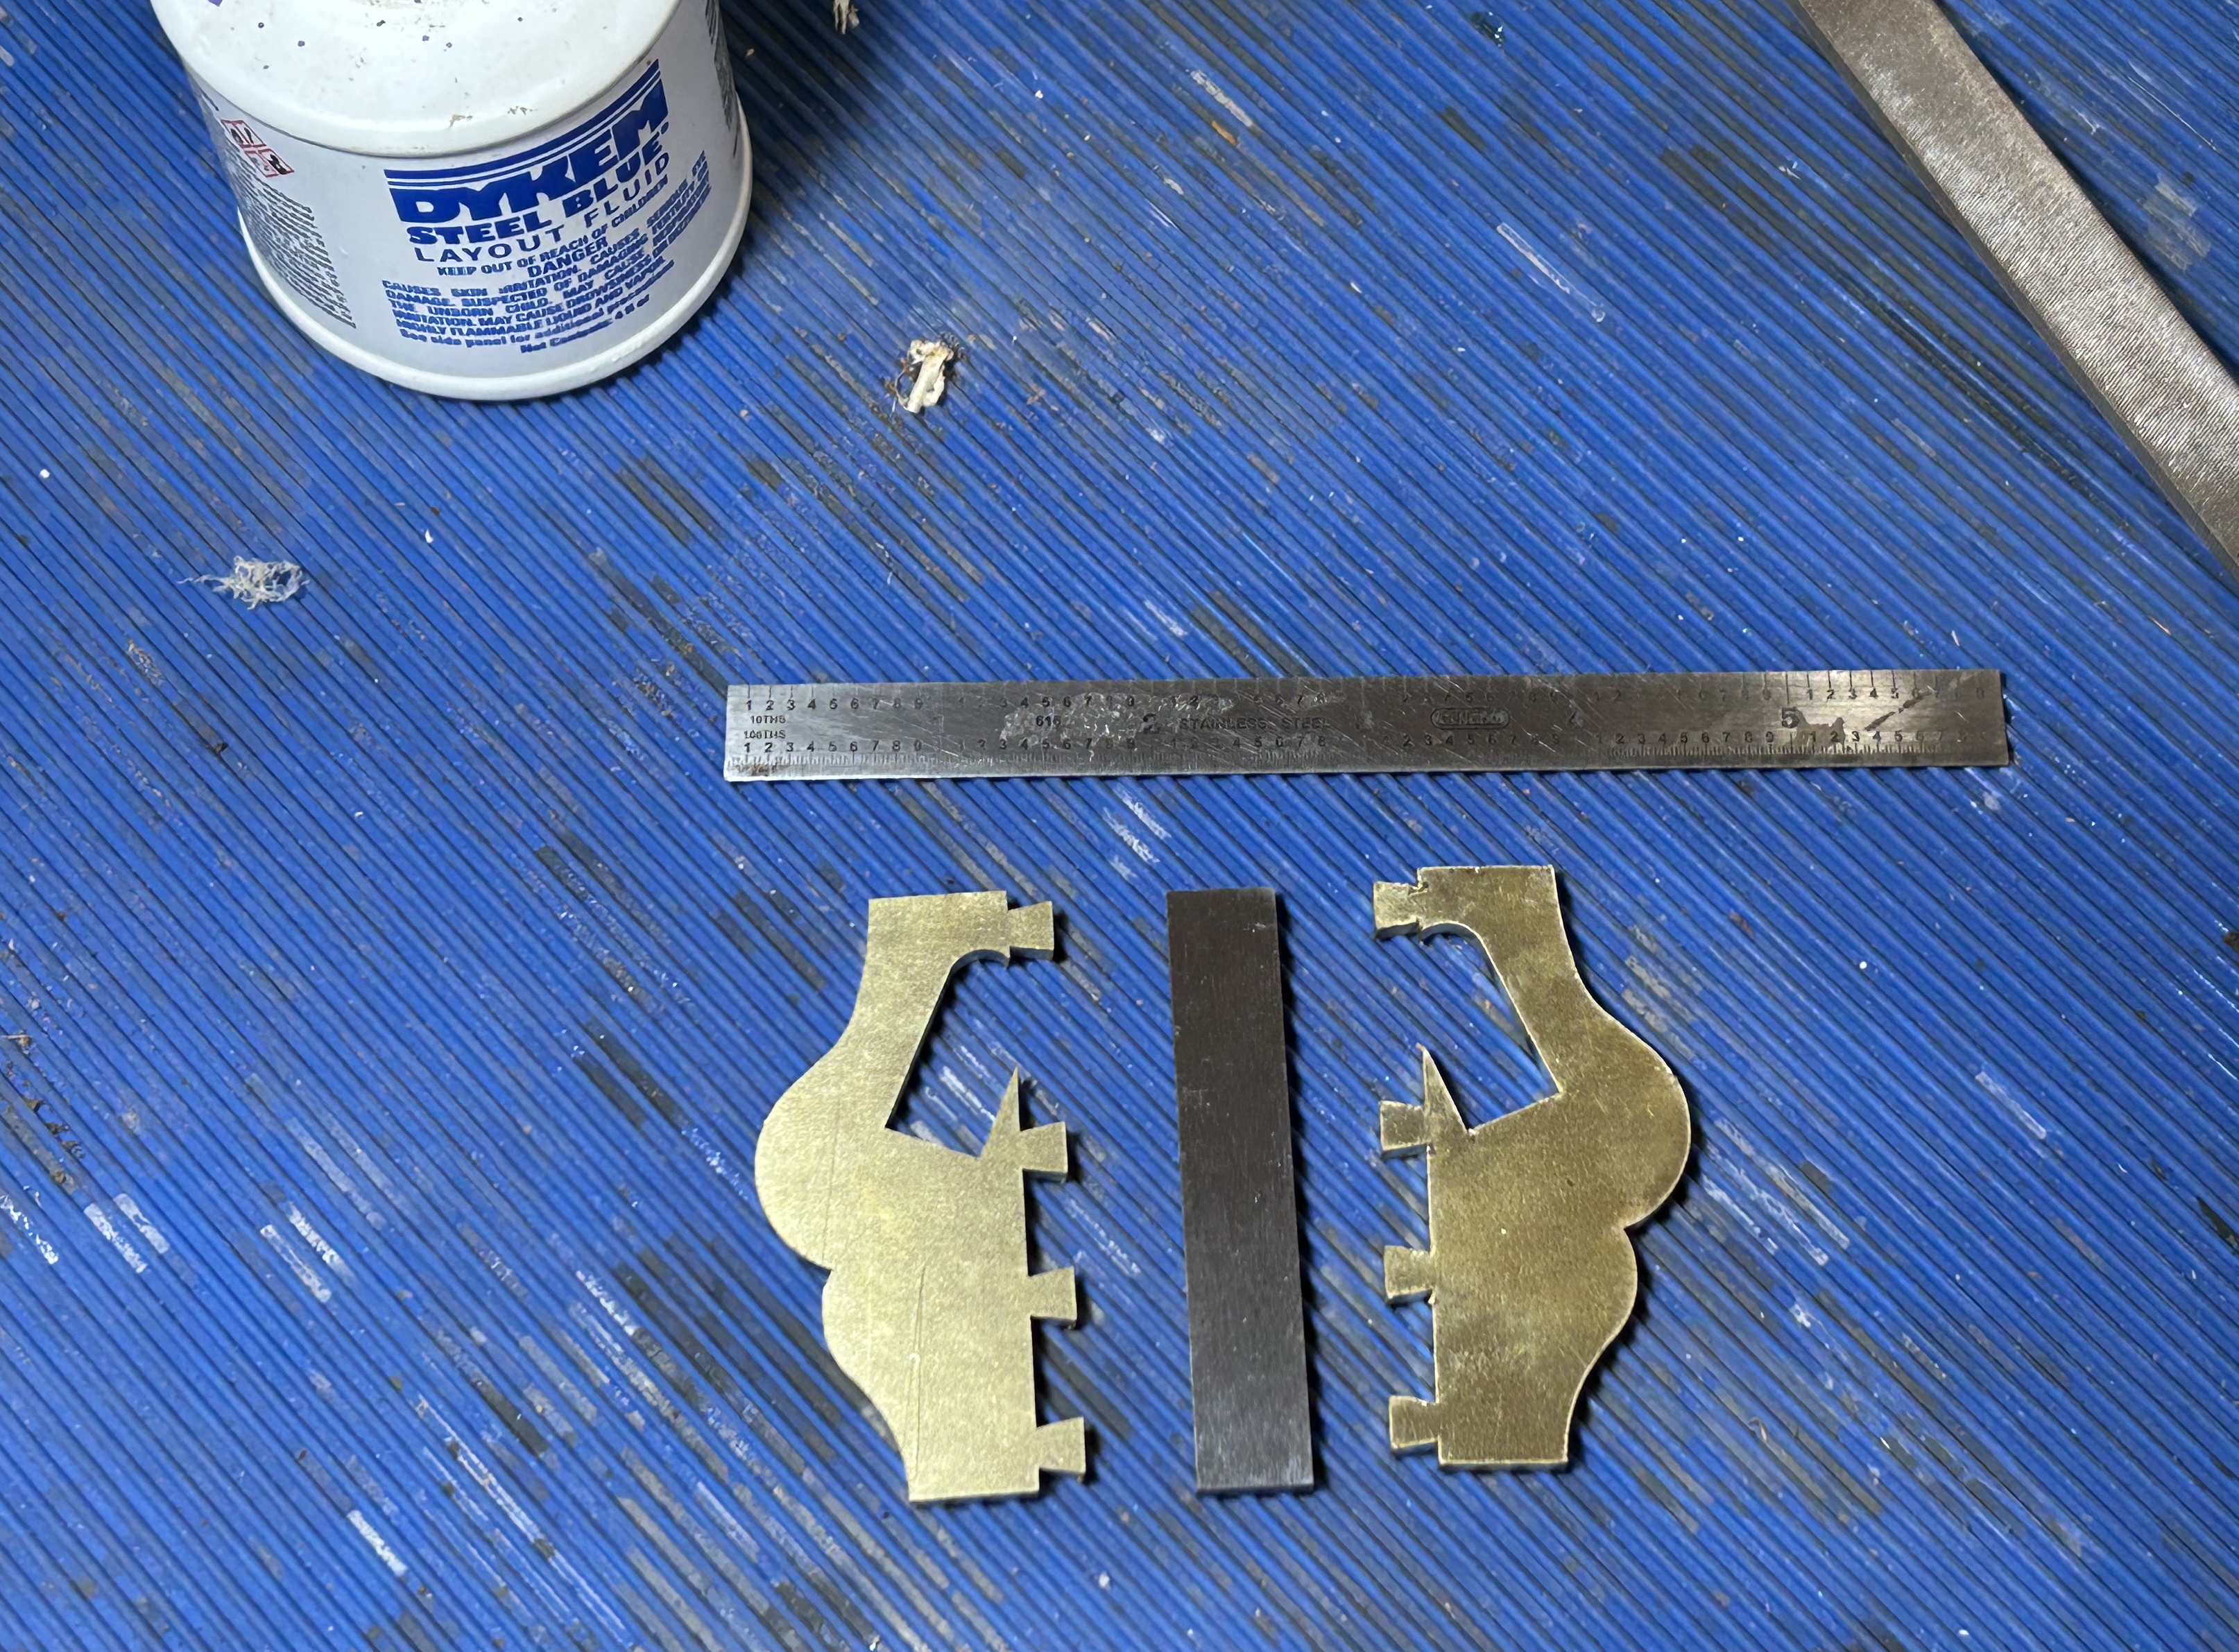
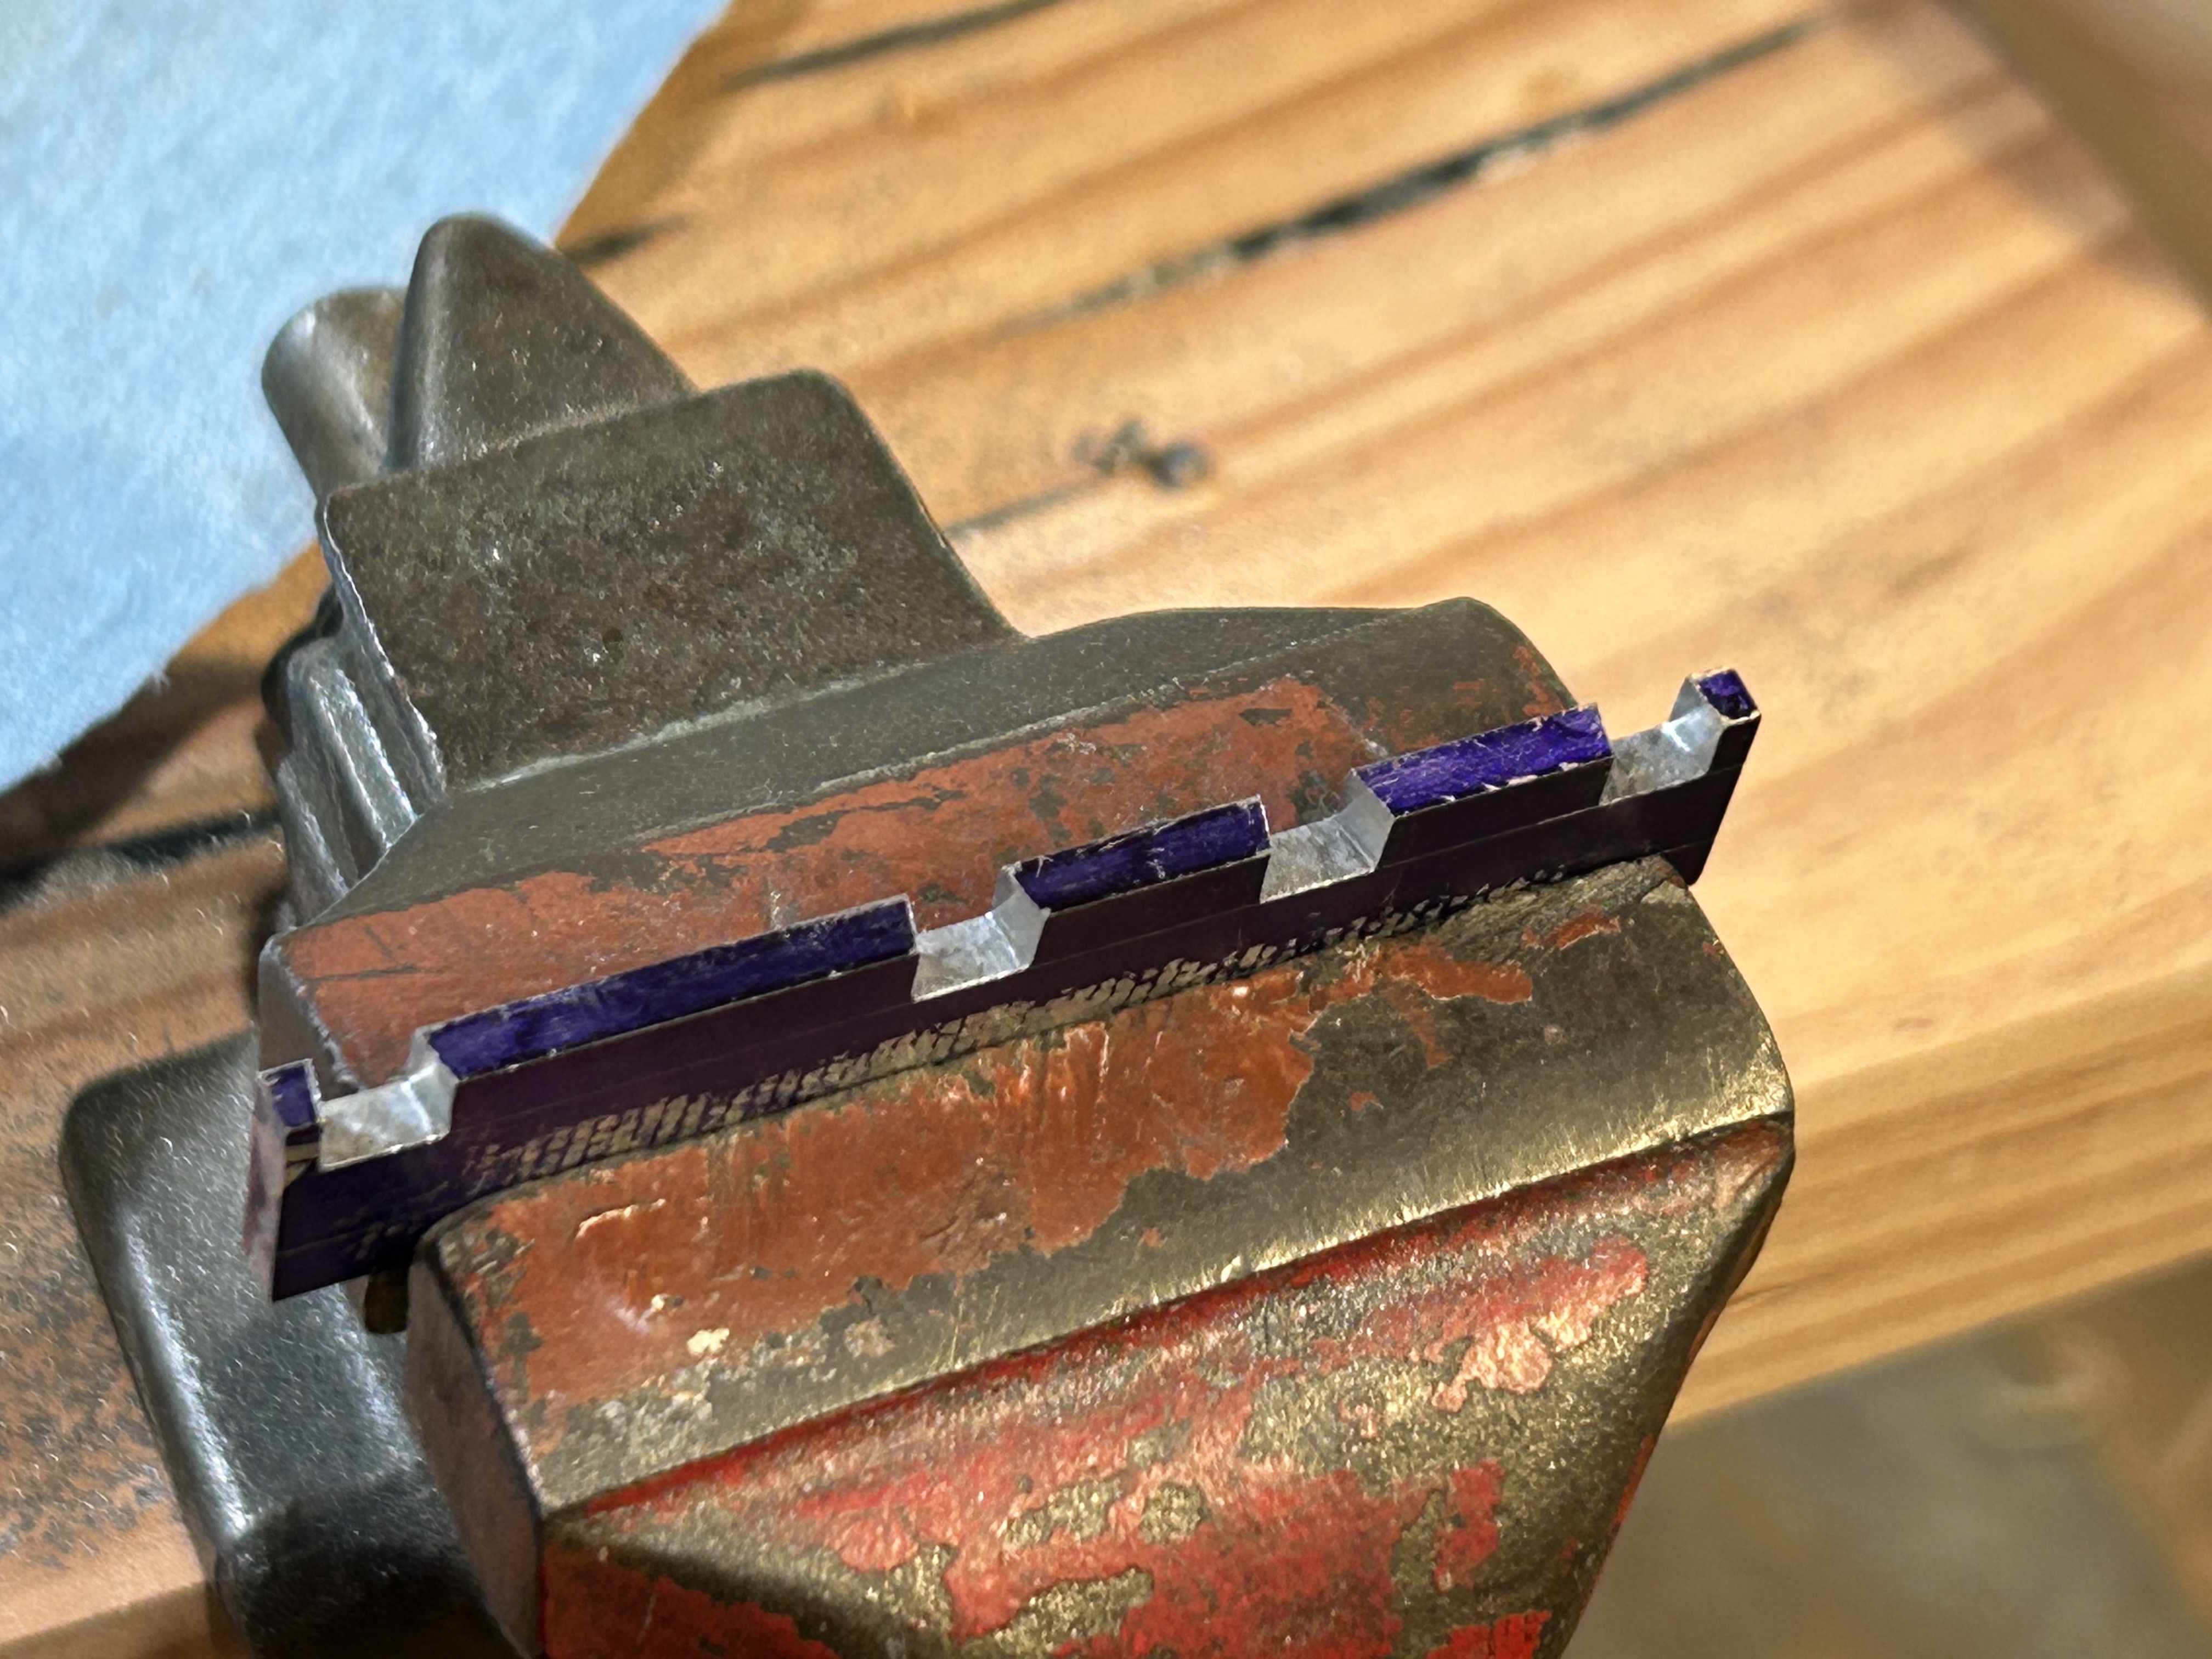
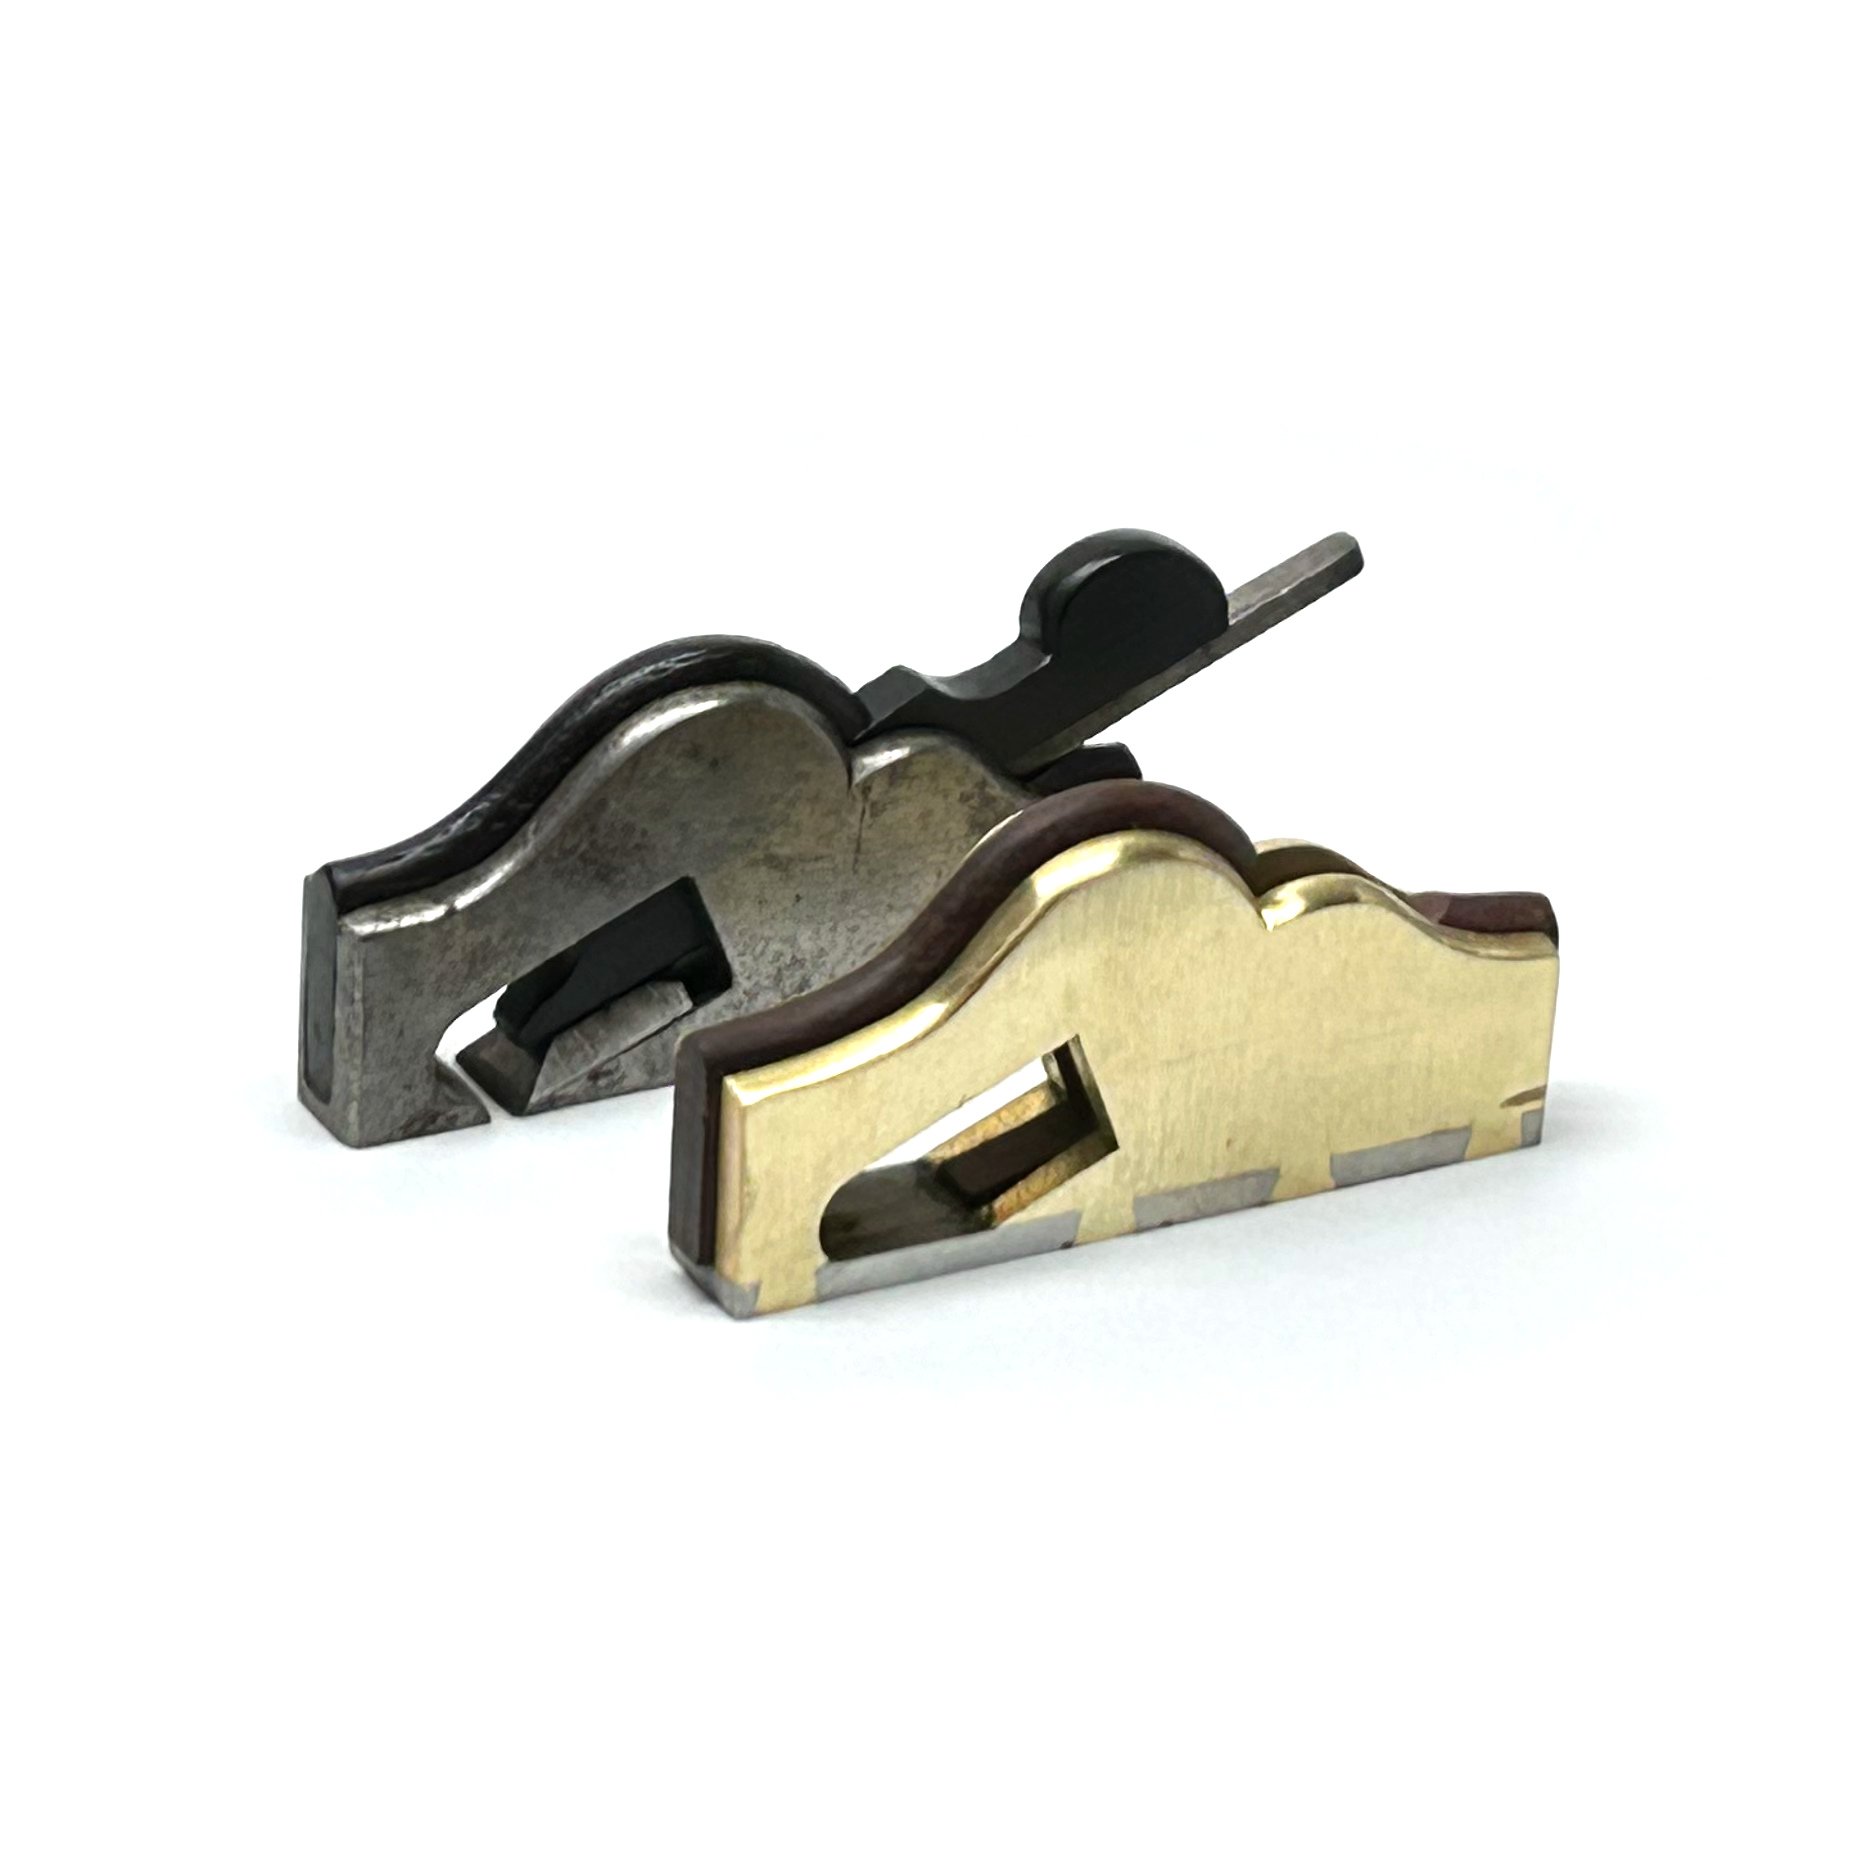
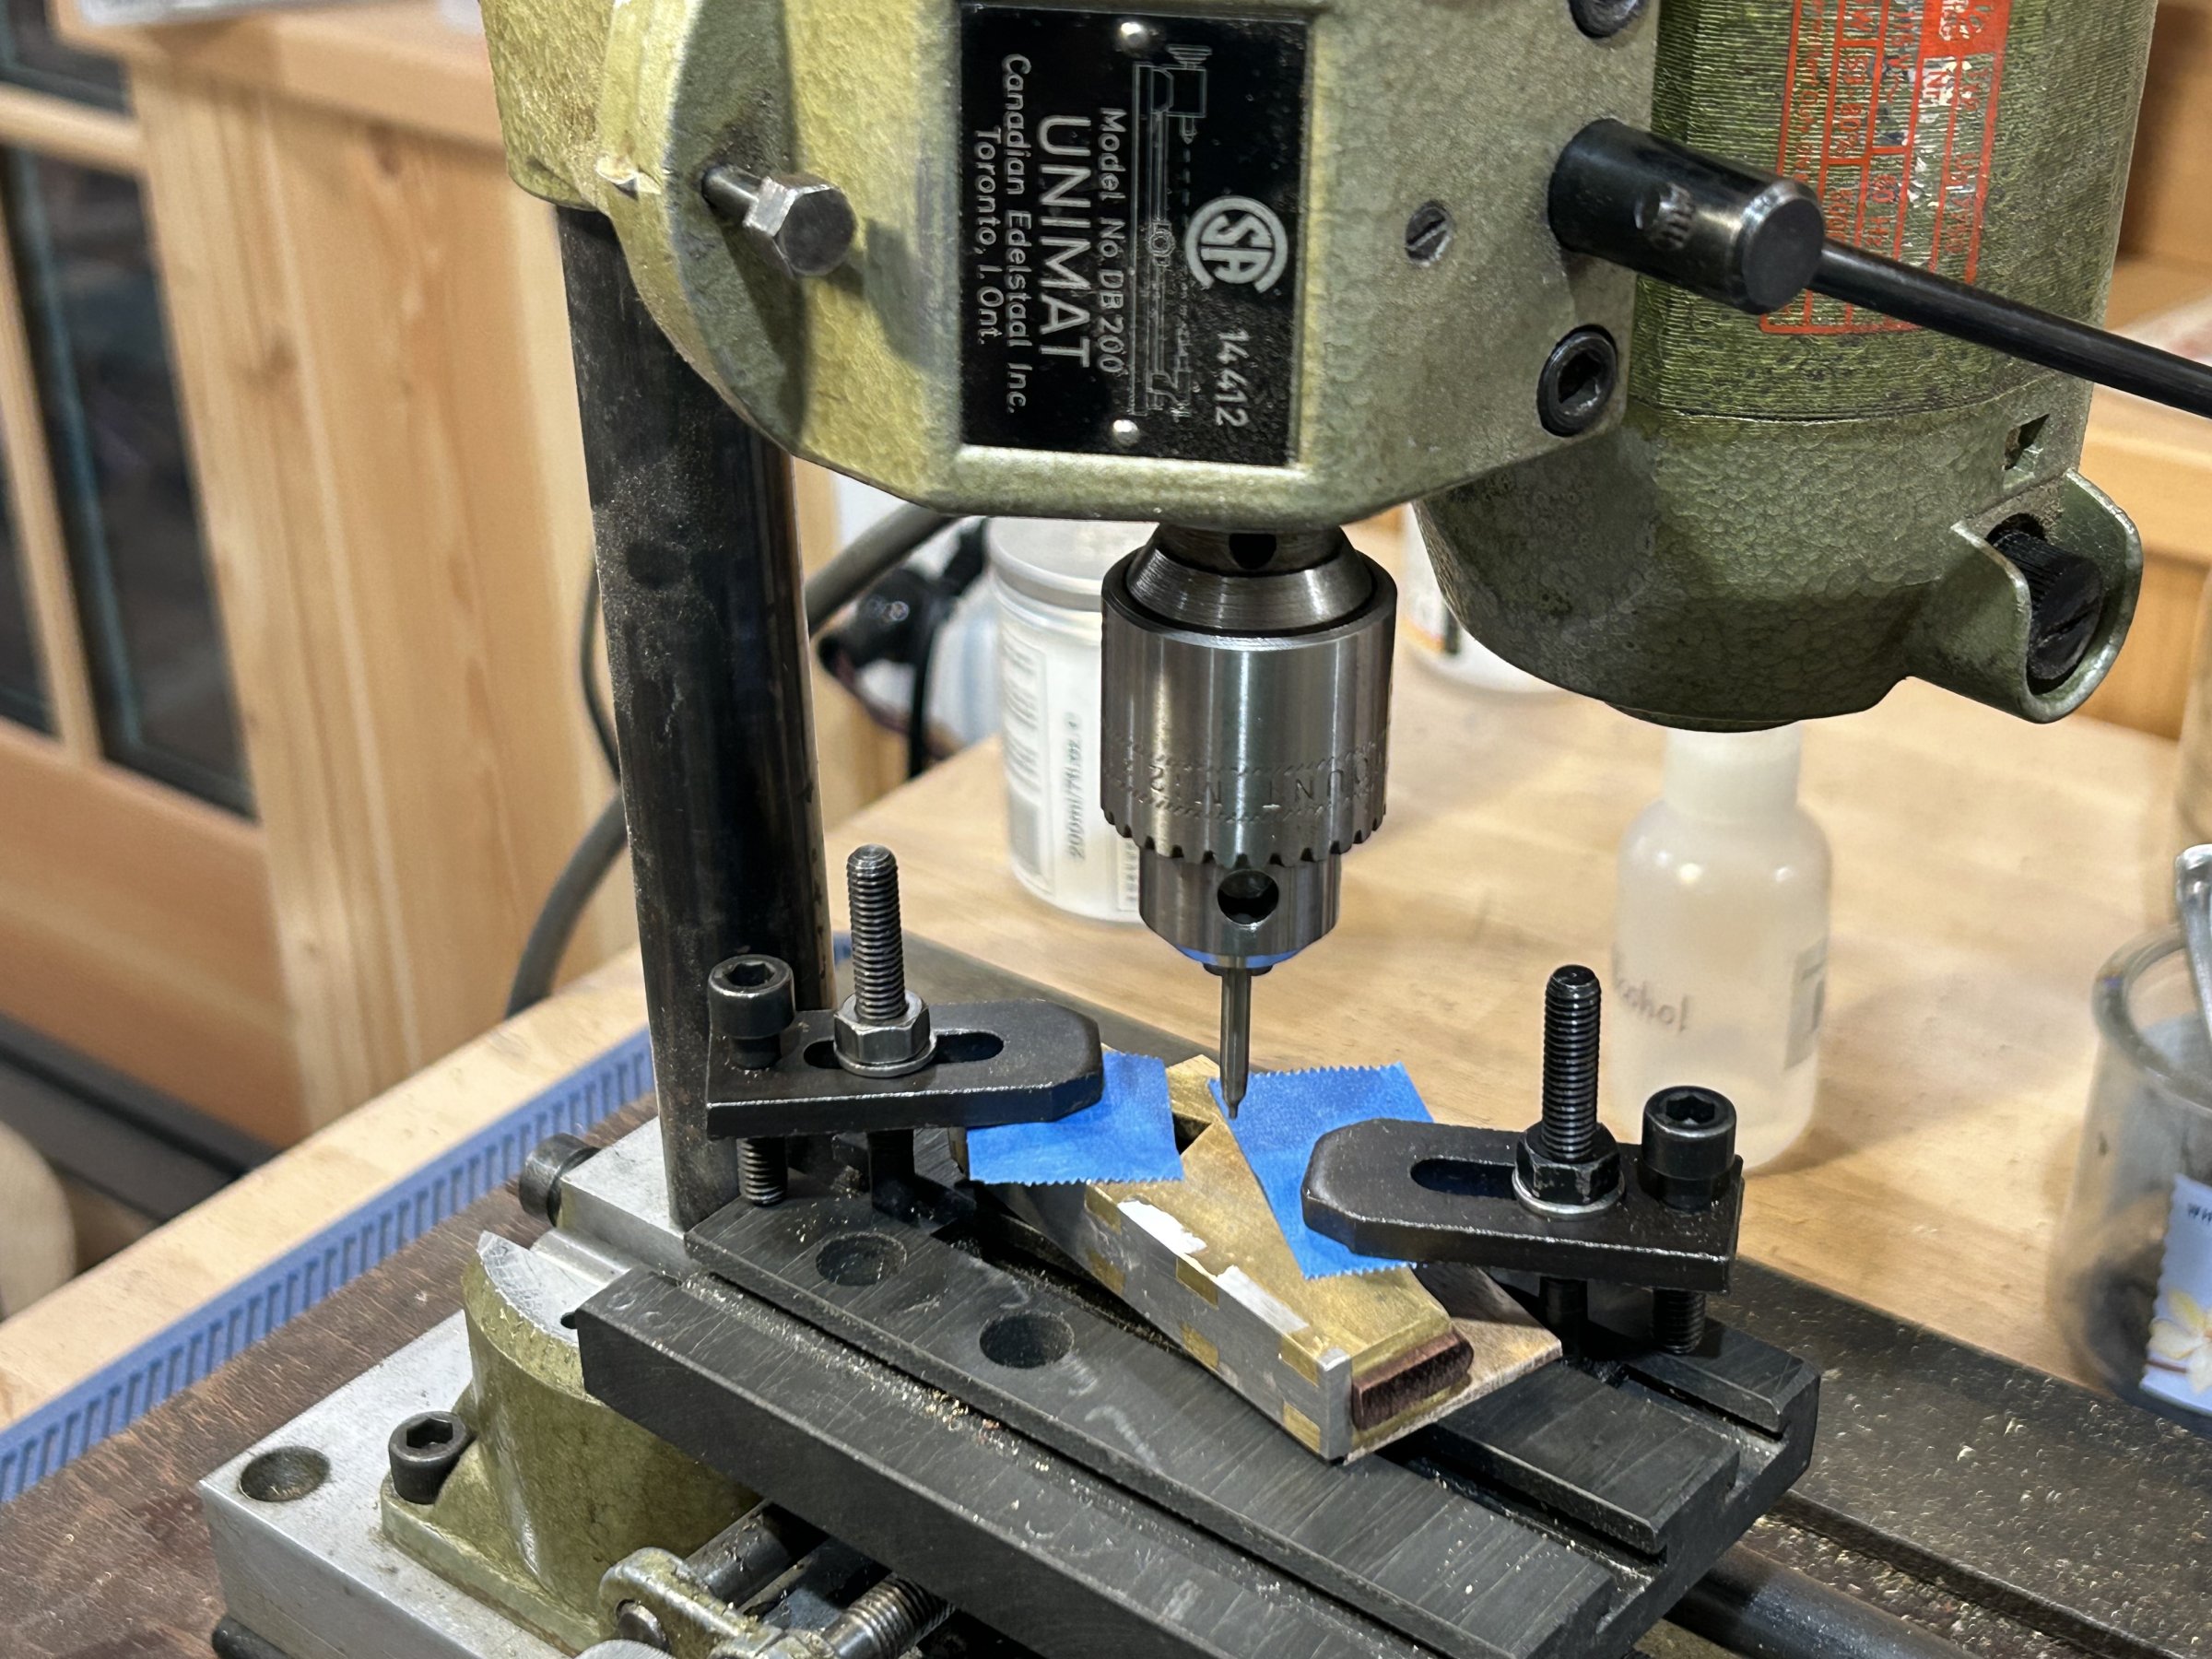
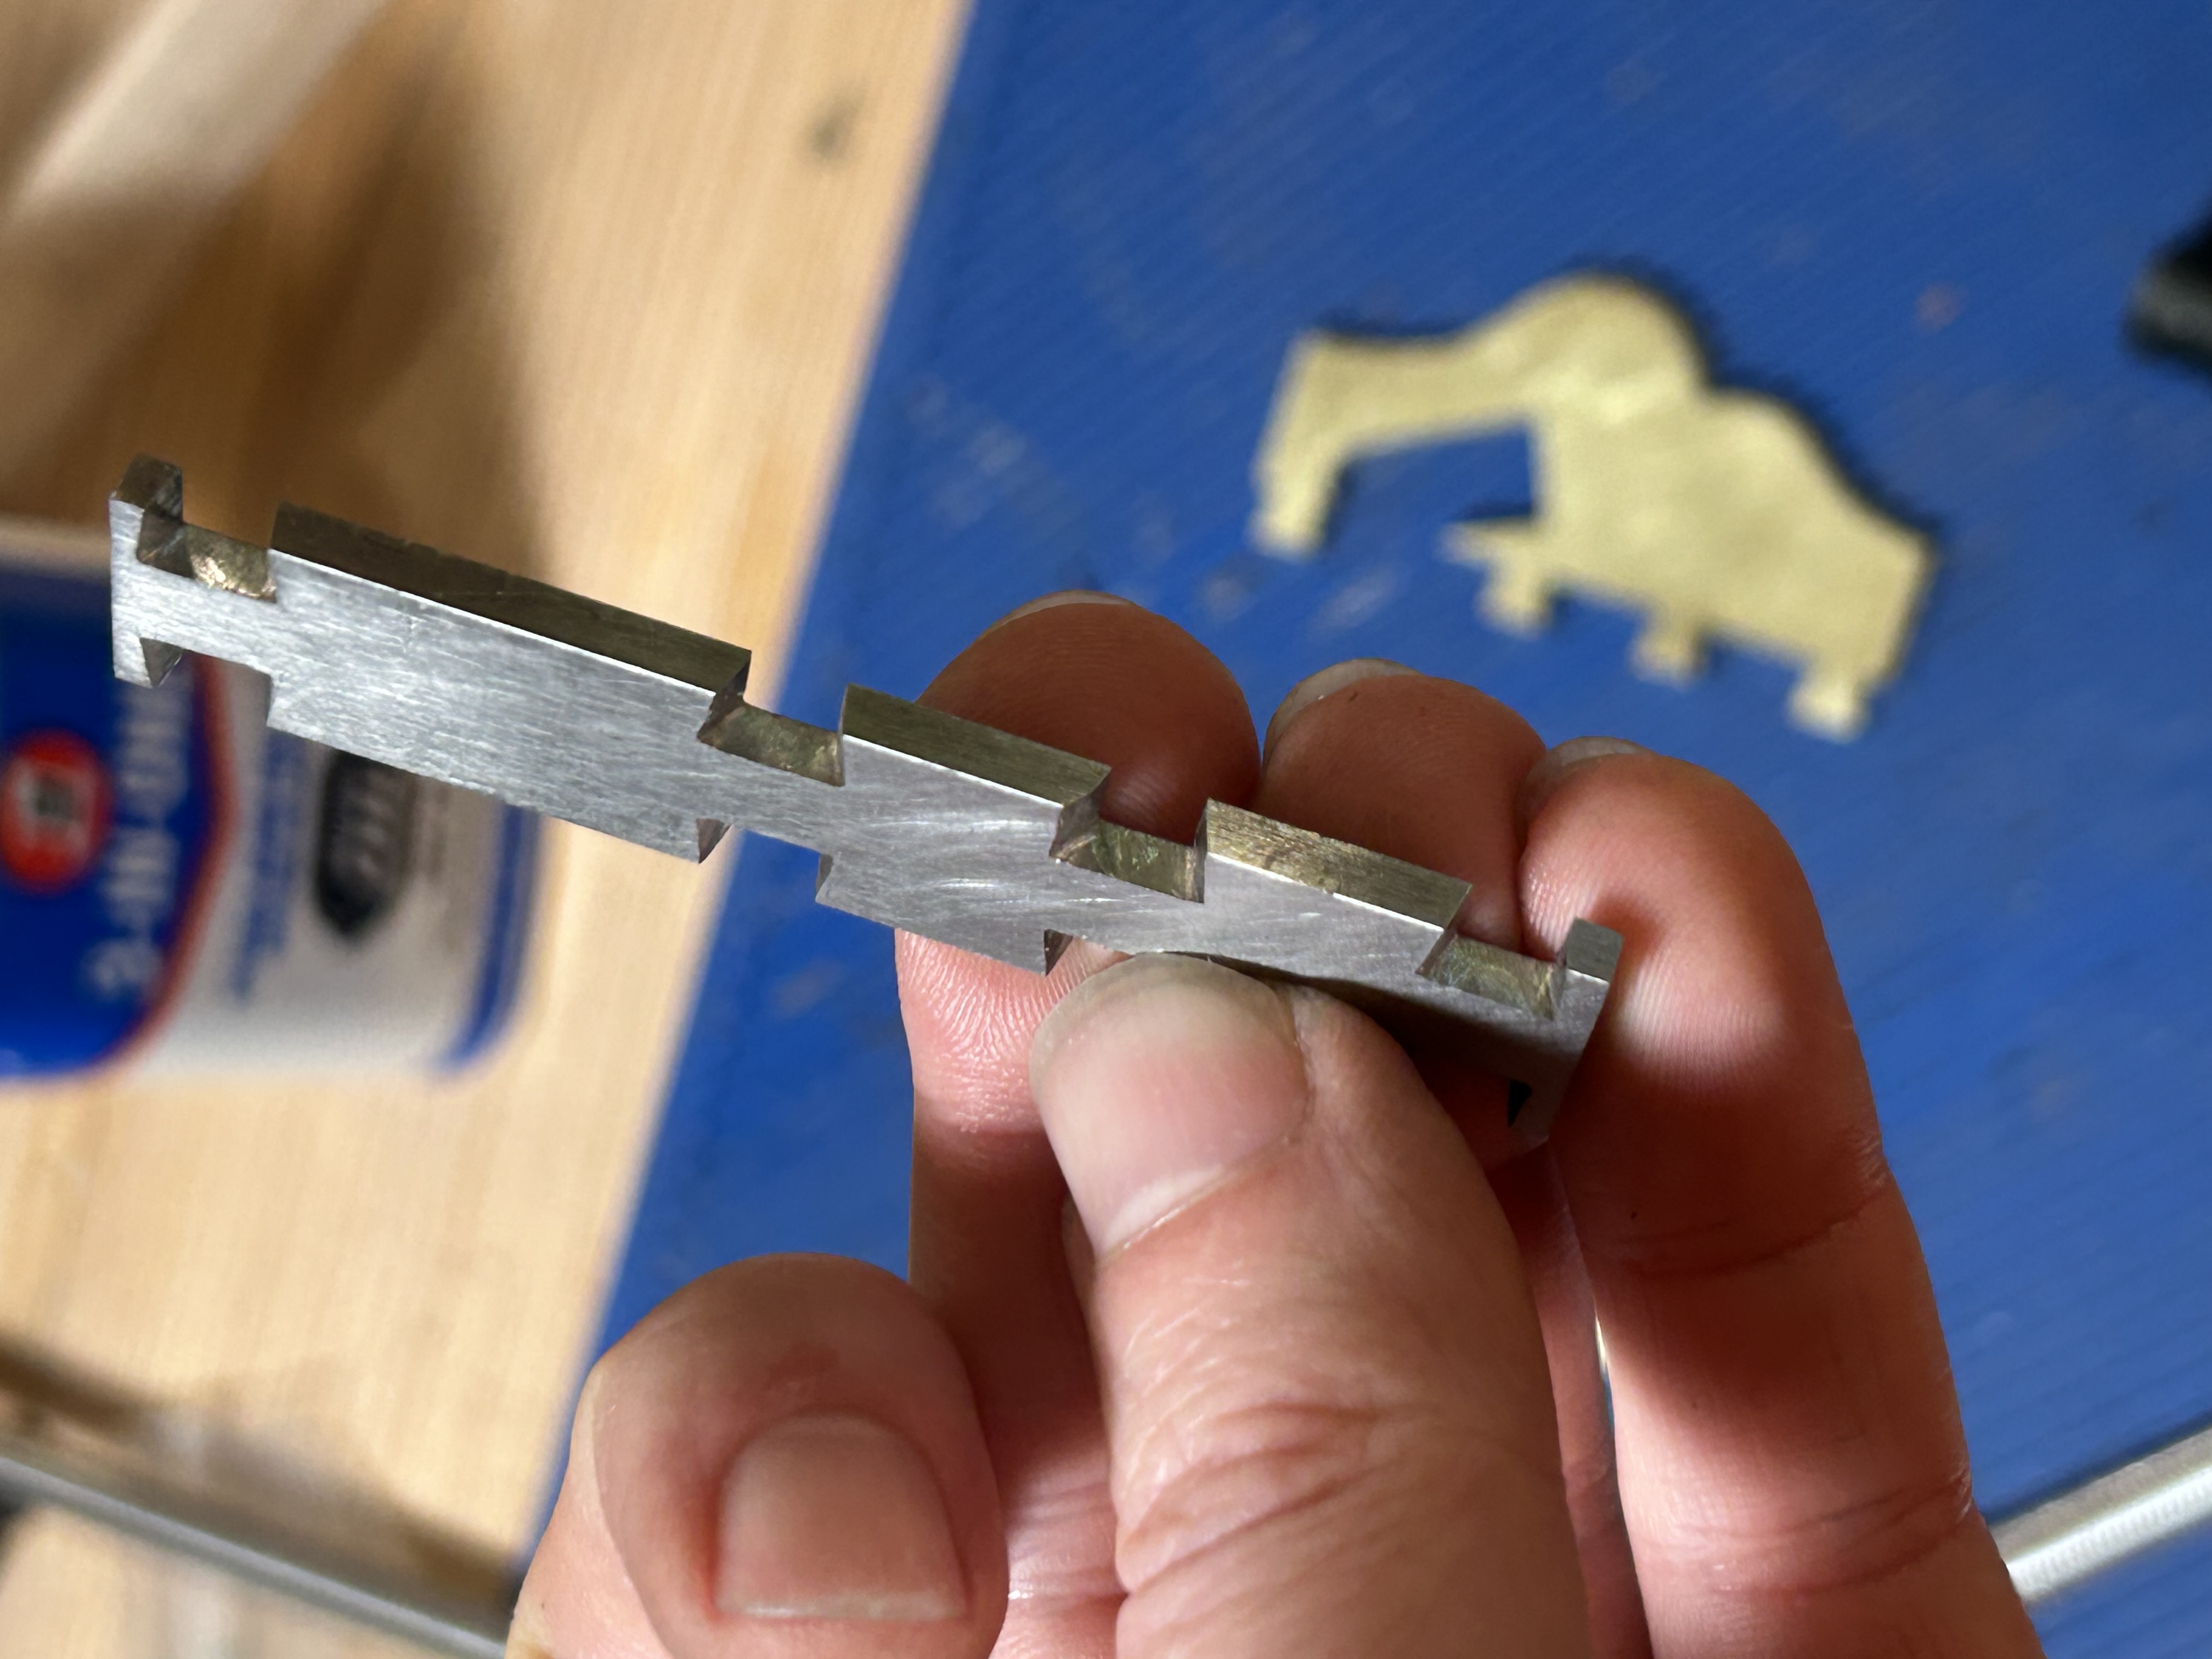
I cut the sole in my shop from 0.5\" x 0.125\" bar stock. My machining set-up is rudimentary. I've got a vintage Unimat (DB-200) that is both tiny, and has the rigitity of a wet noodle when milling, so most of the work here is hack saw and file. It should be good enough for drilling my pin holes when I get there.

As for the dovetails, these were surprisingly similar to cutting them in wood, just replace the chisel with a safe-edge file, and the dovetail saw with a hack saw and it's more or less the same.

CAD drawing for a new plane

CAD drawing
CAD drawing for the plane
This one is an attempt to replicate the smallest plane in my collection. I've got the whole thing drawn out in CAD and have sent out the sides to be cut in 260 brass, 304 stainless, and Grade 5 titanium. I'm then going to do some experimentation with building this plane in different materials and with slightly different techniques to try to get the hang of building metal planes.

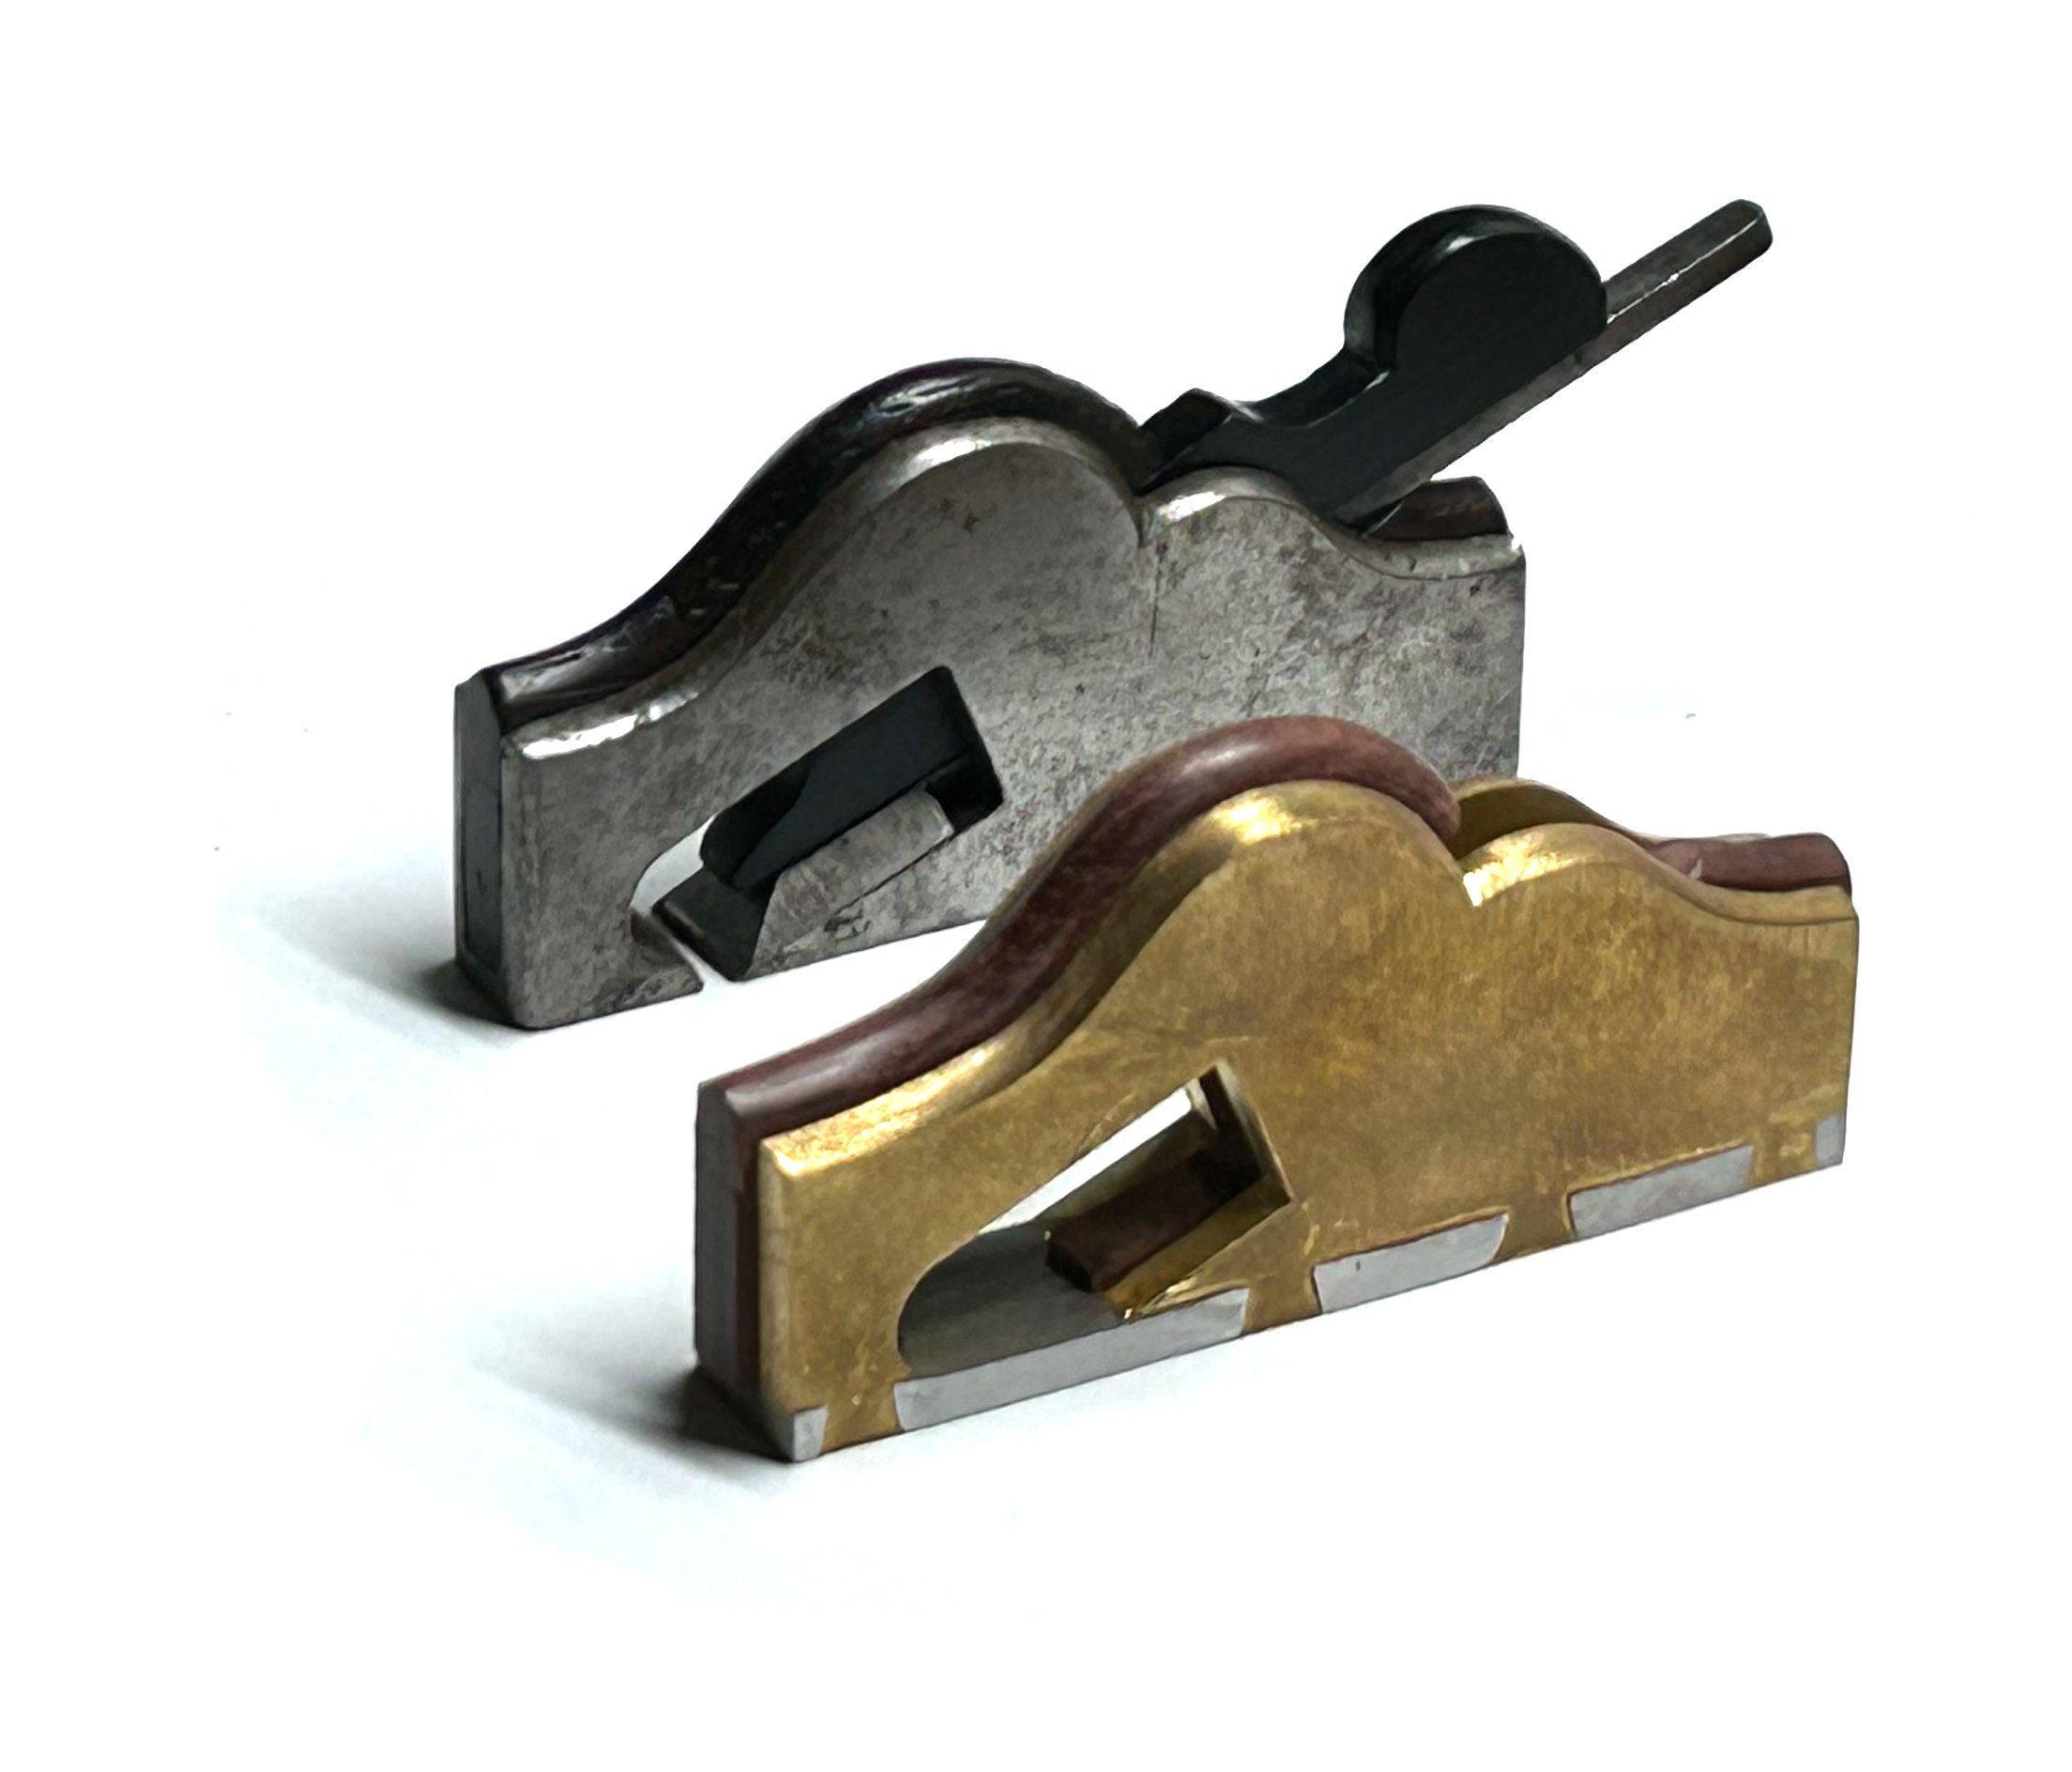
The brass version will have a dovetailed base, the other two will be pinned.