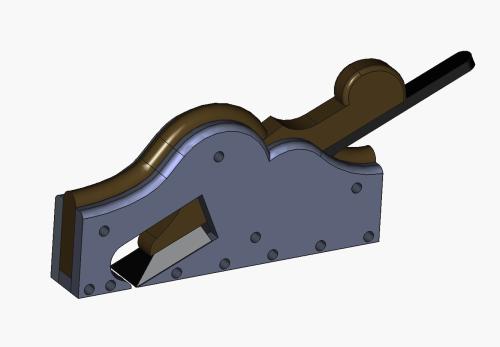
Before starting the latest plane I made a full CAD model in FreeCAD of the plane. This provides a good way to sanity check all the fits, make sure the proportions look right, and is just fun. This time around I went a step further after I learned that Claude can run Blender heedlessly. I know only basically nothing abo…
Read this entry →
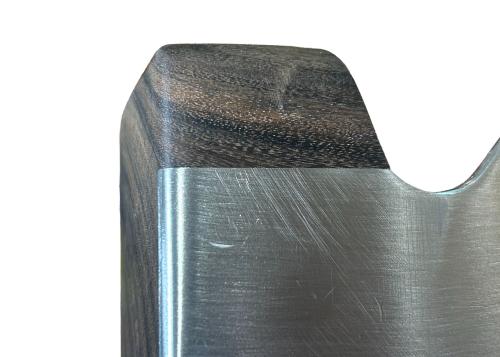
Cosmetic gaps between the shell and the infill don't affect the function of the plane. But, I want them gone with as invisible a repair as possible. For a straight line joint, like at the front, this can be dialed in to perfection prior pinning it in place, and it is well worth the time to do so. The curves that descri…
Read this entry →
I waited until now to lap the sole so that I could do it under the same stresses the plane will see in actual use. With the lever cap installed and tensioned, the shell is behaving exactly as it will when the plane is working. I also wanted to do this before applying any finished surfaces to the outside of the infills…
Read this entry →
With the infills now temporarily pinned in place I turned to one of the most consequential internal operations on the plane: bringing the wooden bed into perfect continuity with the steel at the mouth. This step is not about appearance, with the blade in place none of this work will be visible. Any bump, hollow, or dis…
Read this entry →
Fitting the infills to the shell is a slow methodical process. I determined the best way to get a clean shoulder line for the fit between the wood and the metal was to shim and scribe. That is, a know thickness spacer (0.250" in this case) is placed on top of the sole and then the stuffing is shaped until it firmly reg…
Read this entry →
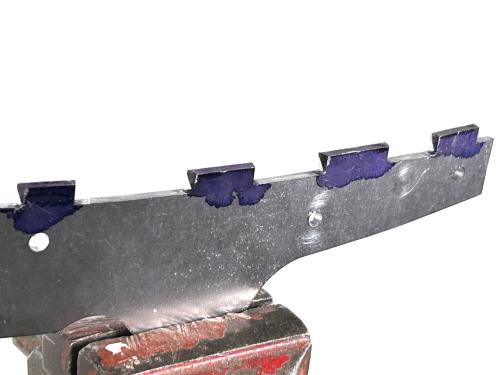
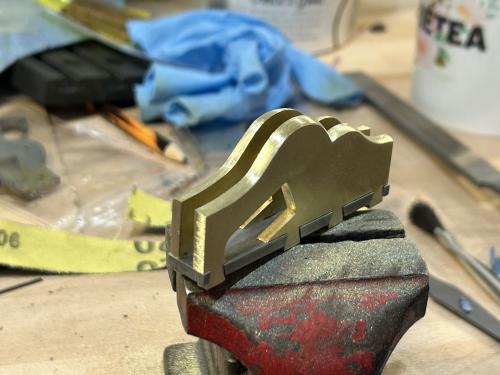
Having now fully peened the shell I am realizing some challenges of the design choice I made for how to structure the dovetails. The traditional "double dovetail" is what I've seen on most modern makers' planes as well as read about. However, examining the antique example, the tails coming off of the sides were visuall…
Read this entry →
Using a two-part bending form I can fairly quickly bend the sides to shape using the force of a vise or clamps to bring the sides together. Anticipating the spring-back and shaping the form accordingly is much trickier. On this plane I managed to get the sides close off the form and then used various combinations of a…
Read this entry →
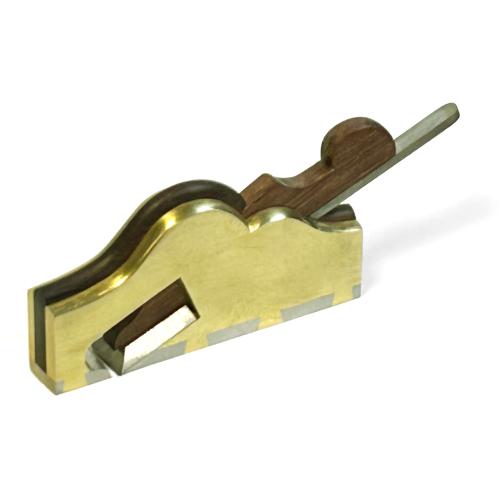
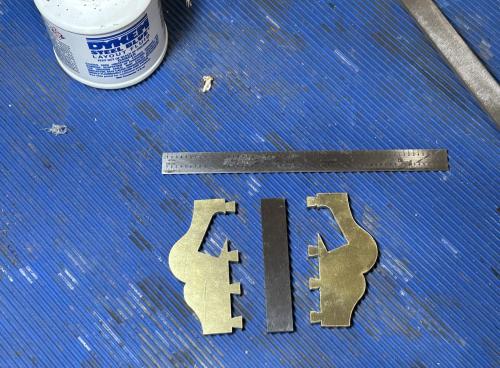
I'm stepping up to a full-sized plane for my next effort. This will be modeled closely on an old Spiers infill smoother in my collection. Many hours went into closely measuring the plane and modeling the metal parts in CAD so I could outsource rough cutting of the metal to a laser to jump start my process. This will be…
Read this entry →
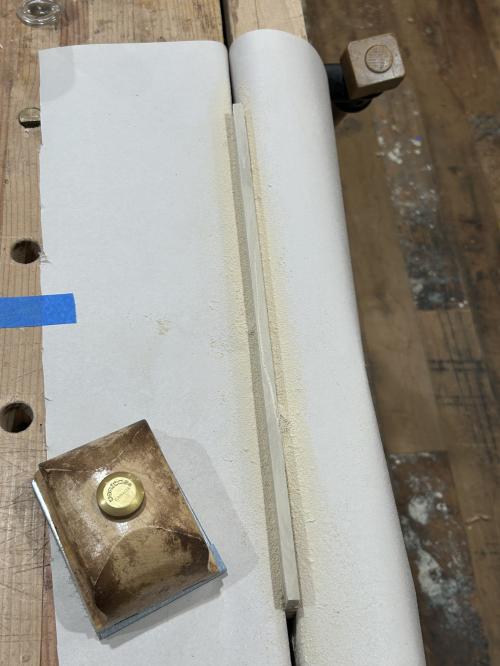
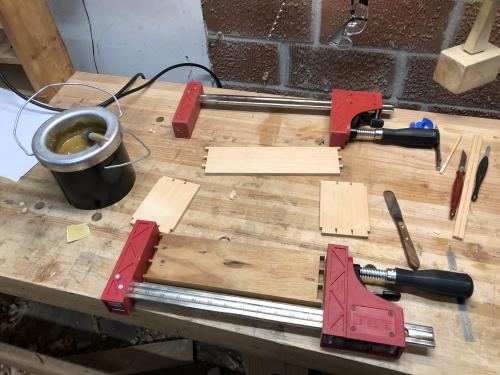
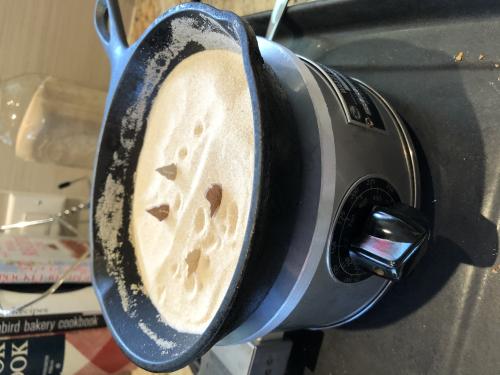
To fill the small gaps around the edges and joints of marquetry, mastic is the substance of choice. That is watered hot hide glue mixed with 220-grit saw dust to the consistency of frosting. For the small quantities I need I use the setup shown here. I clamp a board into my vise with a piece of newsprint around it. A s…
Read this entry →
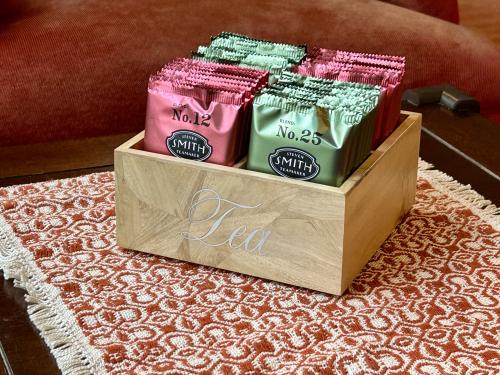
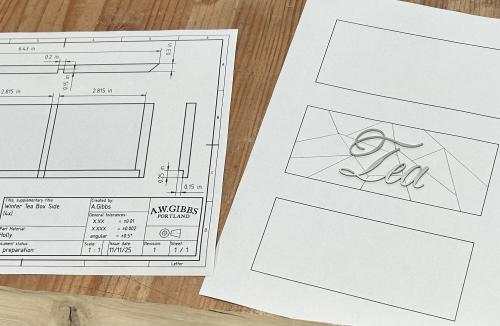
The new technique for this build is the cracked ice pattern veneer on the front. I was first exposed to the design by seeing the work of David Lamb and Tim Coleman, though I know it has been used elsewhere. That, combined with silver metal for the inlayed lettering and the reddish fir that will be the interior dividers…
Read this entry →
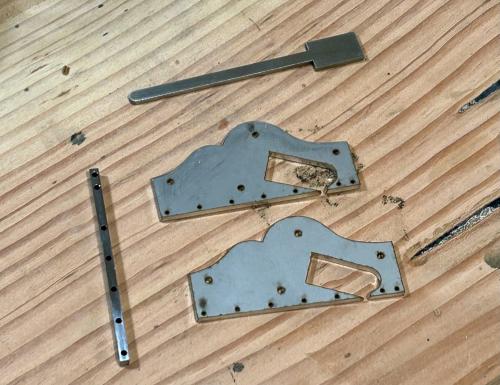
This is a second version of the tiny infill rabbet plane I made in 260 brass and O1 steel last month. The sole and sides are 304 stainless steel this time. As a result, I'm using a pinned construction rather than a dovetailed construction. Given my current anemic milling set up, I had the holes in the sides roughed in…
Read this entry →
Four brass pins hold the stuffing in place, two for each piece. These are the same alloy as the sides and when properly peened into countersunk holes, vanish. As this was my first go at it, I didn't achieve perfection, but I'm pretty pleased with how it came out. A few lessons for next time around were recorded in the…
Read this entry →
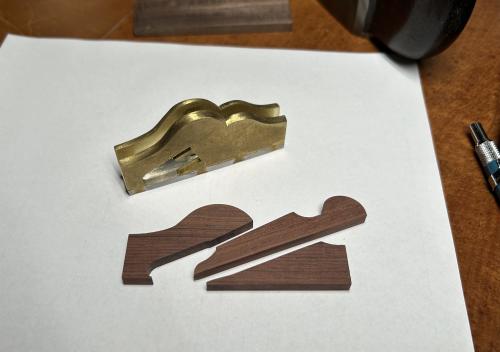
The rough shaping of the infills was done on the CNC from the CAD drawing out of a blank that was ~0.220 in. thick. That left a bit of fine sanding to take off the strings that this rosewood has and to get it to just slip into the brass sides. Looking at this side-by-side with the original either my pattern on the rear…
Read this entry →
With about 7 hours in to the sole, I've got it in a place where the sides will slip on with just a bit of force. A steady filing rhythm was essential, as well as regular depth checks to make sure I didn't overshoot. Then it was on to adding edge profiles to the top and ends of the brass. The convex parts were rough sha…
Read this entry →
The dovetailed version is up first; the sides were commercially laser cut out of 260 brass from my drawing and need a little bit of work to clean-up. The cuts aren't plumb, particularly on the dovetail tails, but that's not a problem given the peening that will be happening later in the process. I cut the sole in my sh…
Read this entry →
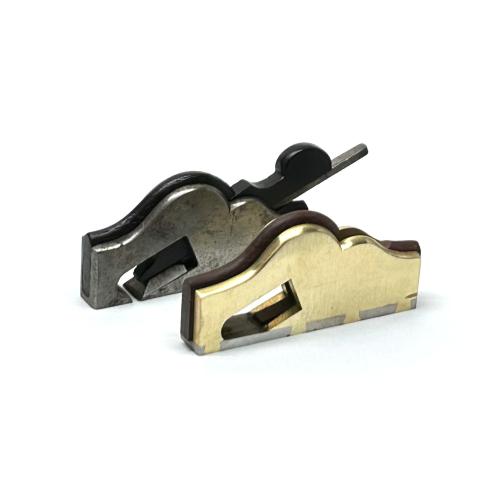
This one is an attempt to replicate the smallest plane in my collection. I've got the whole thing drawn out in CAD and have sent out the sides to be cut in 260 brass, 304 stainless, and Grade 5 titanium. I'm then going to do some experimentation with building this plane in different materials and with slightly differen…
Read this entry →
After final oiling and waxing, the pair was tested on a length of poplar. Both planes cut smoothly and left a crisp, matching profile. The matched No. 4 pair is a workshop staple for smaller moldings.
Read this entry →
Each body was sawn to shape and the escapement cut and refined with floats. The irons were bedded carefully to ensure tight, even contact at the heel and toe of the bed.
Read this entry →
Lorem ipsum dolor sit amet, consectetur adipiscing elit. Phasellus tempor, enim sed maximus ullamcorper, tortor nisi aliquam justo, ut convallis arcu urna iaculis massa. Praesent tincidunt purus a felis blandit, sit amet fermentum metus gravida. Fusce tincidunt viverra orci eu imperdiet. Integer imperdiet metus diam, q…
Read this entry →
I milled up a pair of straight-grained beech blanks for the hollows and rounds, oriented the grain for stability, and marked the centerlines and profiles for each.
Read this entry →
Done. This took way longer than it needed to, but it's done and I had some good fun and good successes along the way. You should be proud of me for not pointing out the mistakes. Being able (self-compelled?) to post regular updates is what pushed me to actually get this one to the finish line. Thank you all for the kin…
Read this entry →
Knobs. (Well, knob.) Finally stopped turning chair parts long enough to start working on what I built that lathe to do in the first place. Knobs for the cabinet. Piece of ebony, rounded up. Ebony is eye-wateringly expensive by the board foot, but I don't think I've ever spent more than $8 on a small piece, so it doesn'…
Read this entry →
The shelves were the last piece that needed to be made that were still in the rough. The eagle-eyed among you may notice a little notch that intersects my penciled outline of the shelf. That's right, I'm short about a square inch of material. Well, not short; it's just not in the right place. I've known this from the b…
Read this entry →
A short one. I've got a bit of punky wood on the back corner of this cabinet. If I'd had more stock I'd have cut around it, but I didn't, so I put it in a non-obvious, less-structural spot. Still a bit worried. I know certain epoxies can stabilize punky wood, but I don't want to muck up the finish and I don't have any…
Read this entry →
This one is back on the front of the bench. Got the drawer glued up. This was my first time using hot hide glue for a glue-up. So far I'd used it for hammer veneering, parts of the marquetry process, and assorted repair-job work. Worked great here too. Simple glue-up, so no concerns about open time. I especially liked…
Read this entry →
As usual, no pictures of assembly, but it went well. Out of the makeshift press and on to the mastic. Mastic is a glue/water/sawdust slurry that turns into a filler-cement that fills the gaps and locks everything in place. With stack cutting that means the saw kerfs. In more precise methods it's the inevitable little c…
Read this entry →
Everything takes longer than expected it seems. But the stringing is going in slowly. For the first two sides I cut all the way through, just as I had for the pieces. It became clear I wouldn't be able to assemble it all at once, and my 1/32" stringing would be a bear to put in from the back and keep flush. So I glued…
Read this entry →
Progress, moving ahead slowly. One nice thing about marquetry cutting is I can pop down to the shop for five to ten minutes, cut a piece or two, and feel productive. I'm using a fret saw; a coping saw would be way too coarse. It's a Knew Concepts 5", running a 2/0 blade. I have some 3/0 but haven't tried them yet. When…
Read this entry →
I set to work on the stringing. When I designed the tight bends in the vines I was thinking purely from an aesthetic standpoint. Turns out that's a bit tricky to pull off. I found an old Woodwright's Shop with Steve Latta where he talked about bending stringing over a hot iron for inlay letters. So I set up my 3/8" dra…
Read this entry →
I've alluded to this build a few times in other threads; I'm finally documenting it to give me the kick in the pants to get it to the finish line. It's been my back burner project for about a year. Here's the carcass and the drawer. The secondary wood is the VG fir I picked up on a whim. I love it, and I have more than…
Read this entry →
My wife and I took our last pre-kids vacation to Kauai while she was pregnant with our first. One of the places we went was the only cocoa farm in the US (very cool). What I wasn't expecting is that the guy also sells local wood out of his shed. So I came home with a board of ~10" wide 4/4 koa and a hunk of camphor. To…
Read this entry →