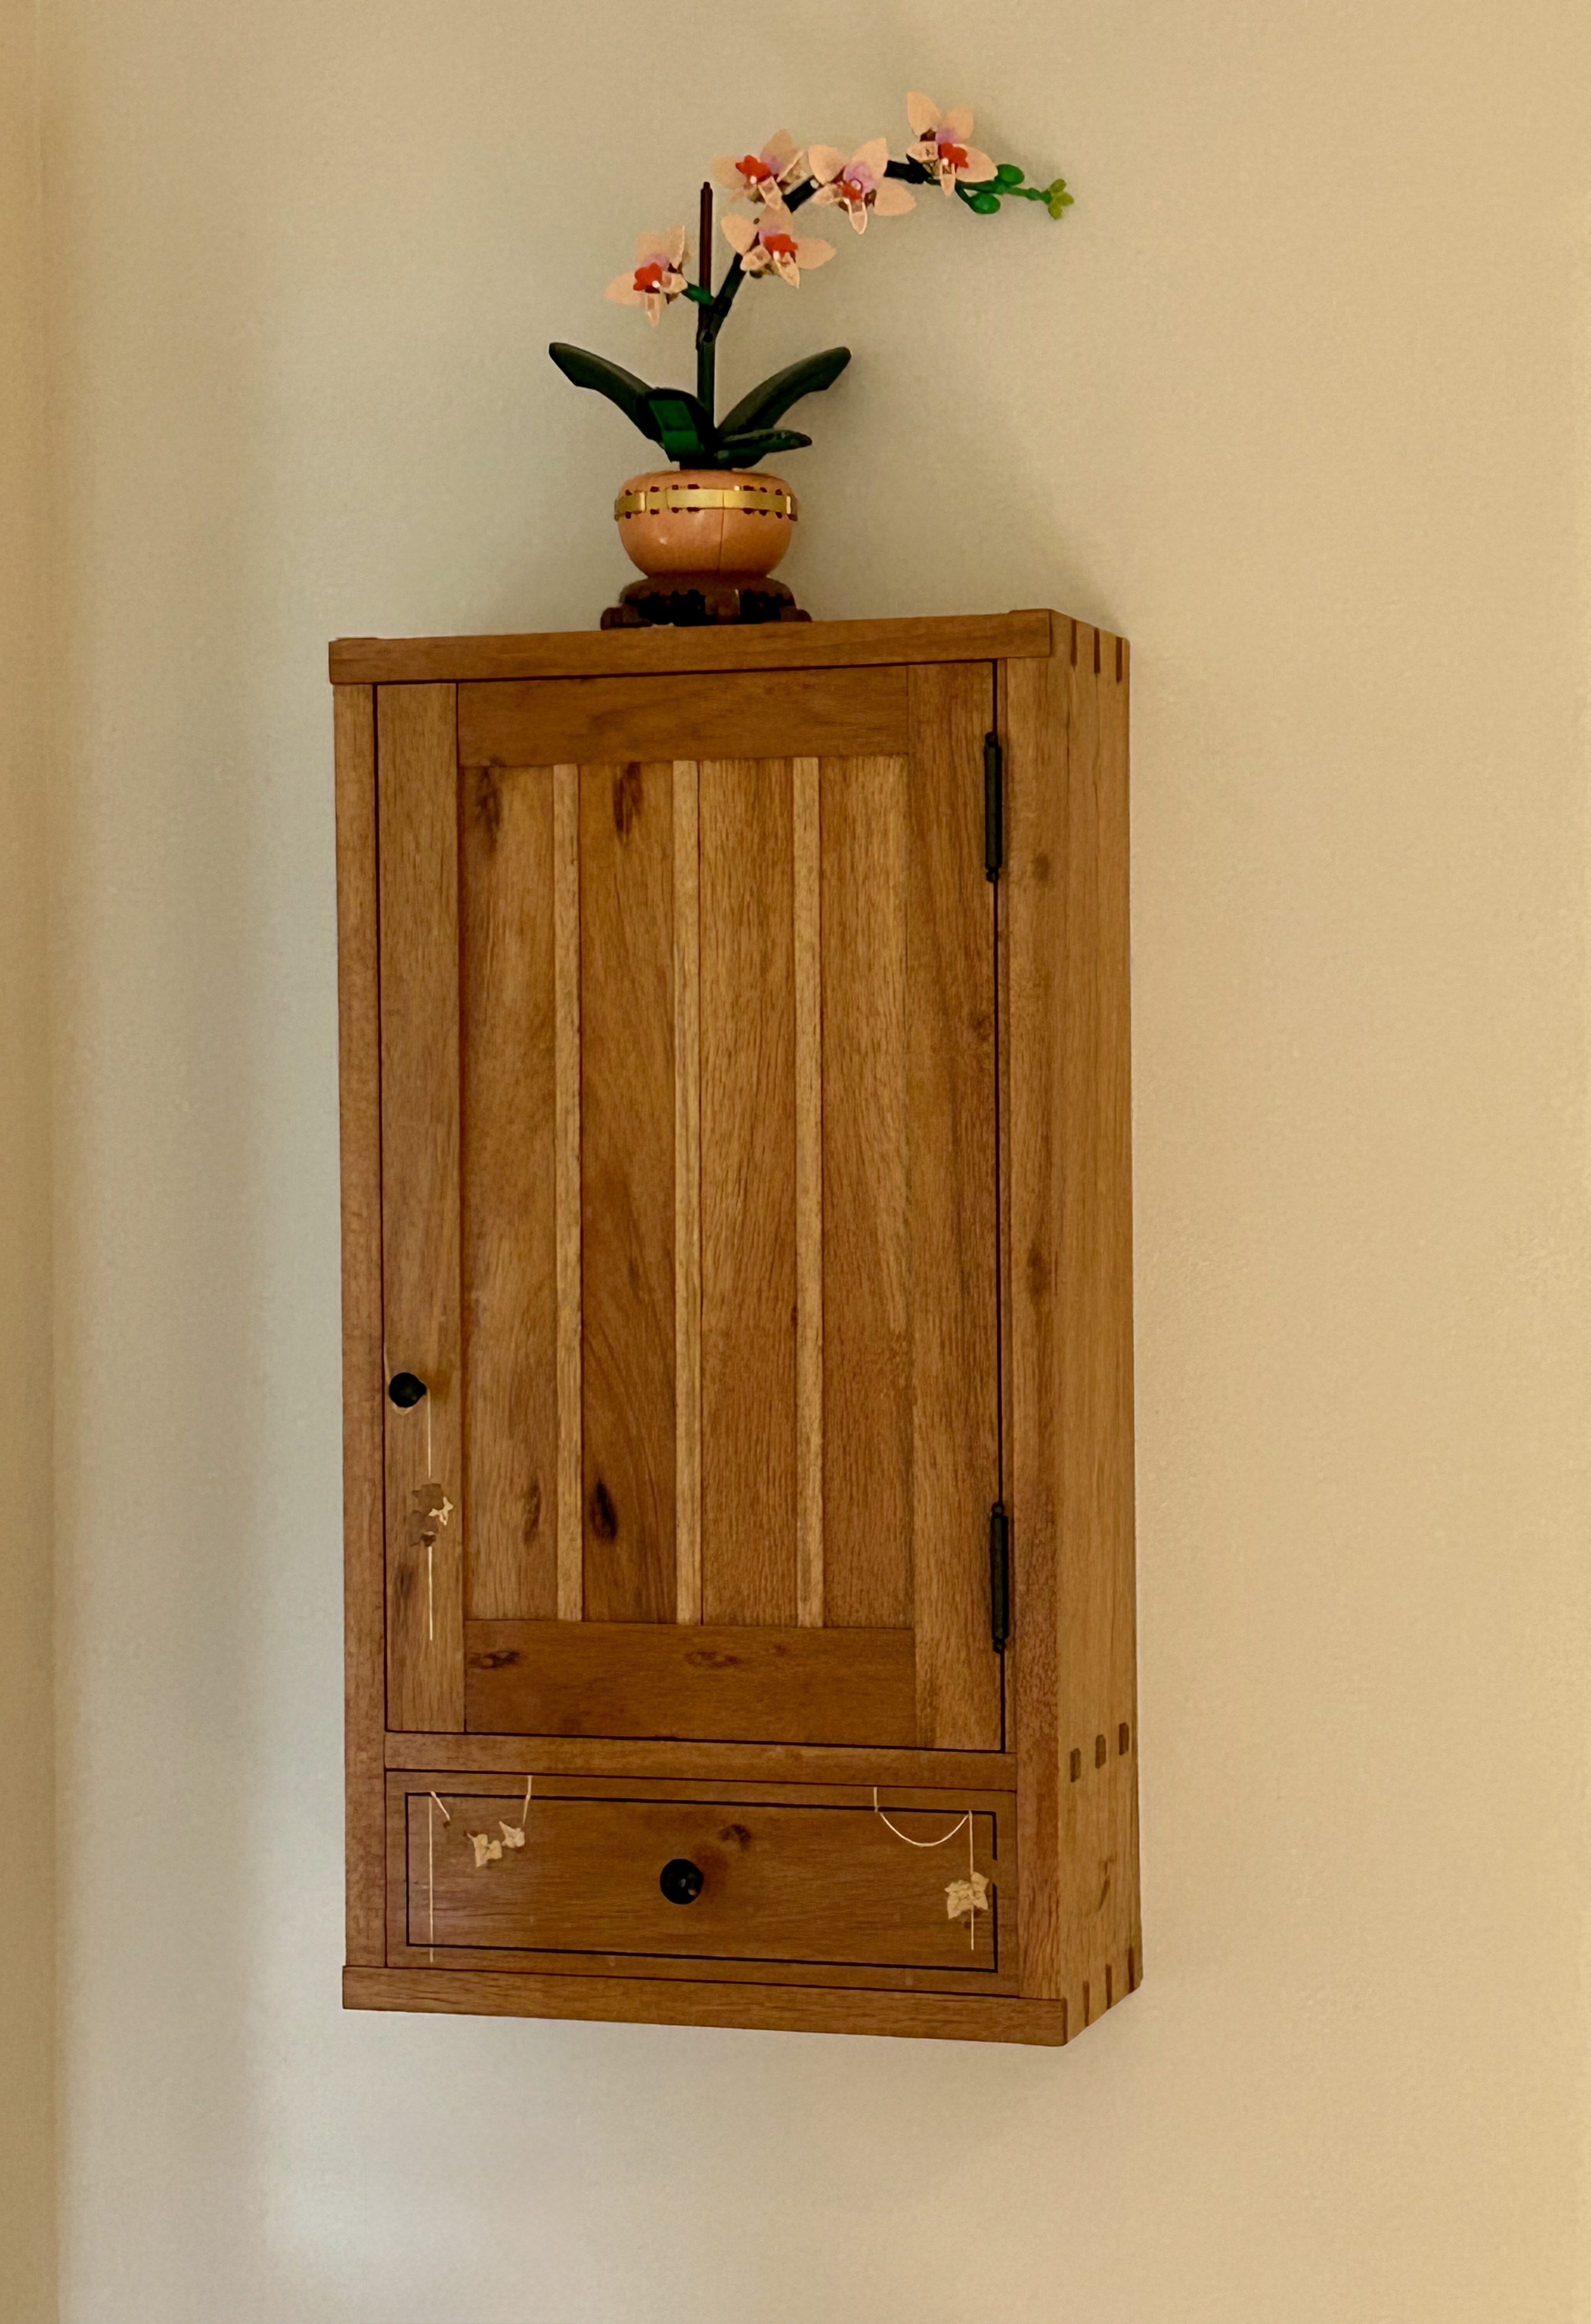
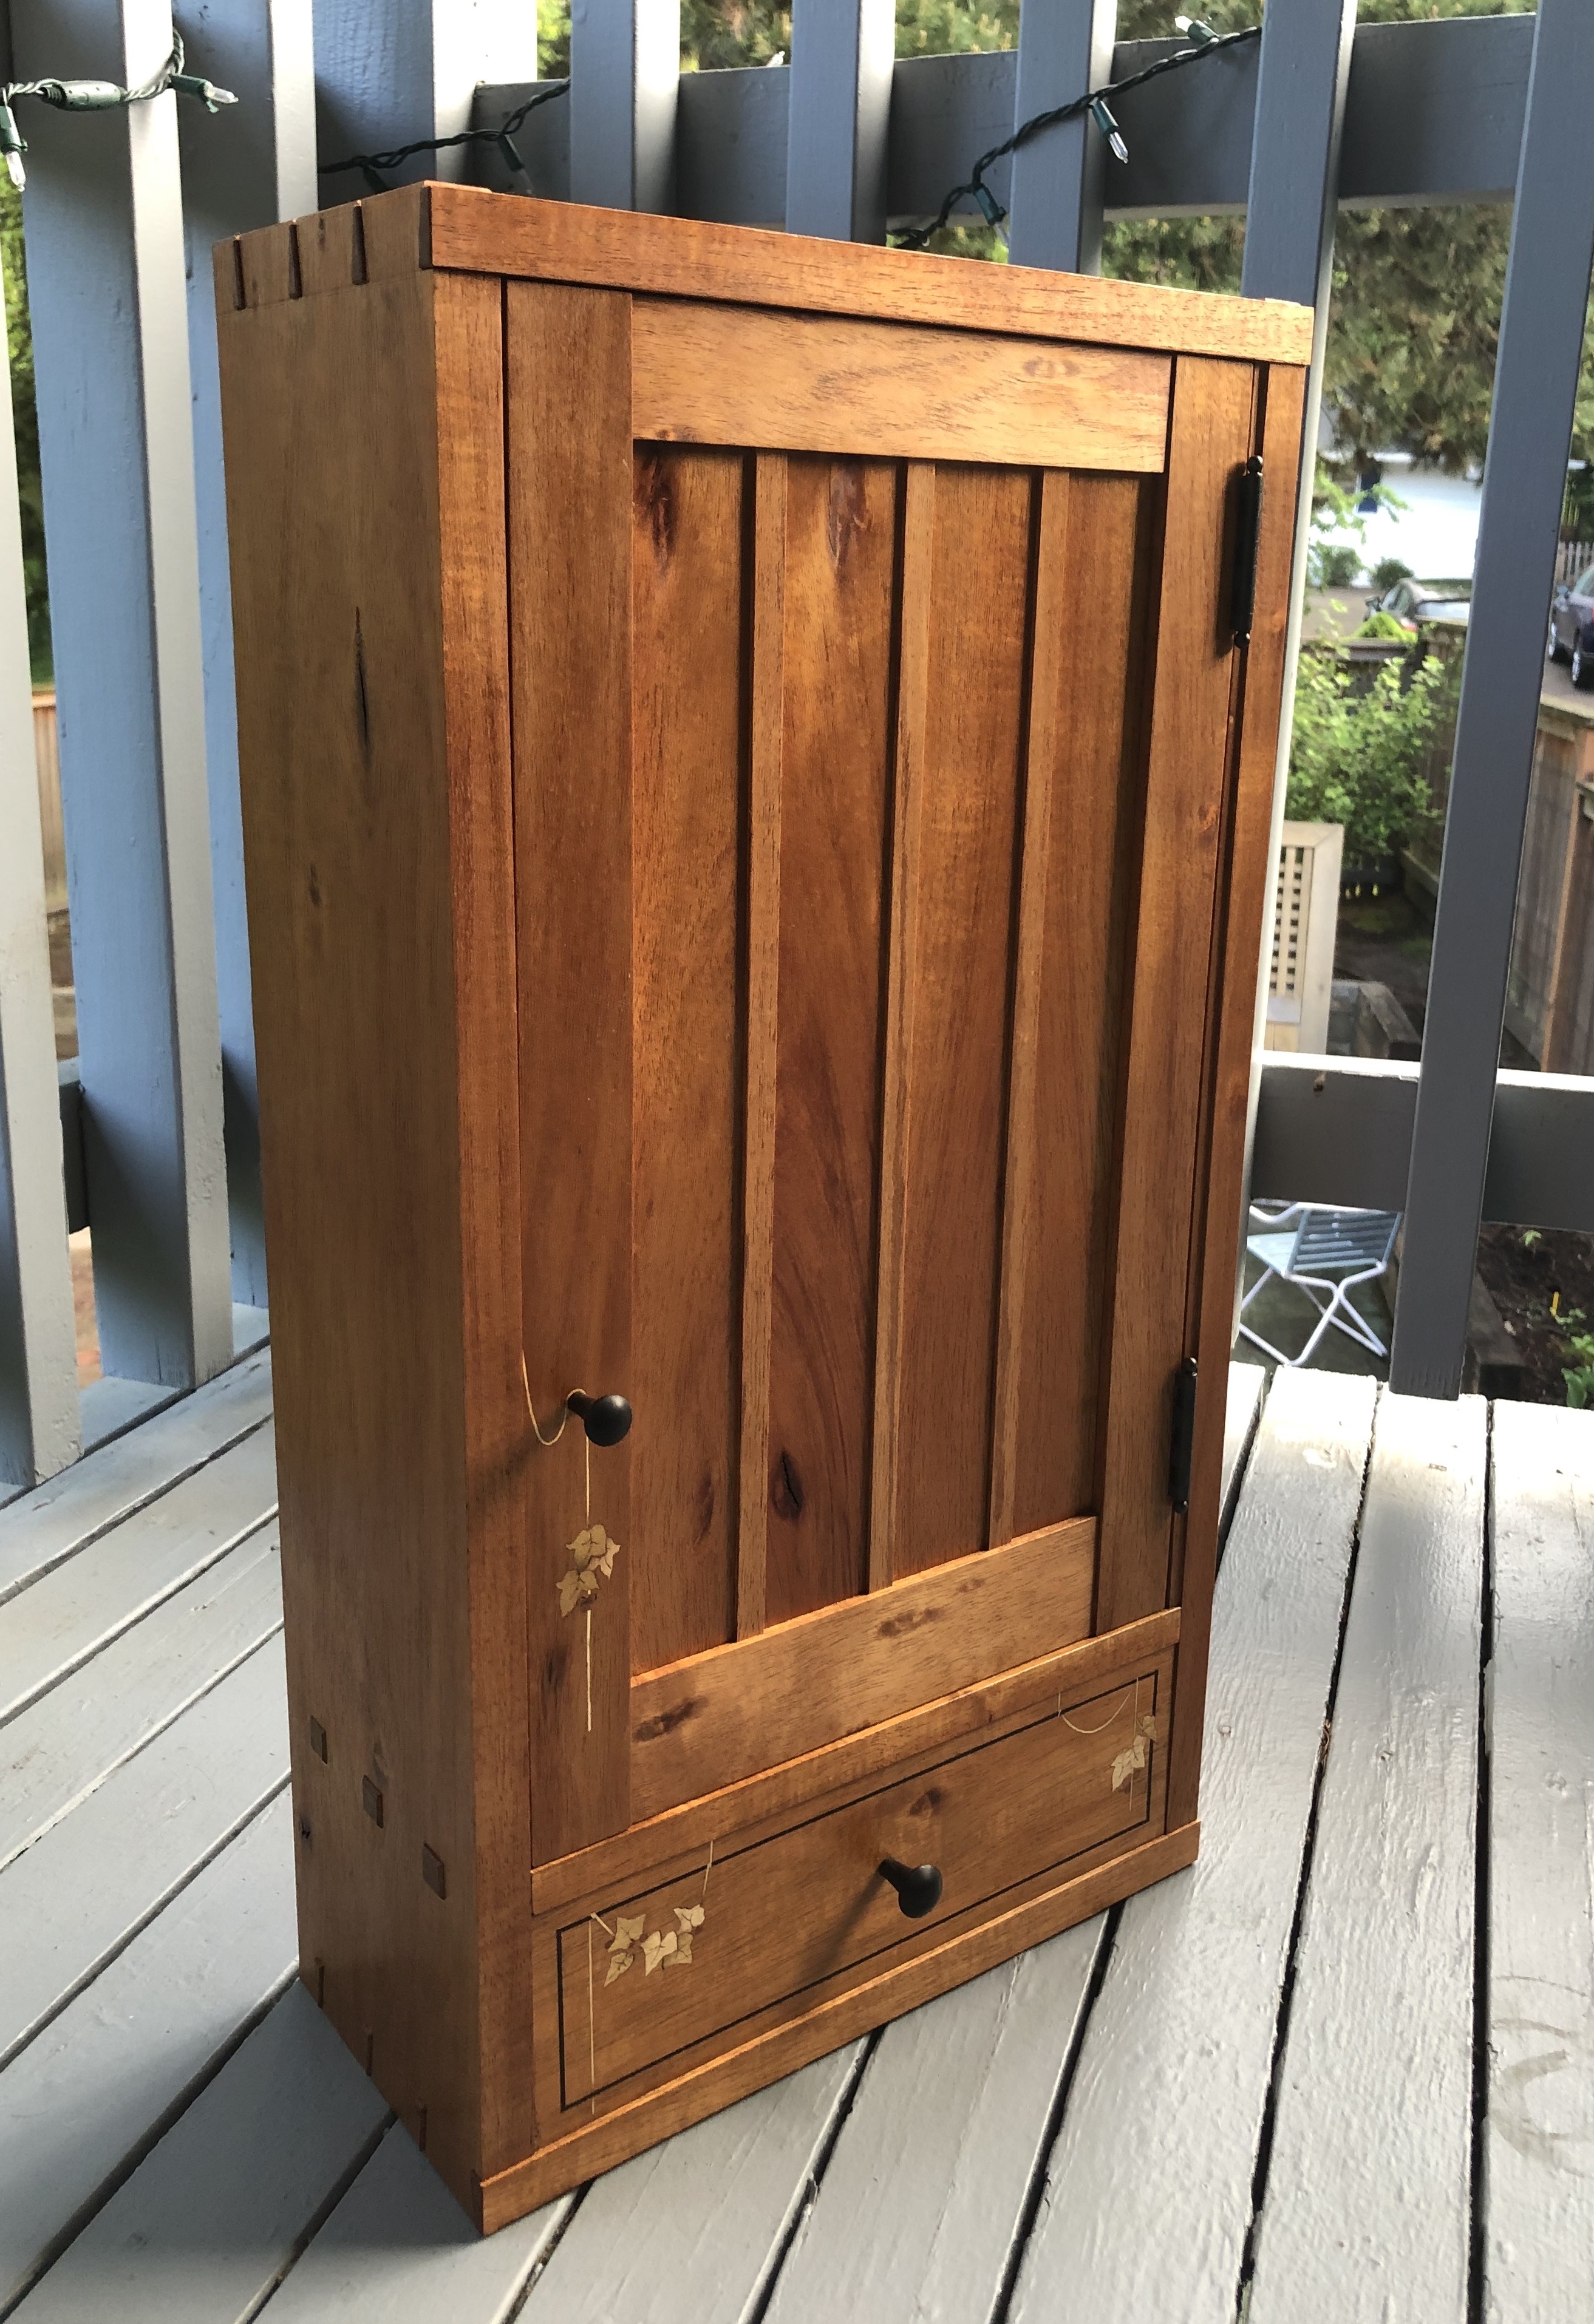
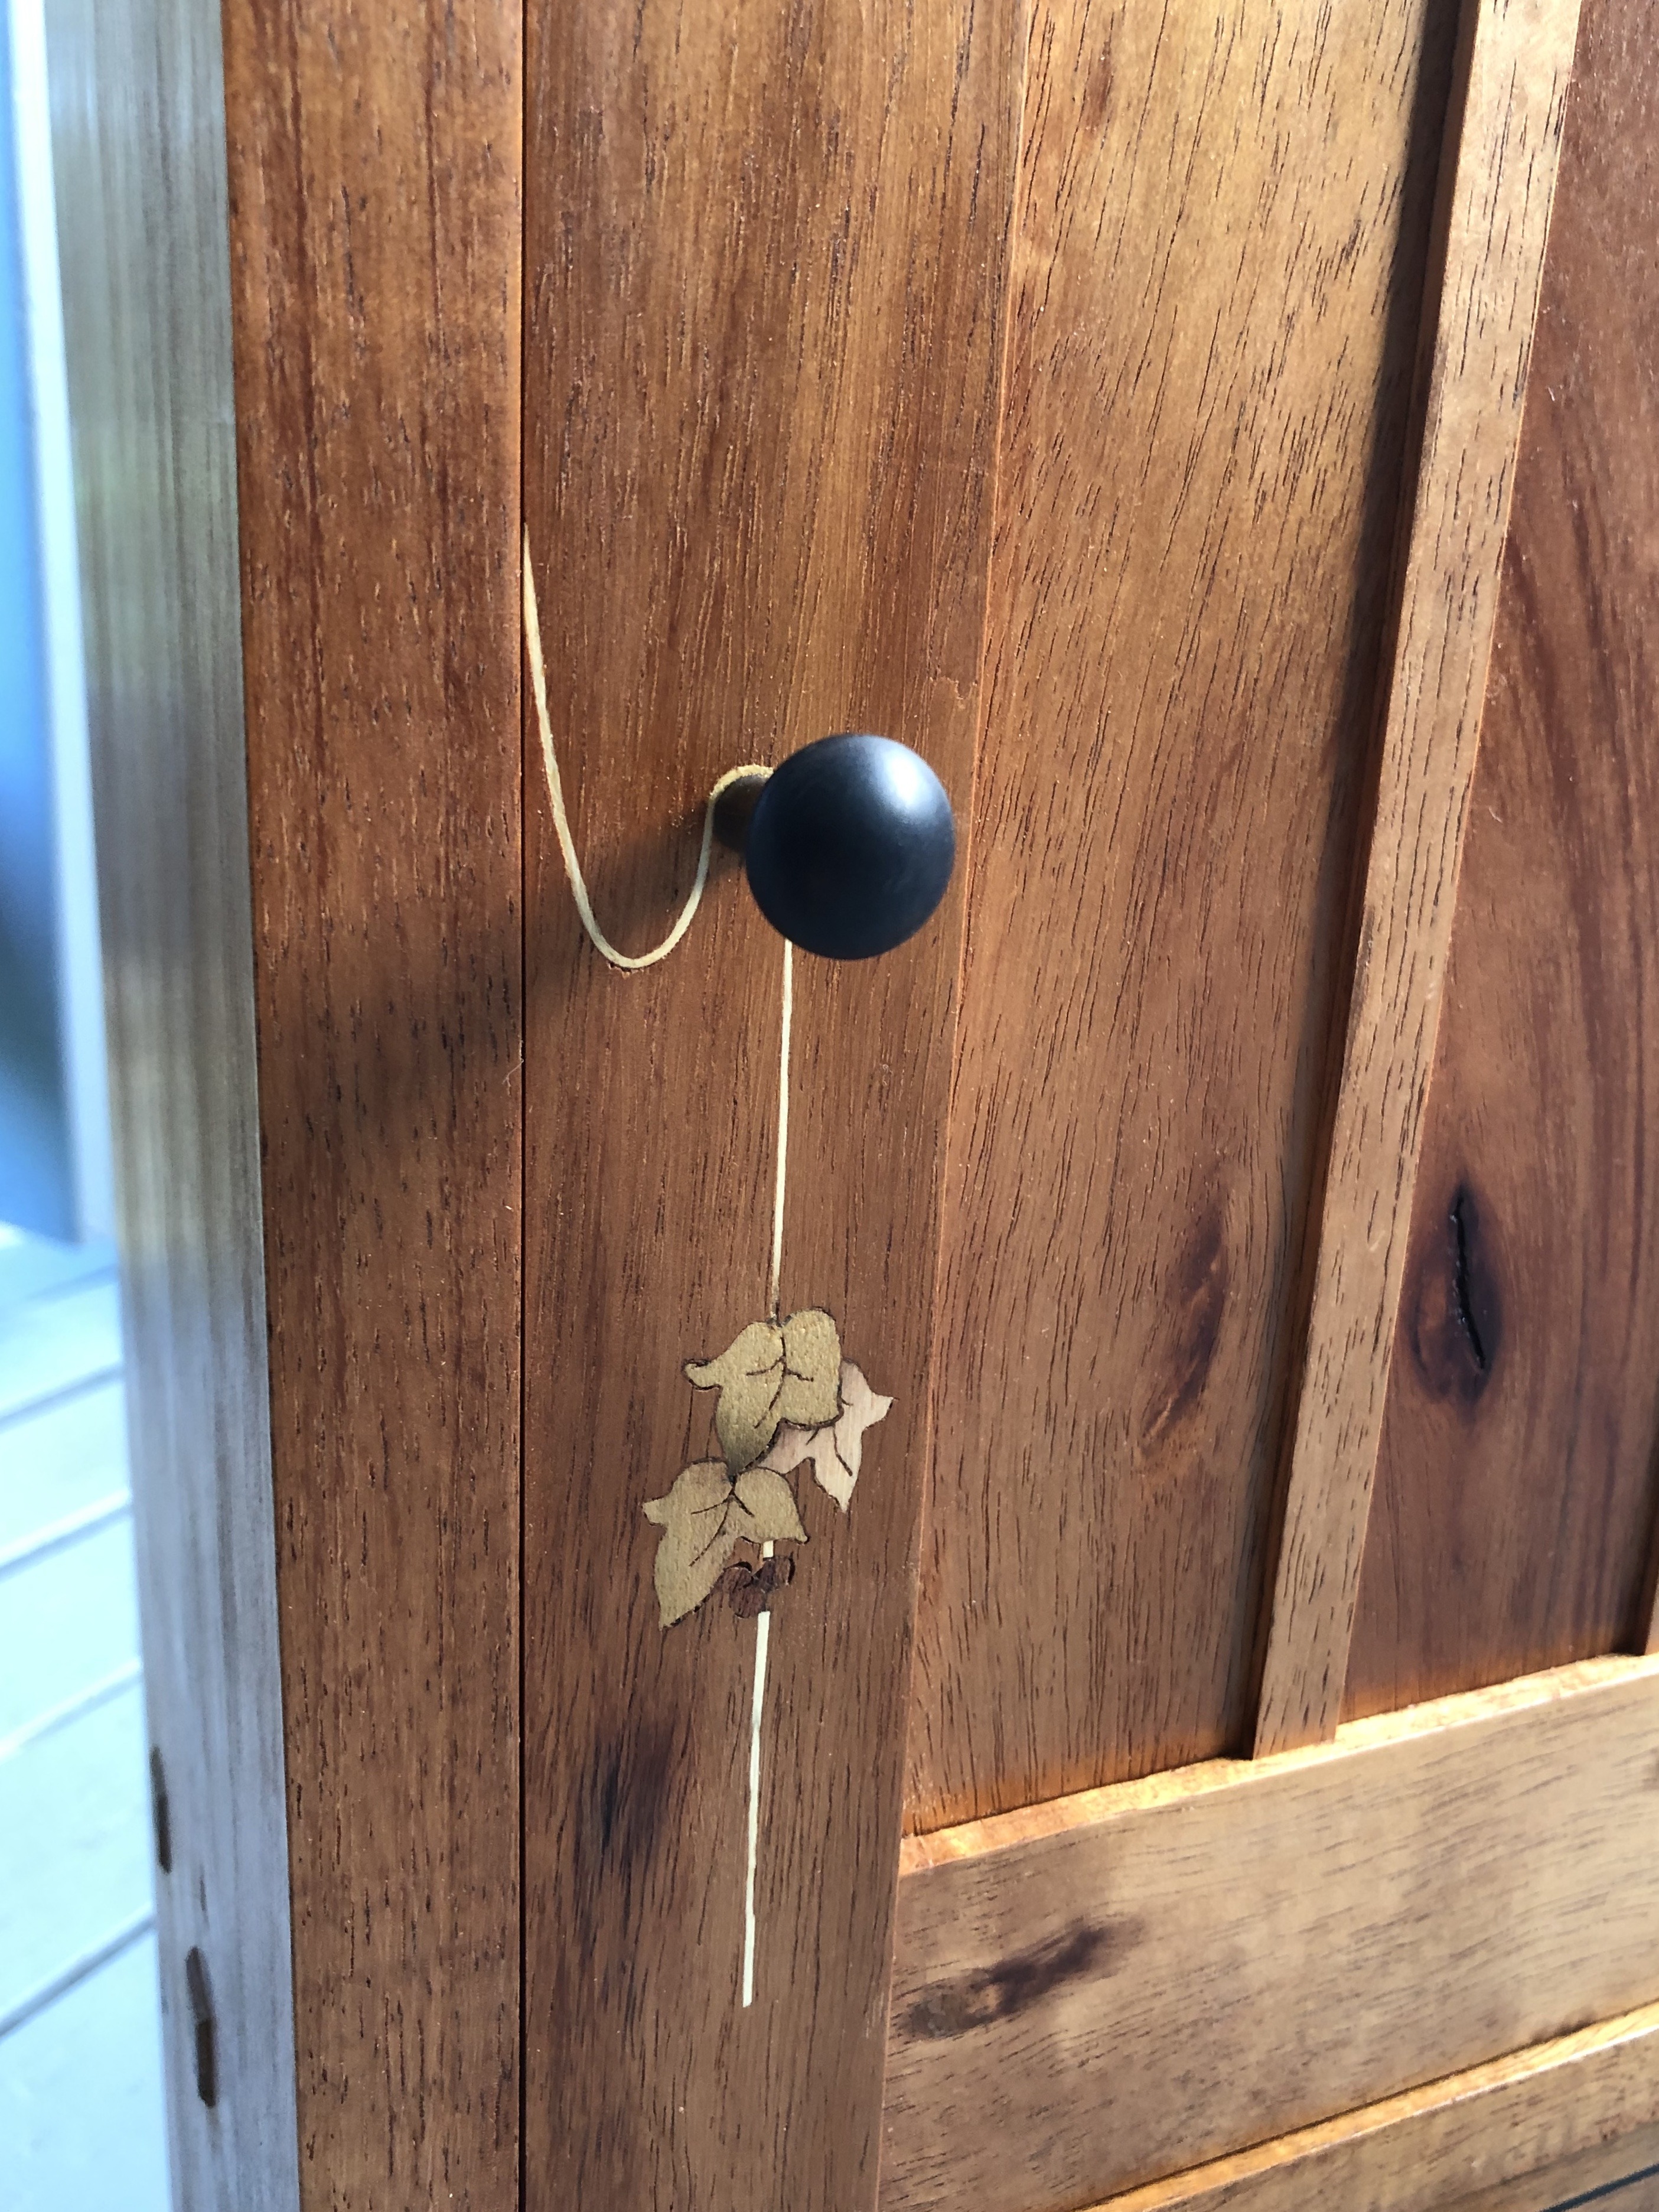
This took way longer than it needed to, but it's done and I had some good fun and good successes along the way. You should be proud of me for not pointing out the mistakes.
Being able (self-compelled?) to post regular updates is what pushed me to actually get this one to the finish line. Thank you all for the kind words; it means a lot. Here are some better pictures in morning light. (Overcast days are good for something at least.)
Where it lives
It was between a replacement for our old medicine cabinet or a tea cabinet in my office. It would probably work slightly better as a tea cabinet, but since I'm almost never in the office right now my wife has claimed it for the medicine cabinet. At least I'll see it more often and not have to look at the glaring mistakes of the first one every morning.
Note on the door panel
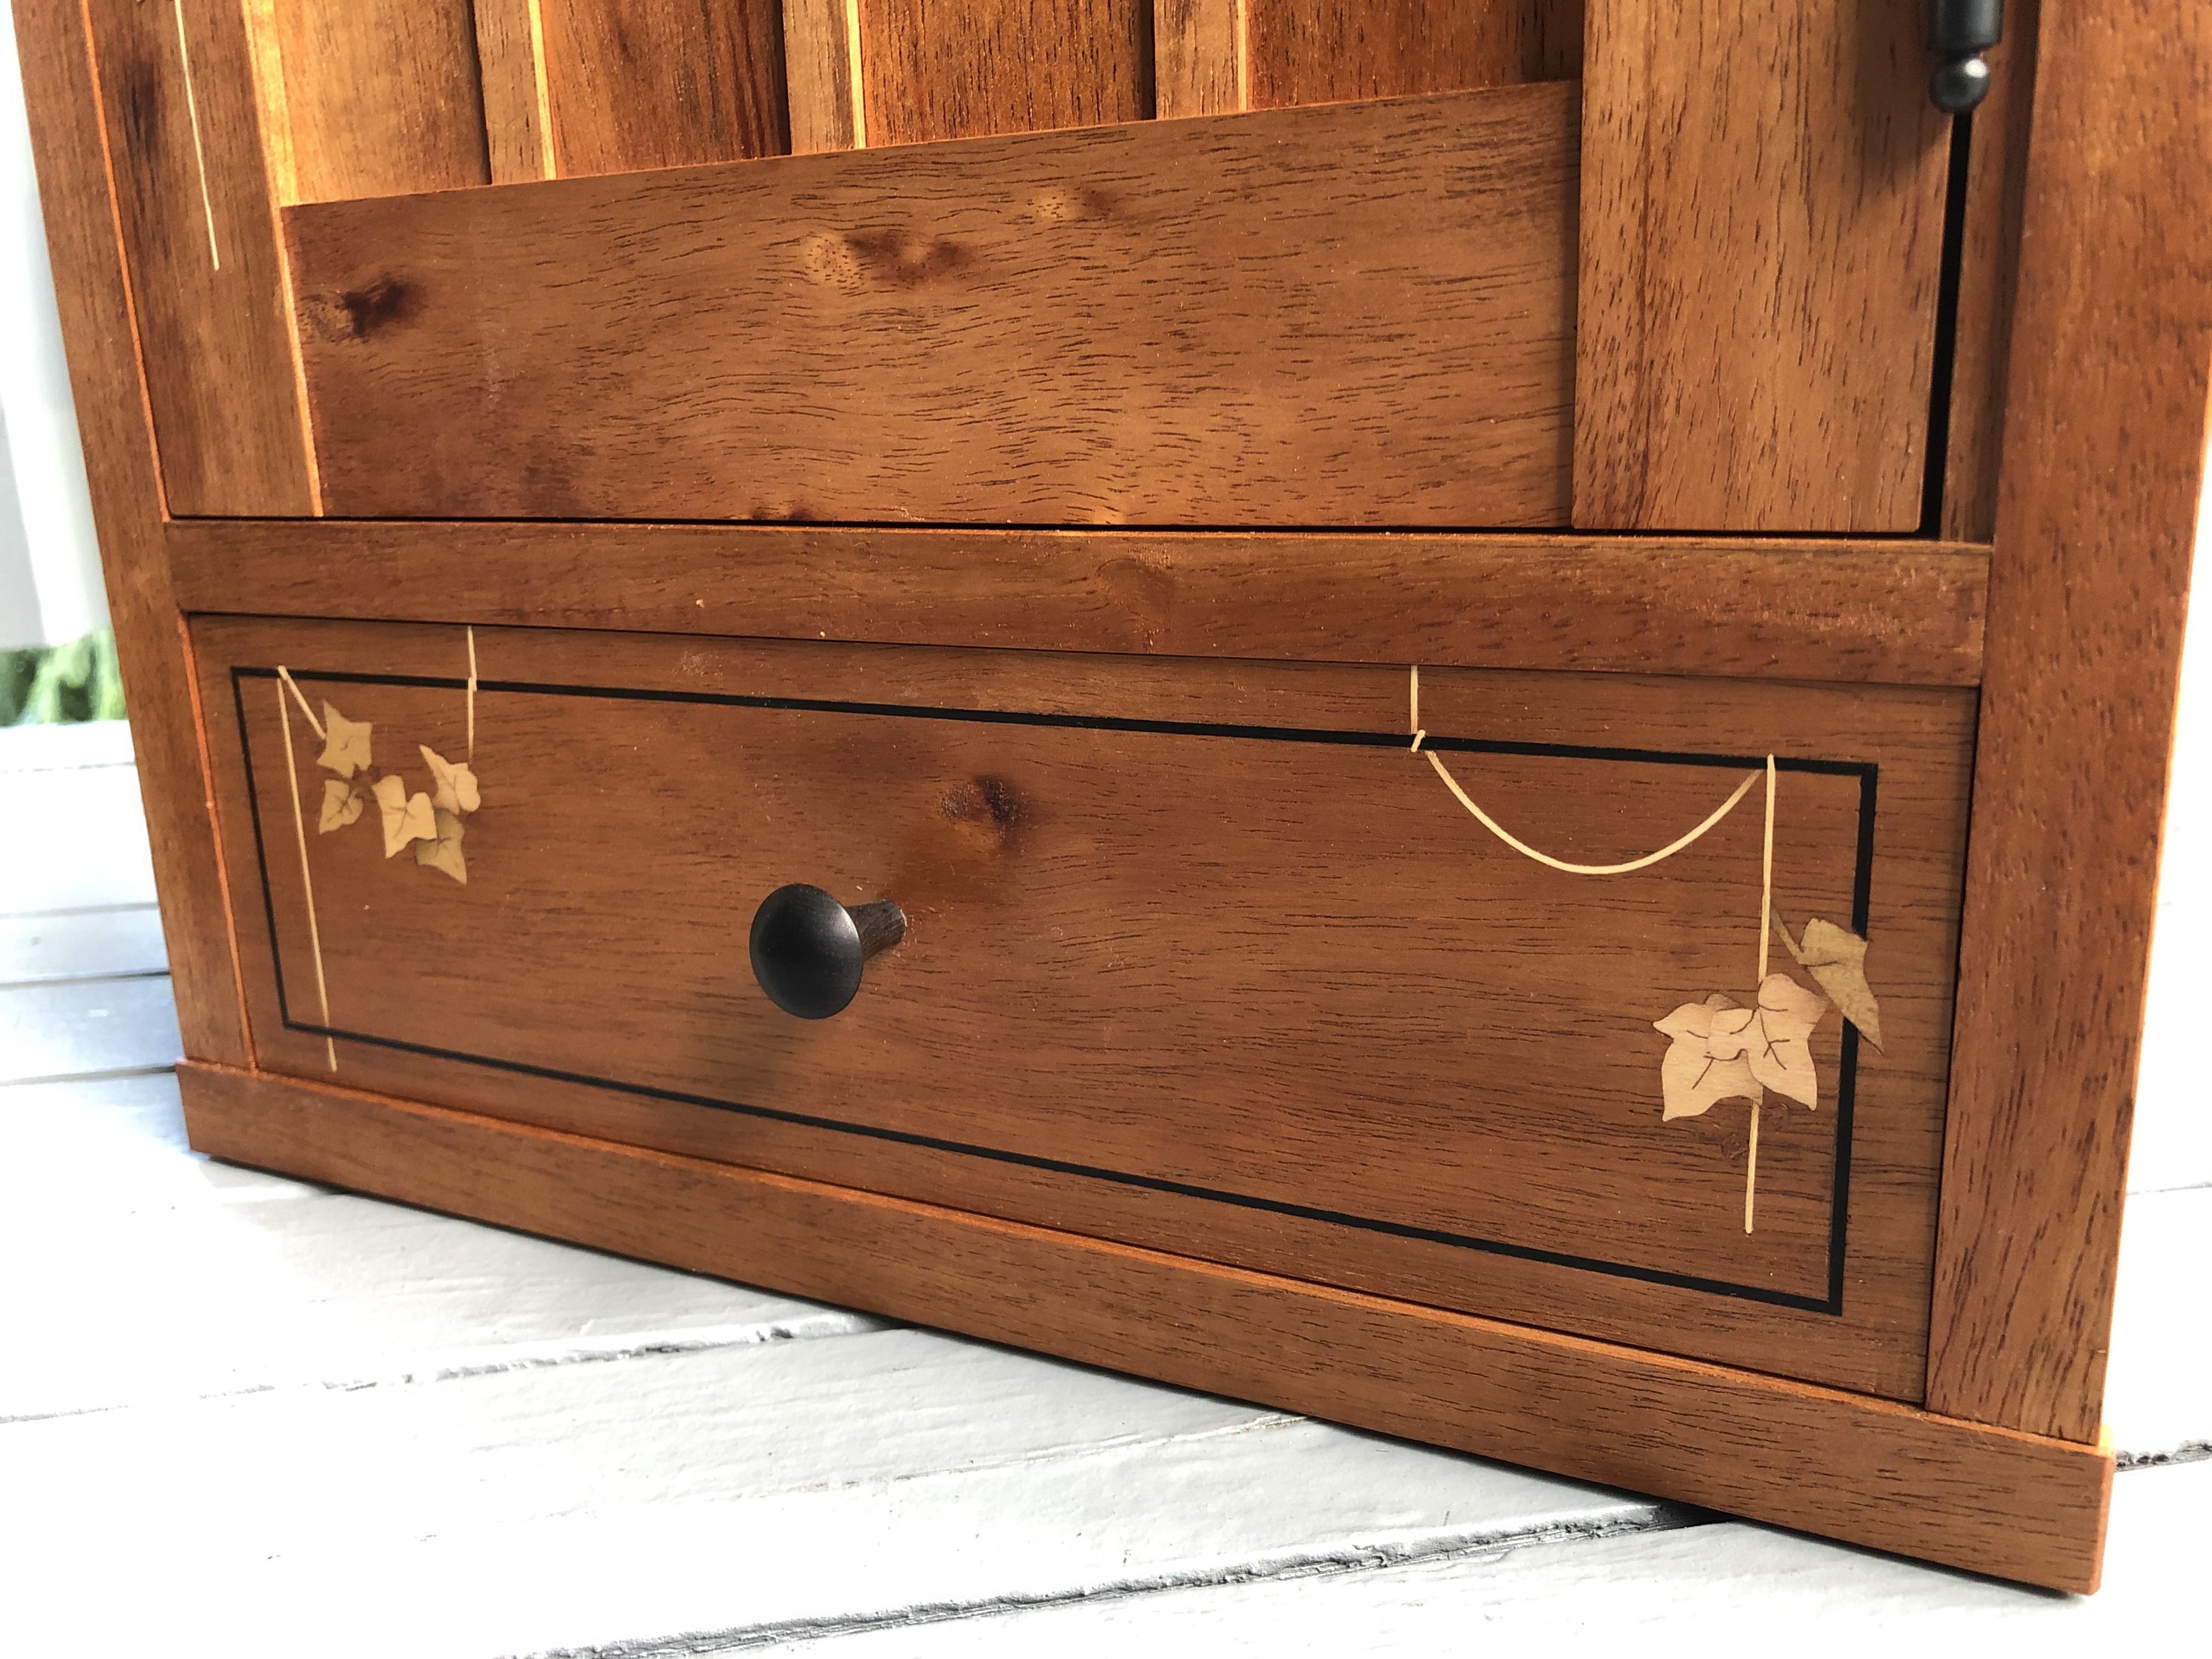
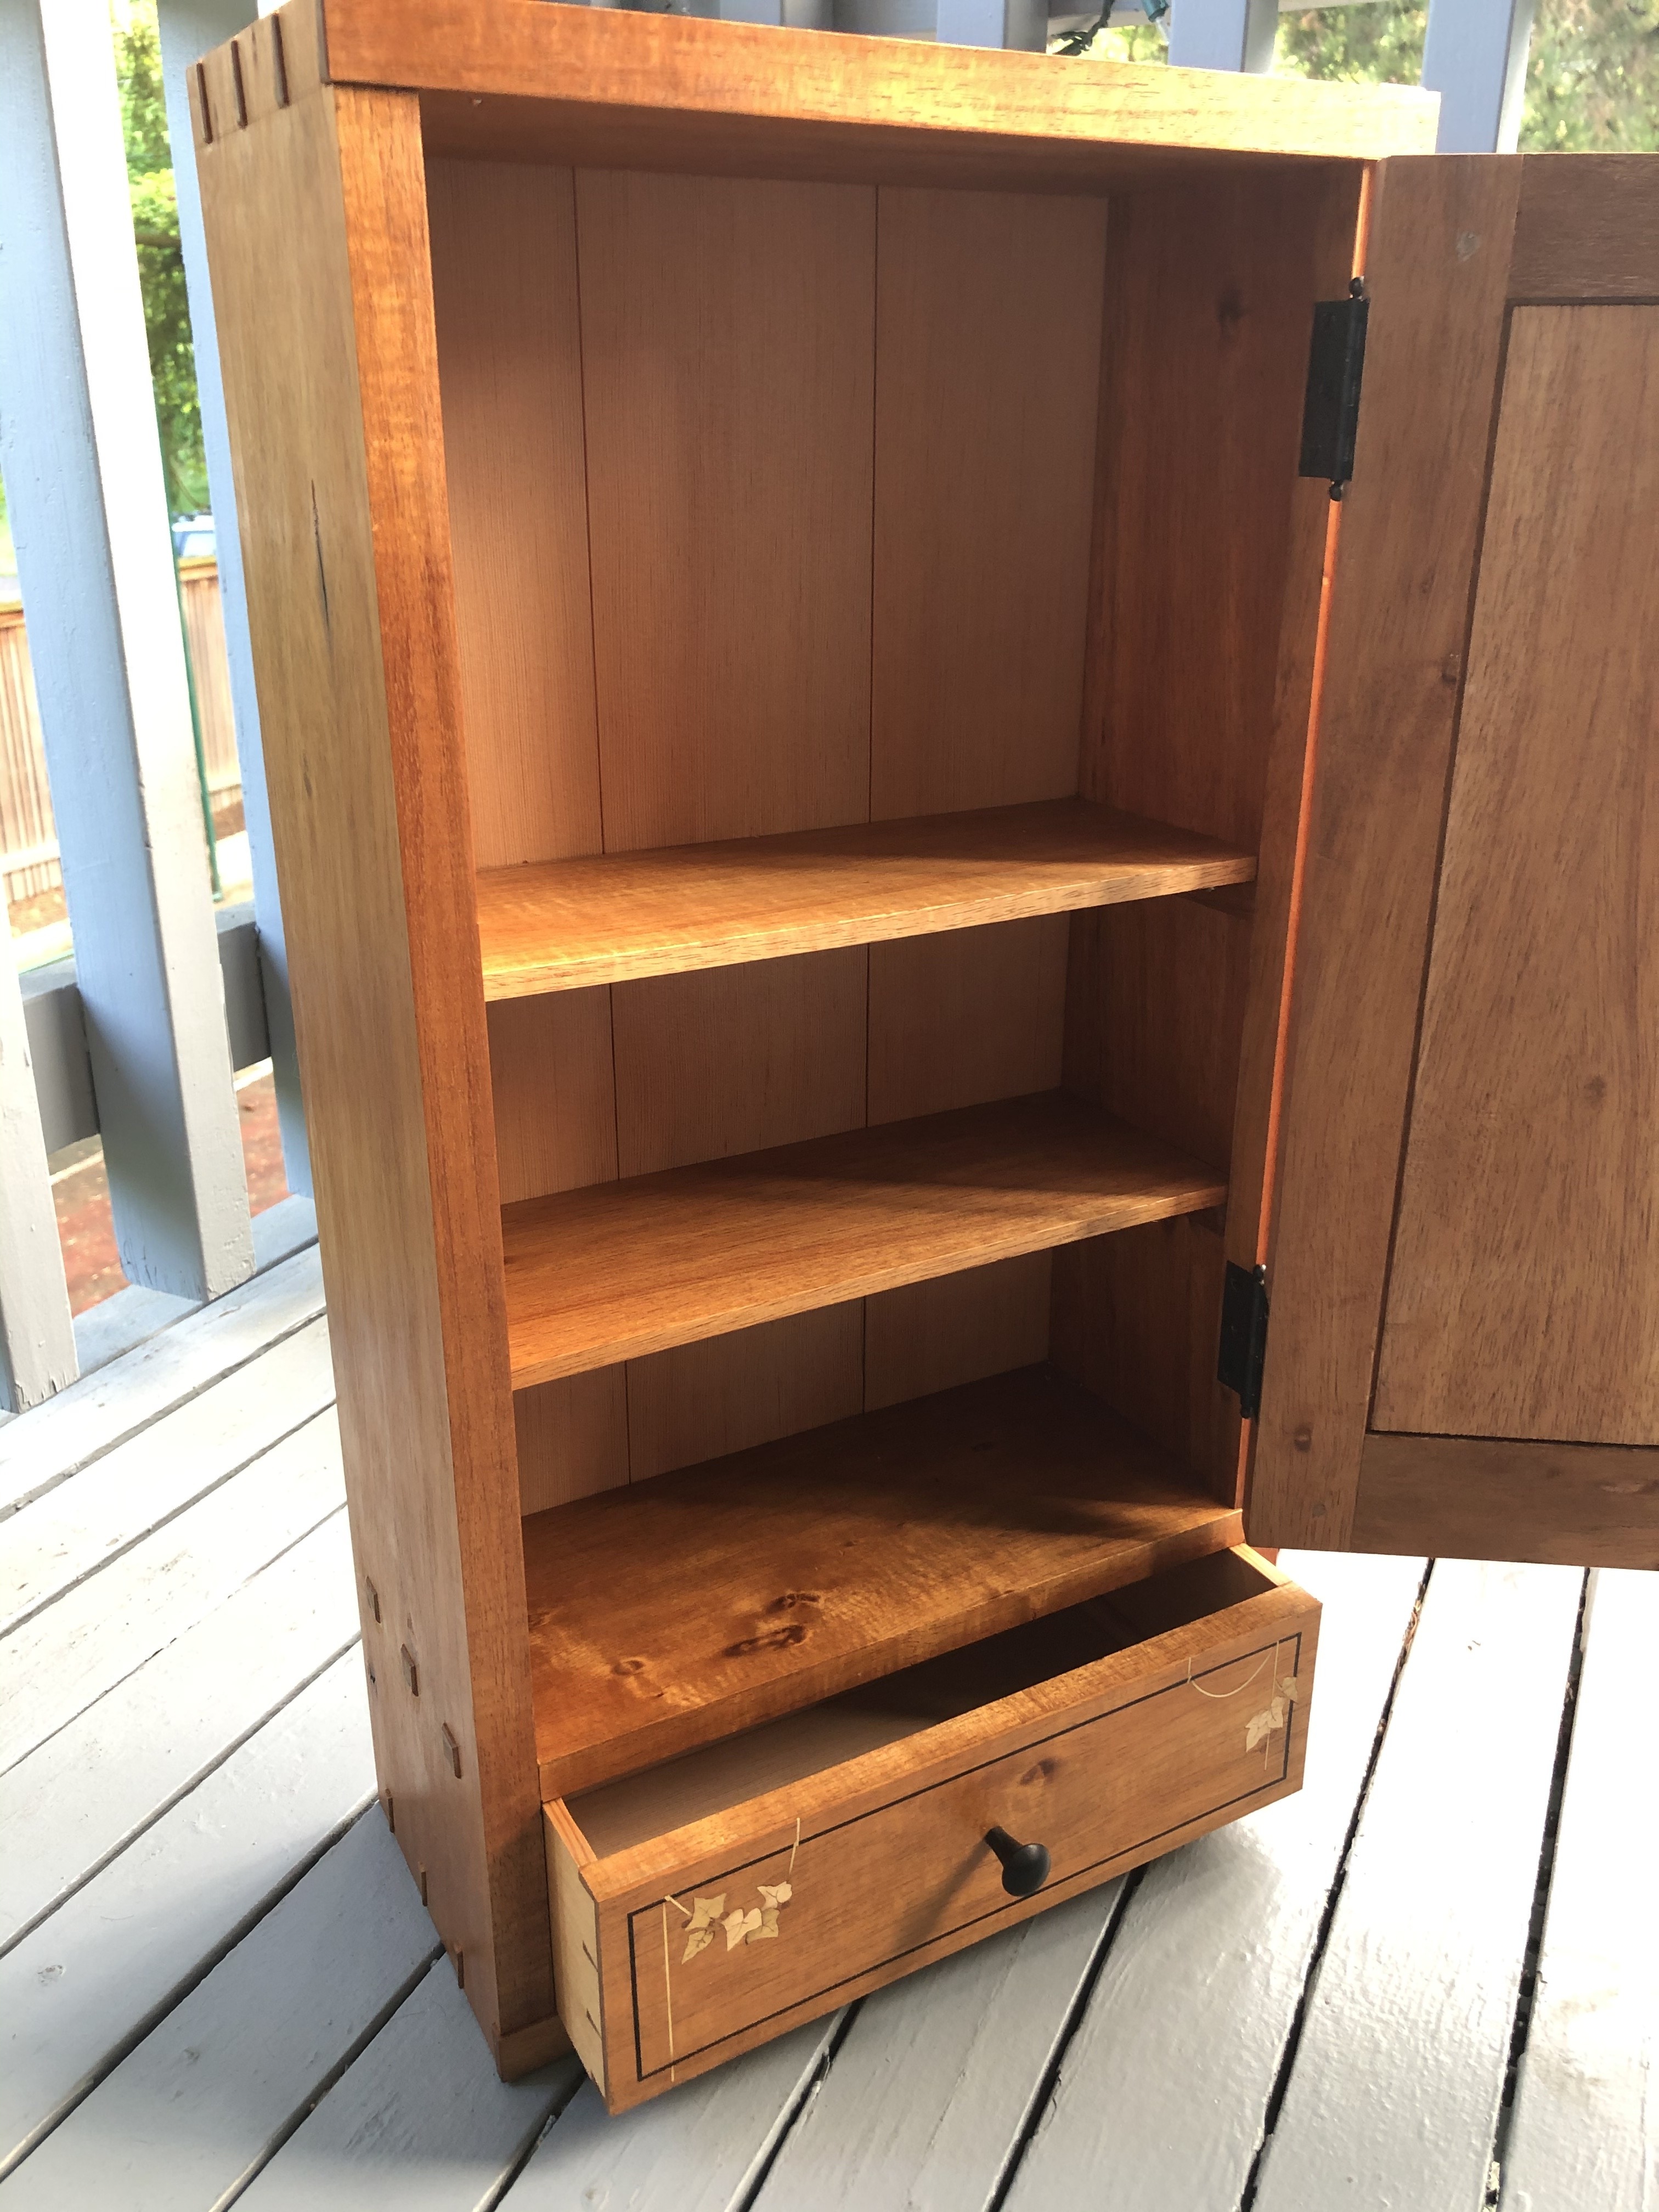
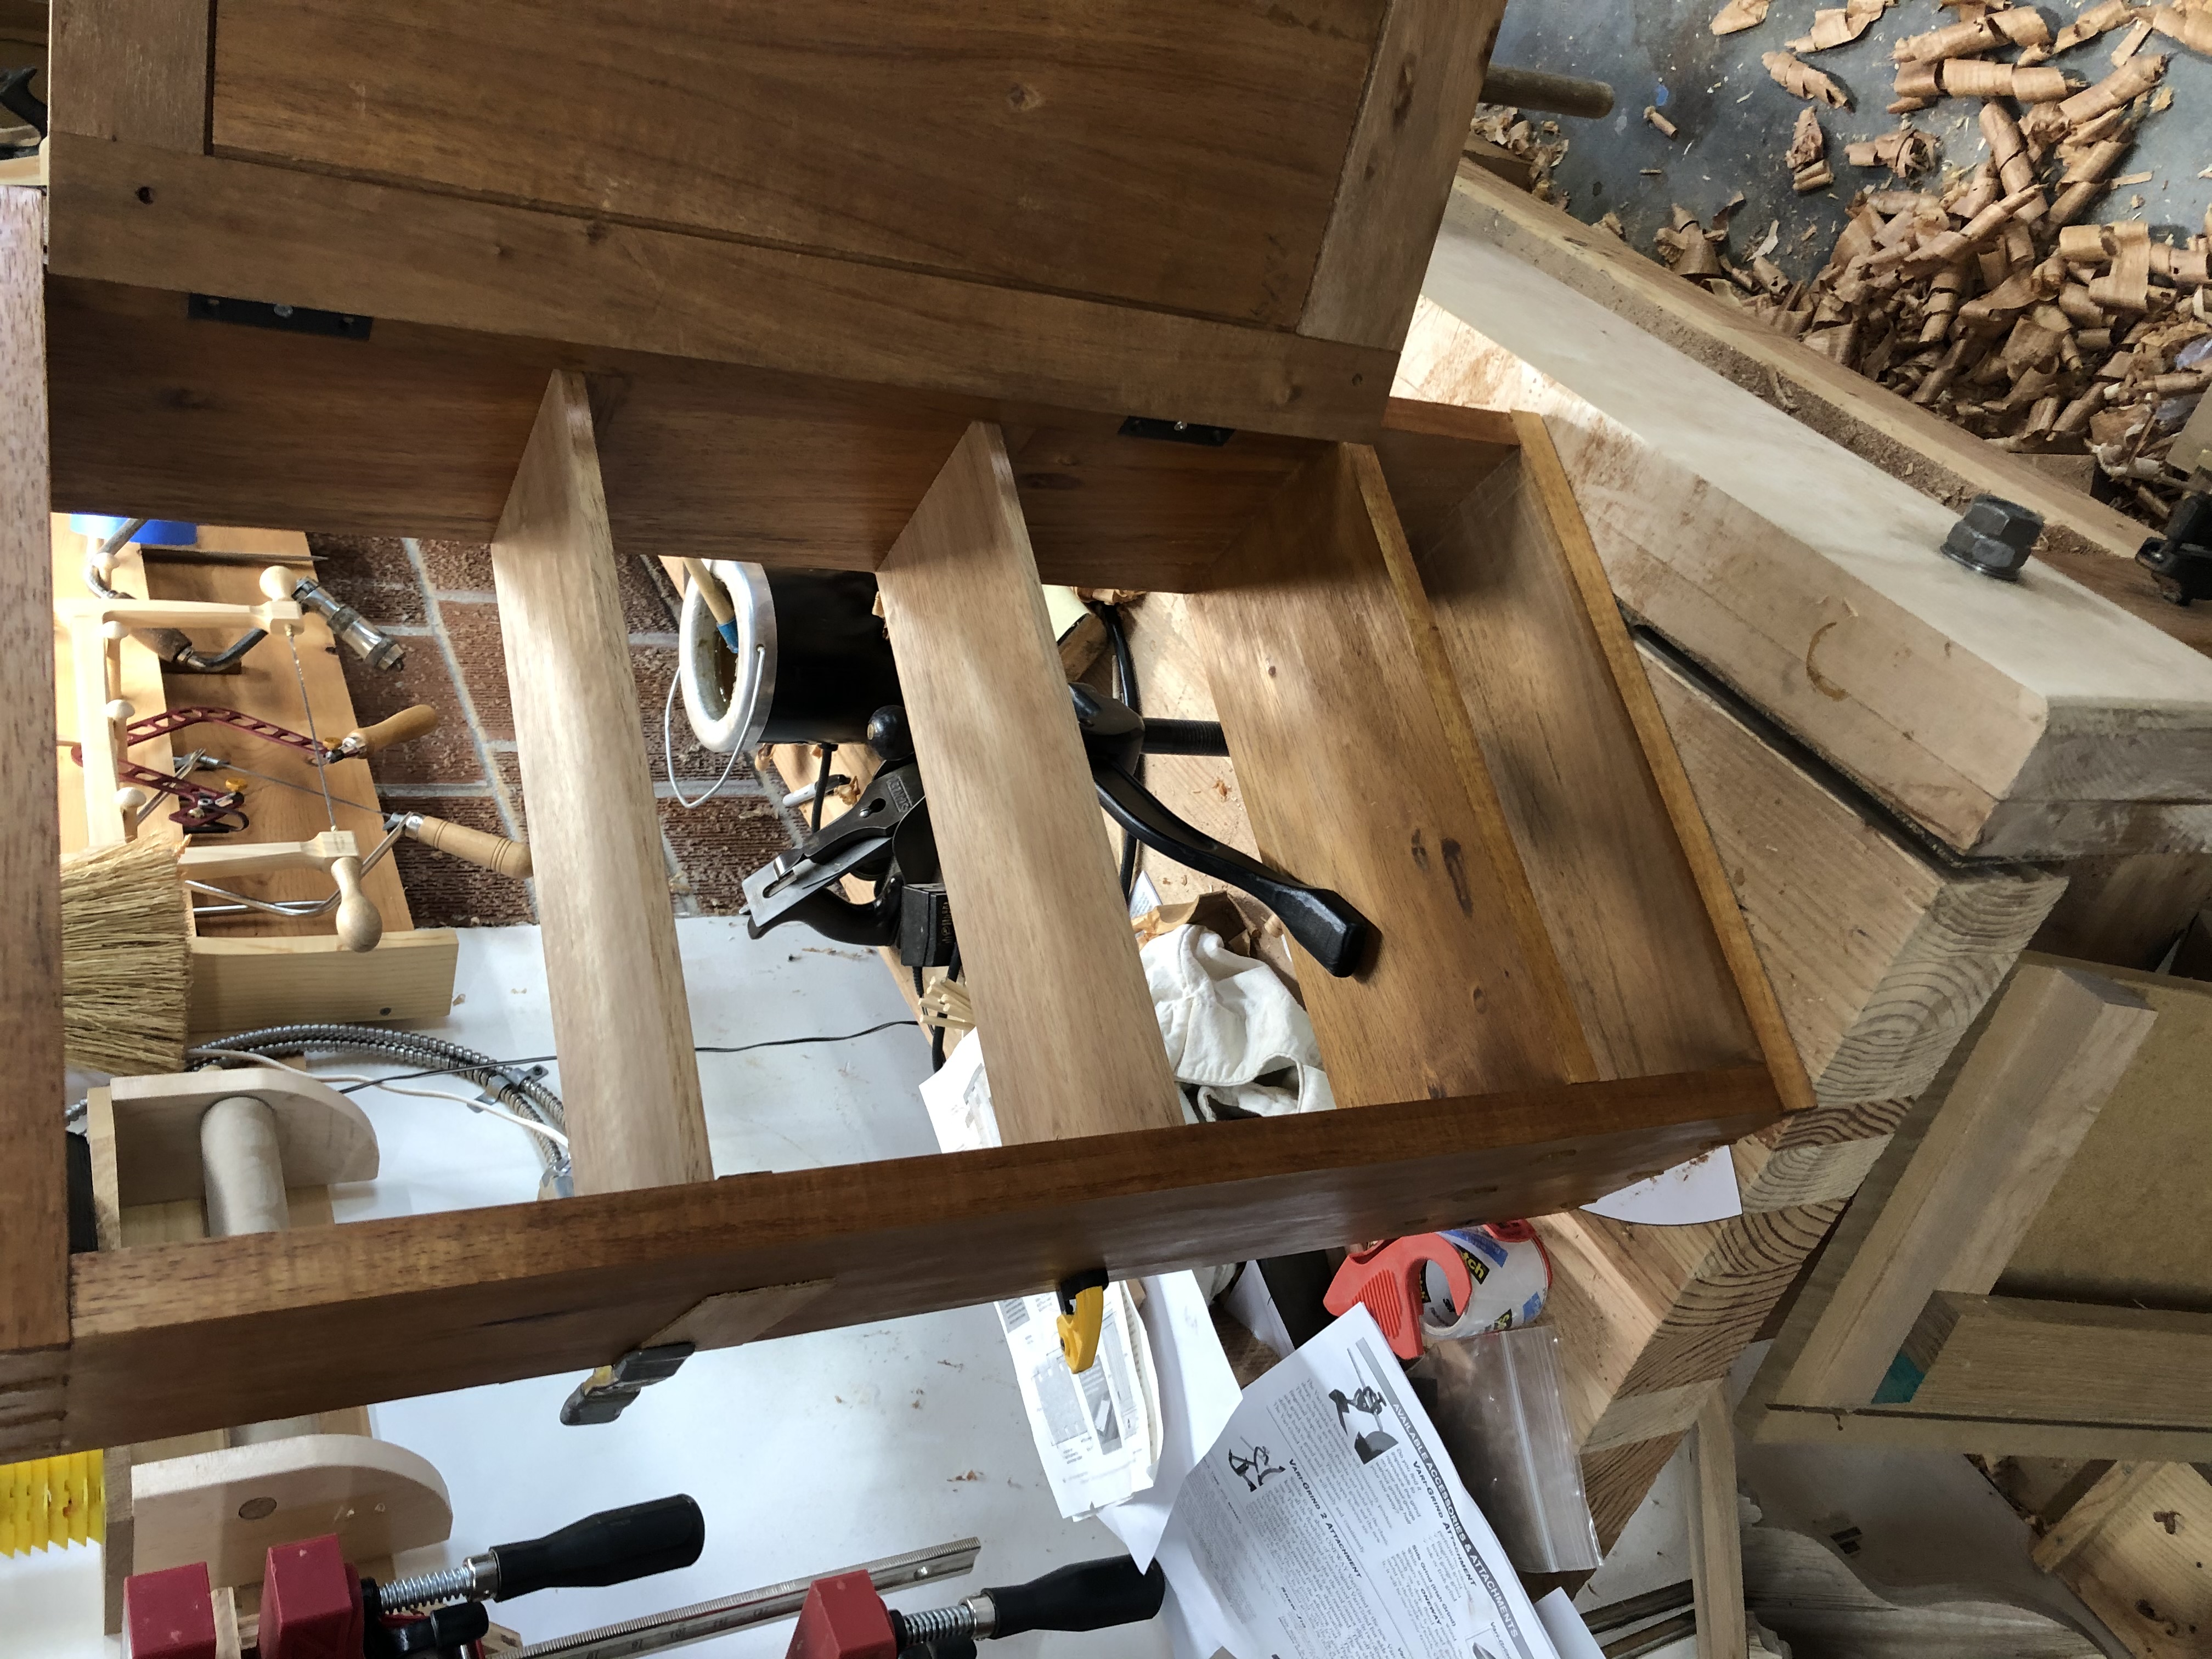
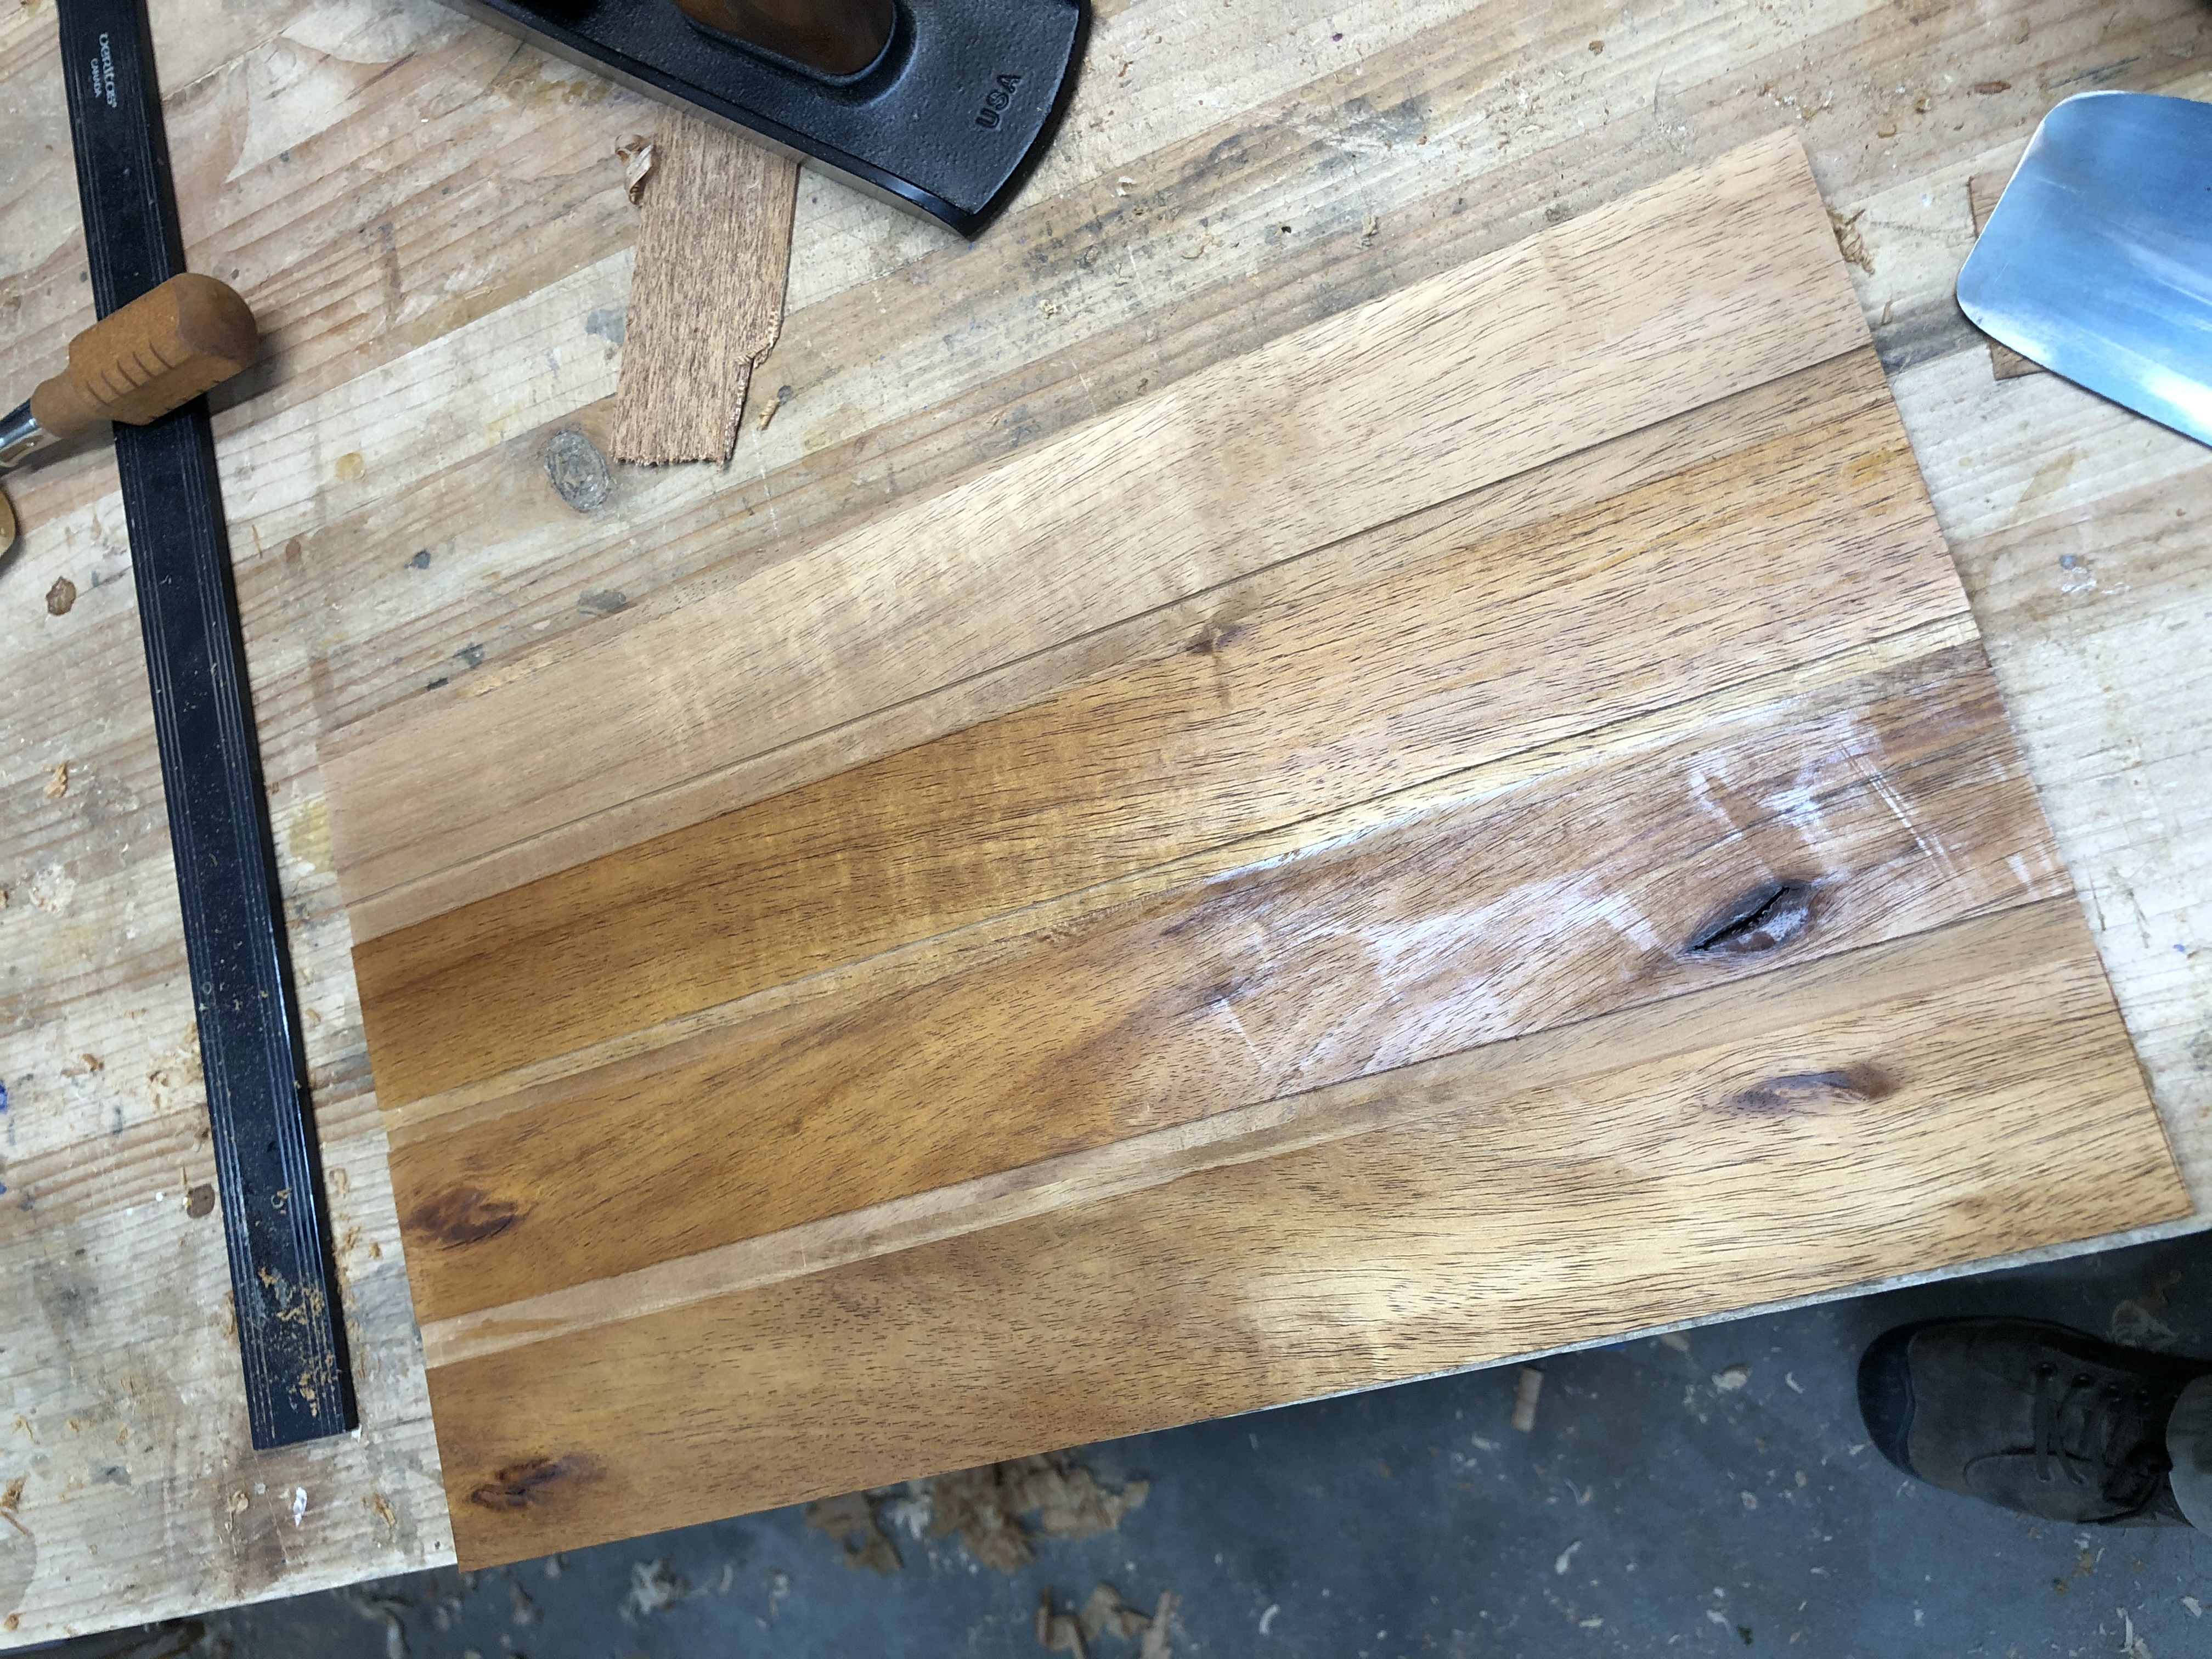
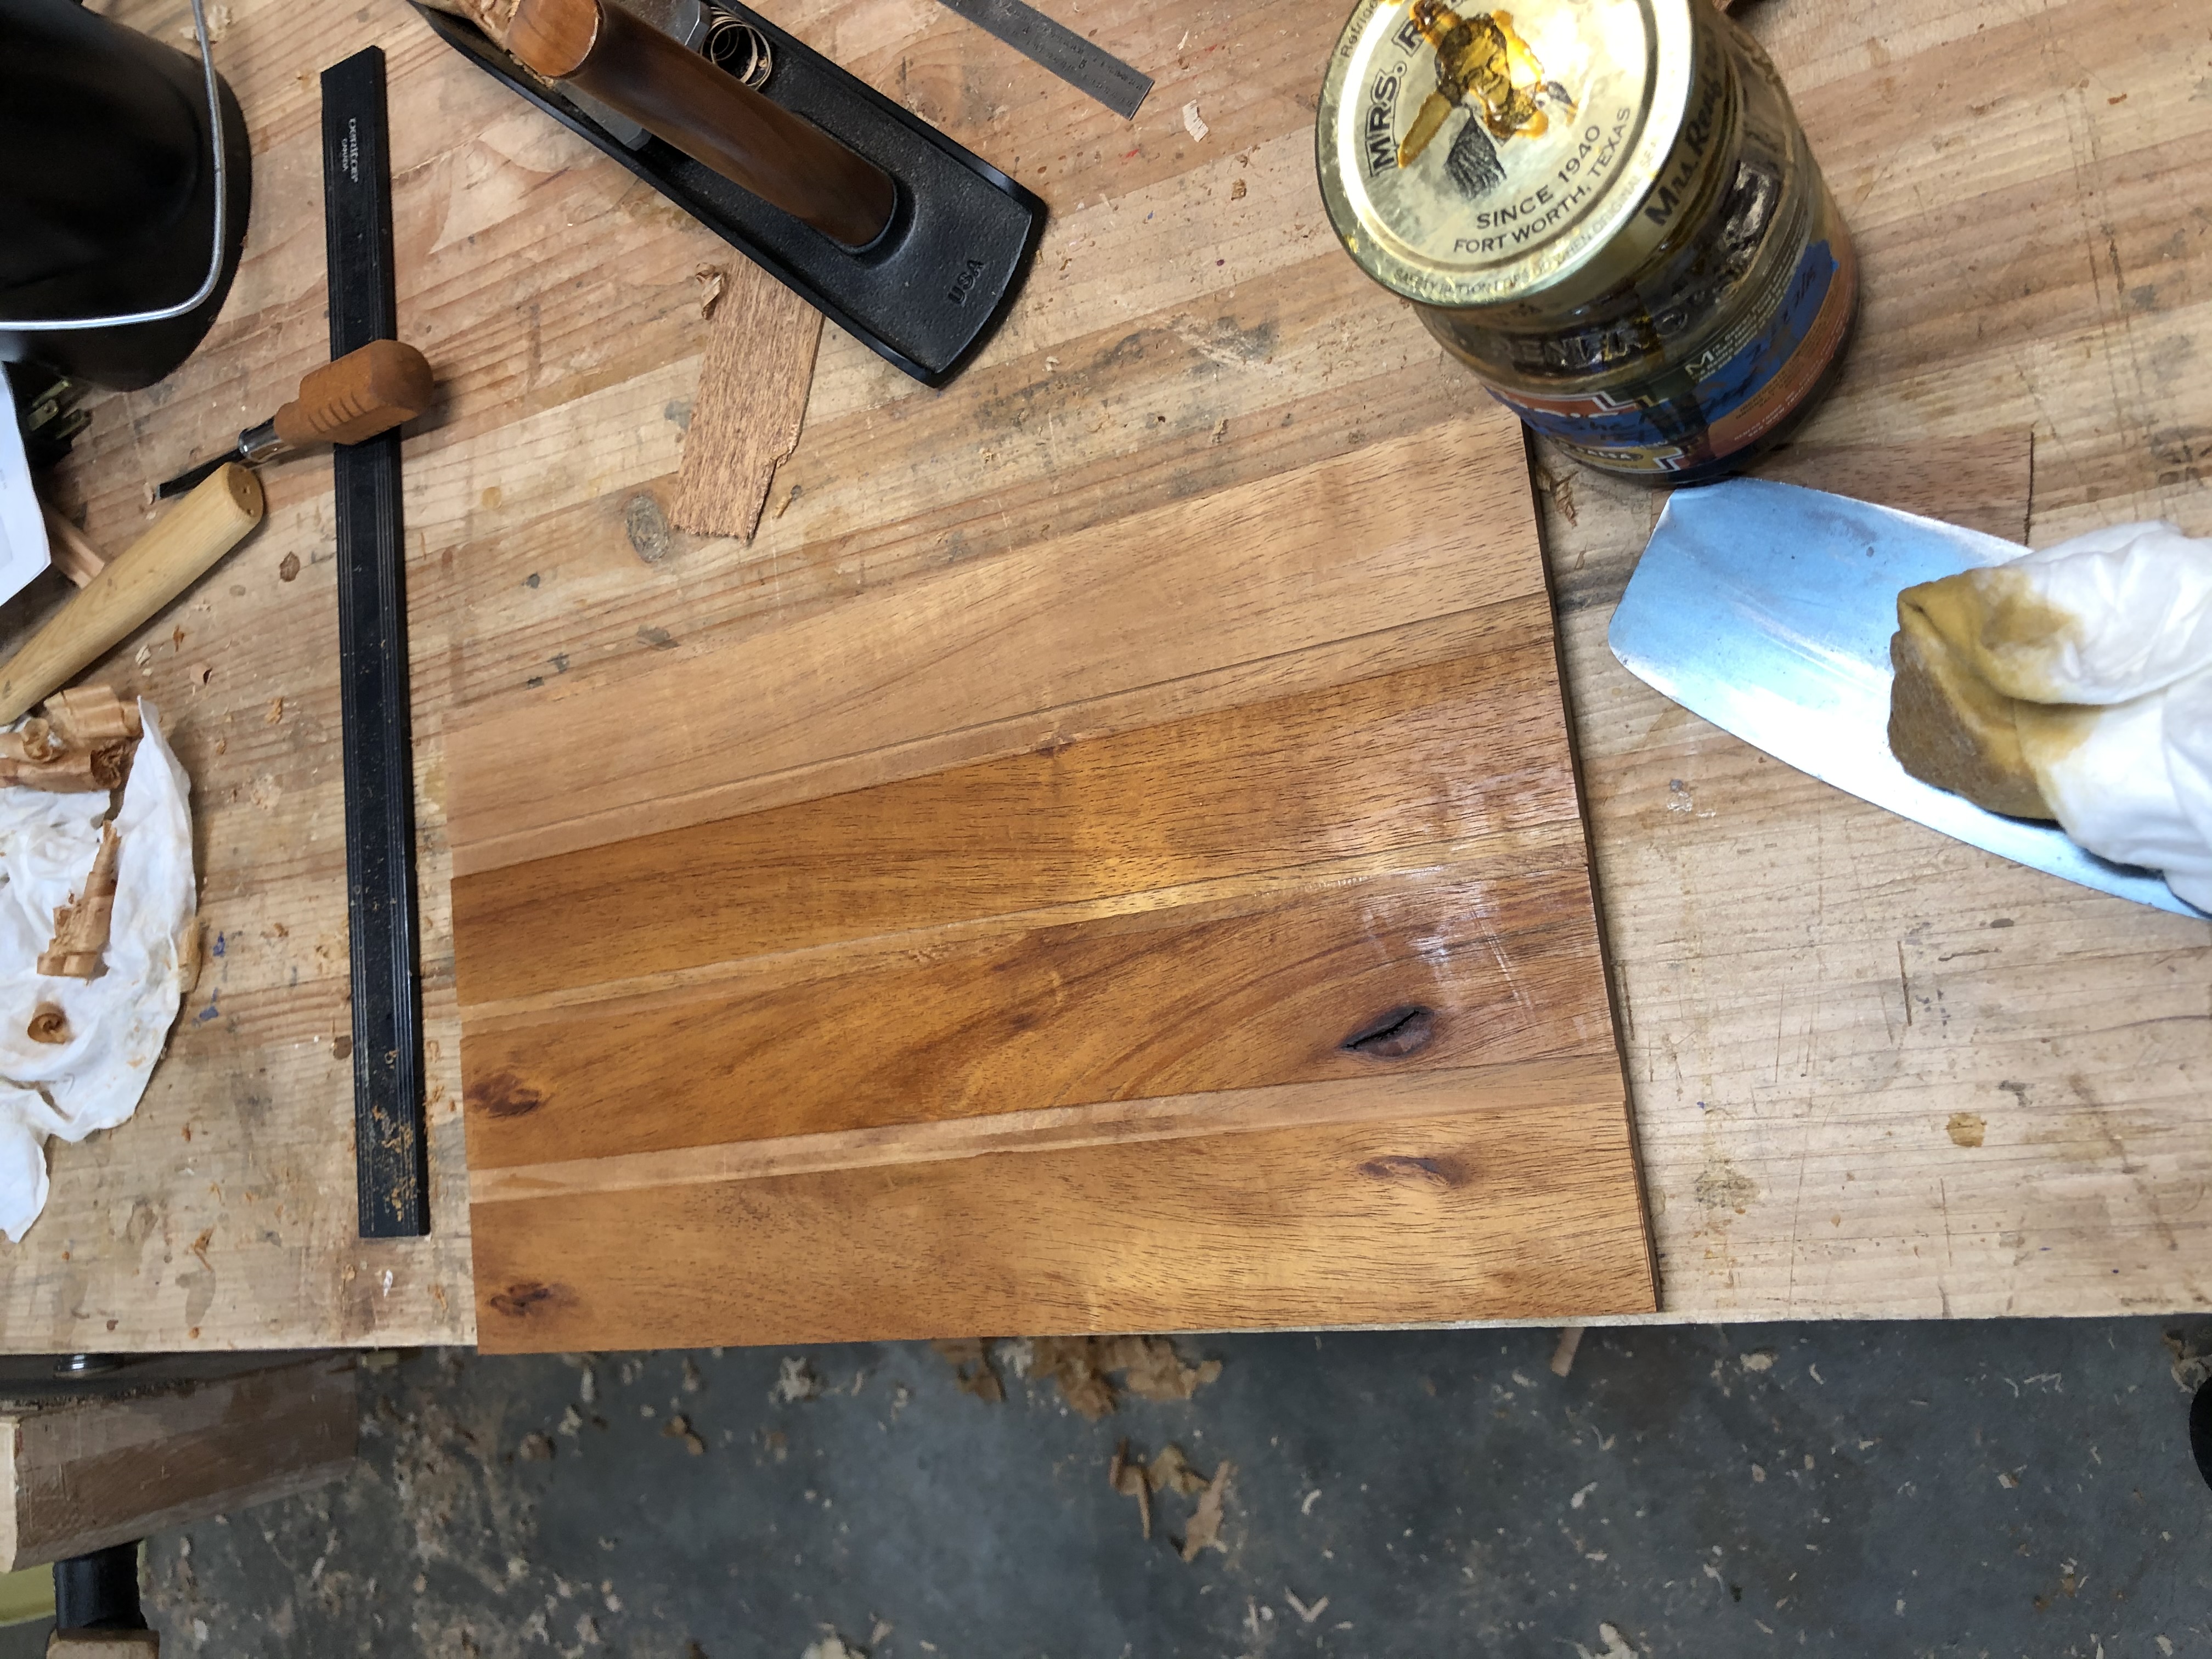
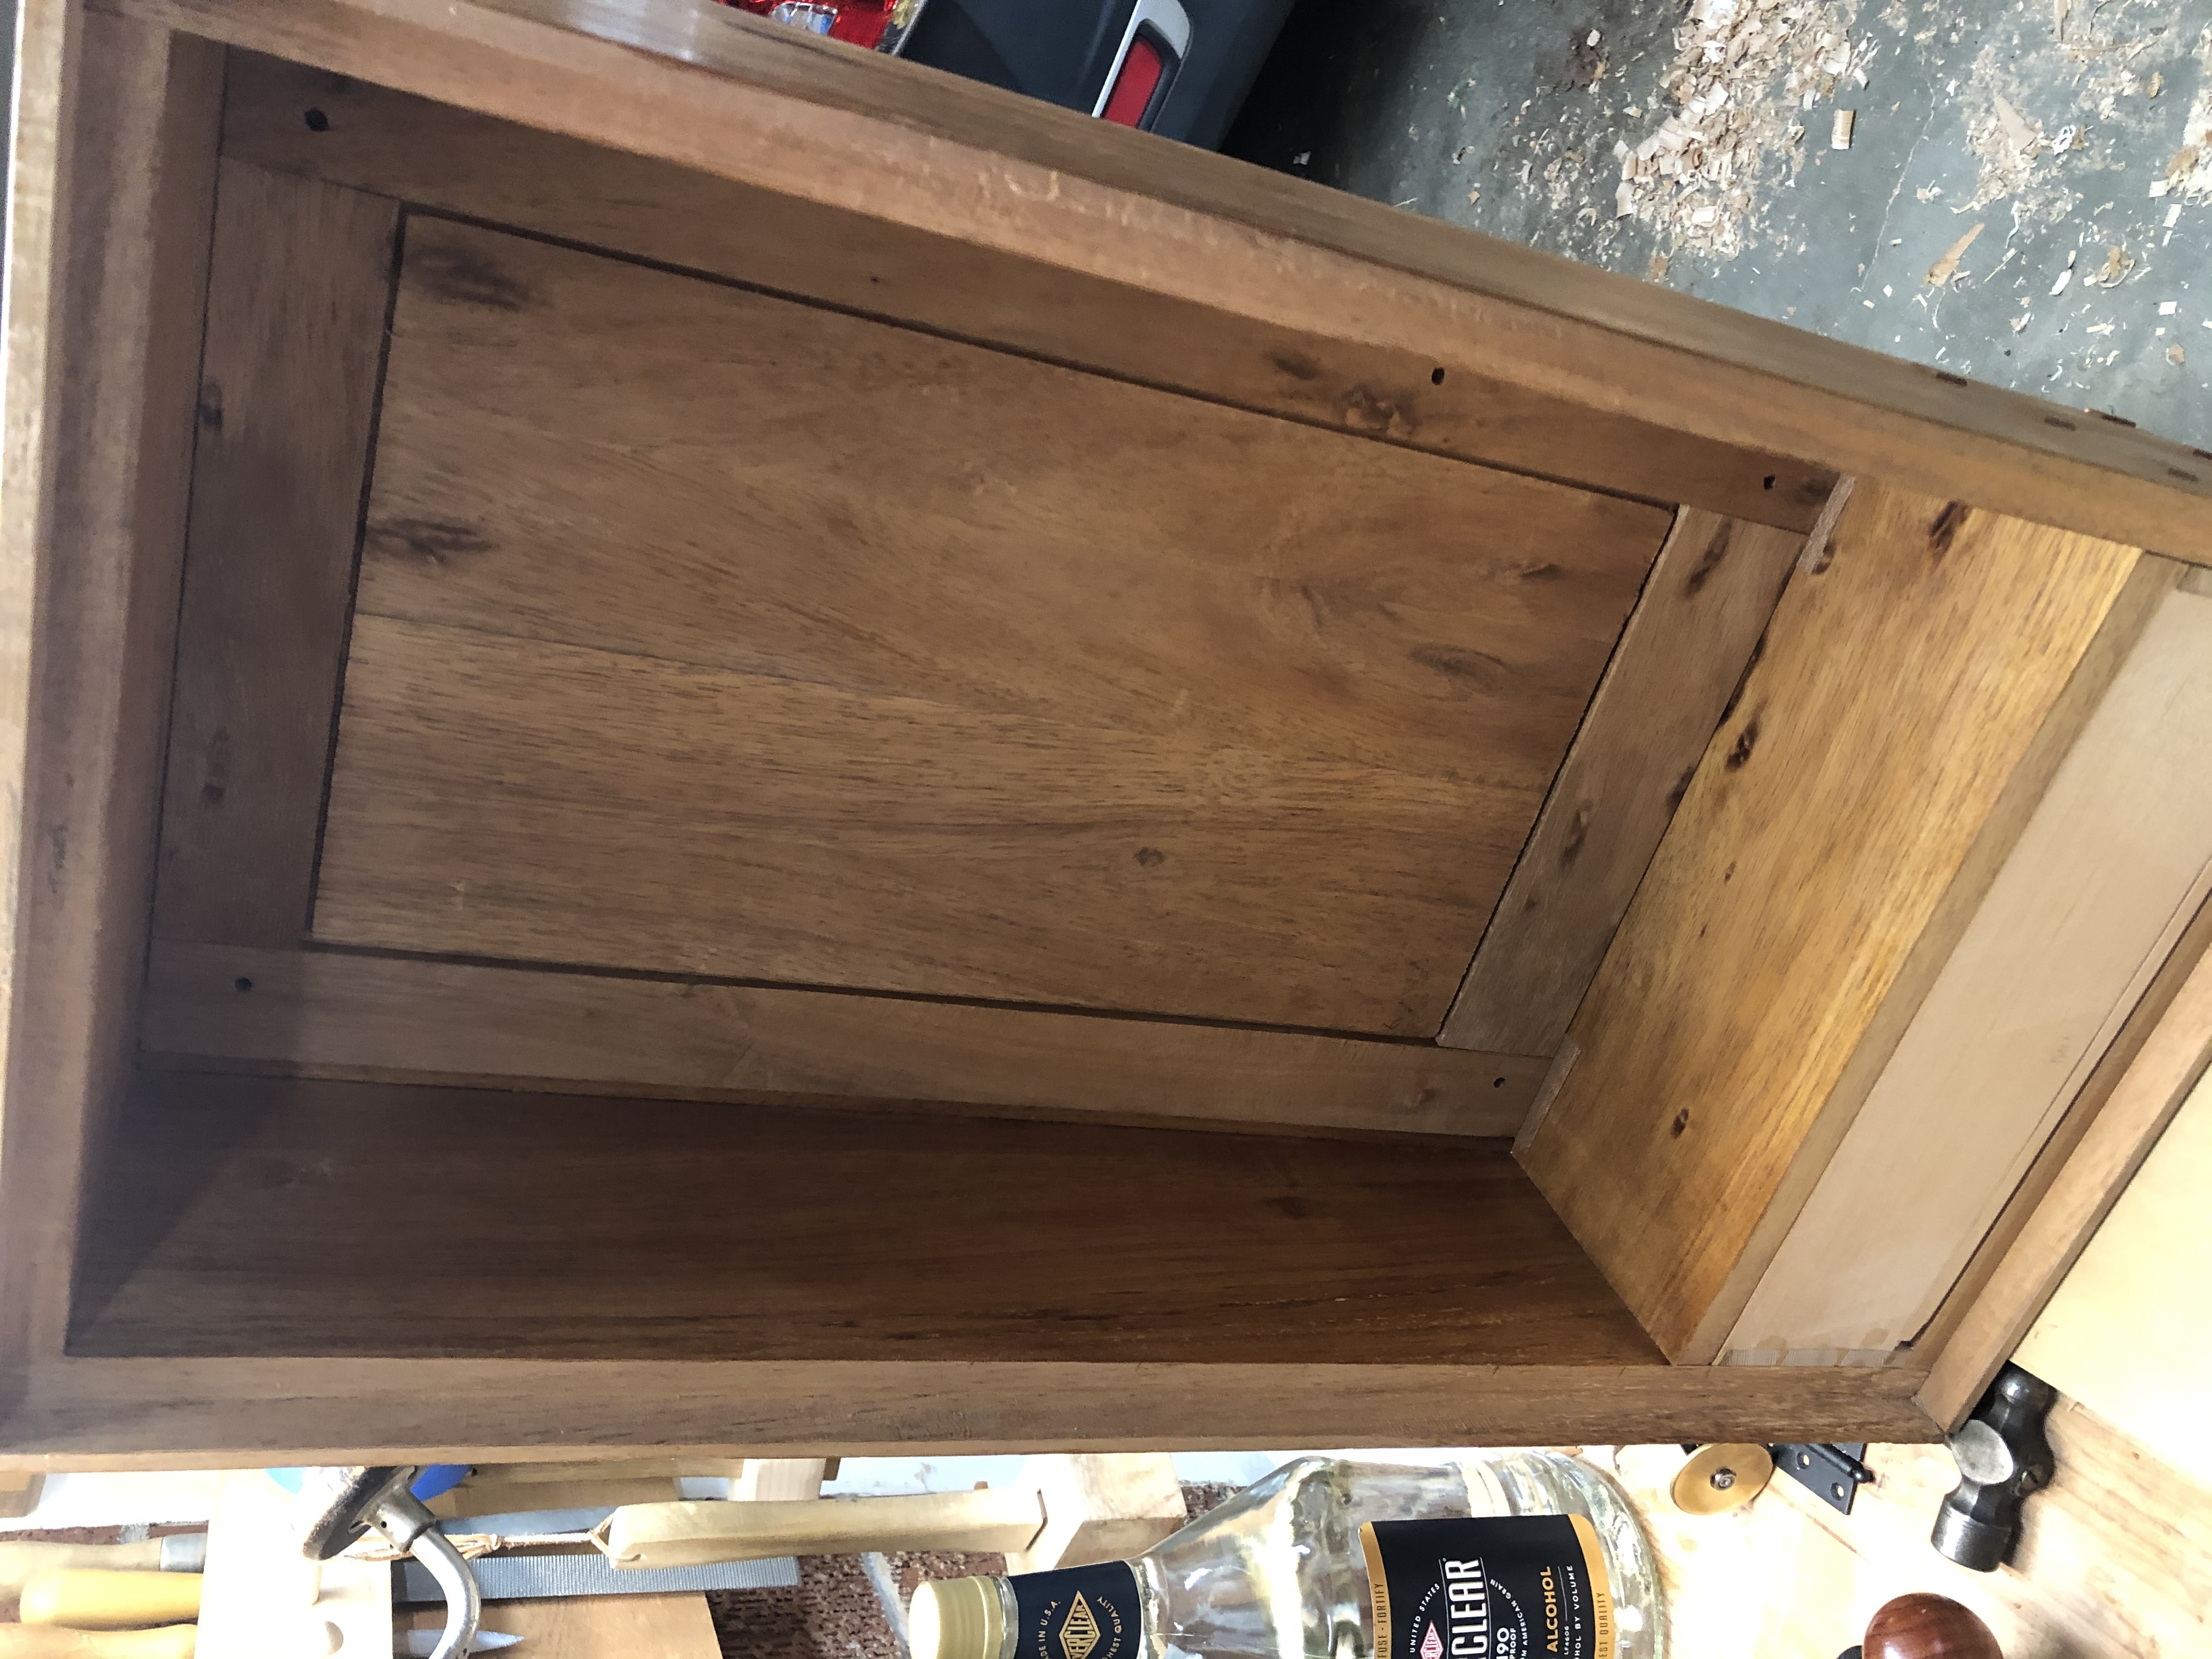
The muntins on the door panel aren't mortised. They're applied into 1/16" grooves cut into the panel. In the shot with the door open you can see the flat back of the panel that reveals the fakery. That element is taken straight from the original Pekovich design as it appeared in Fine Woodworking. I did take advantage of it here though. My panel is actually four edge-glued, book-matched segments, and each glue joint is covered by one of the muntins. Another design element forced by the necessity of being miserly with my limited stock.
Full shot.Morning light on the door.Door open. The muntins are applied into 1/16Stile marquetry and drawer-front stringing together.Drawer out, showing the hidden patch and the hand-cut joinery.
Knobs, and the Lathe I Built to Turn Them
Knobs. (Well, knob.)
Finally stopped turning chair parts long enough to start working on what I built that lathe to do in the first place. Knobs for the cabinet.
Piece of ebony, rounded up. Ebony is eye-wateringly expensive by the board foot, but I don't think I've ever spent more than $8 on a small piece, so it doesn't feel that dear. Still wince a bit at those shavings and dust.
Got a super-thin 3/16" post turned and realized I didn't have a way to hold it to turn the knob. I don't have a drill chuck that will attach to a 5/8" spindle; only one that will attach to the 2MT tailstock. Grr. Rather than shelve this another week waiting for proper tooling, I made my own: block of softwood with a 3/16" hole, shaved down to the same OD as my blank. The spindle was just slightly too free to hold against my tools, so I drove a small brass set screw in. Held like a champ.
Right up until my post snapped off as I tried to dome the top.
Roughed out another blank, seated it flush against the sacrificial chuck this time, and it came out great. All black doesn't photograph well, but trust me, it looks good.
Blackwood instead of ebony
After the breakage I switched from ebony to African blackwood. I like blackwood better anyway. It has some brown streaking that gives a bit of interest. Patrick Edwards told me once that the thing about ebony is that if you spend the effort to use it skillfully it will look exactly like black plastic. To the sixteenth-century eye that was amazing, rare, and expensive. To our modern eye it looks kind of cheap. Looking at it that way, I think he's right. Blackwood is still a pain in the ass to work: very hard, very brittle.
Got the second knob turned, polished, and installed.
Shelf cleats
This would have been so much easier if I'd decided I wanted a profile on the shelf cleats before I glued and nailed them on. With cut nails. (In the wrong place, but we're not going to talk about that one right now.)
The punch list is short. Backboards on, shelves installed. Just a few details left.
Shelves, and a Patched Board
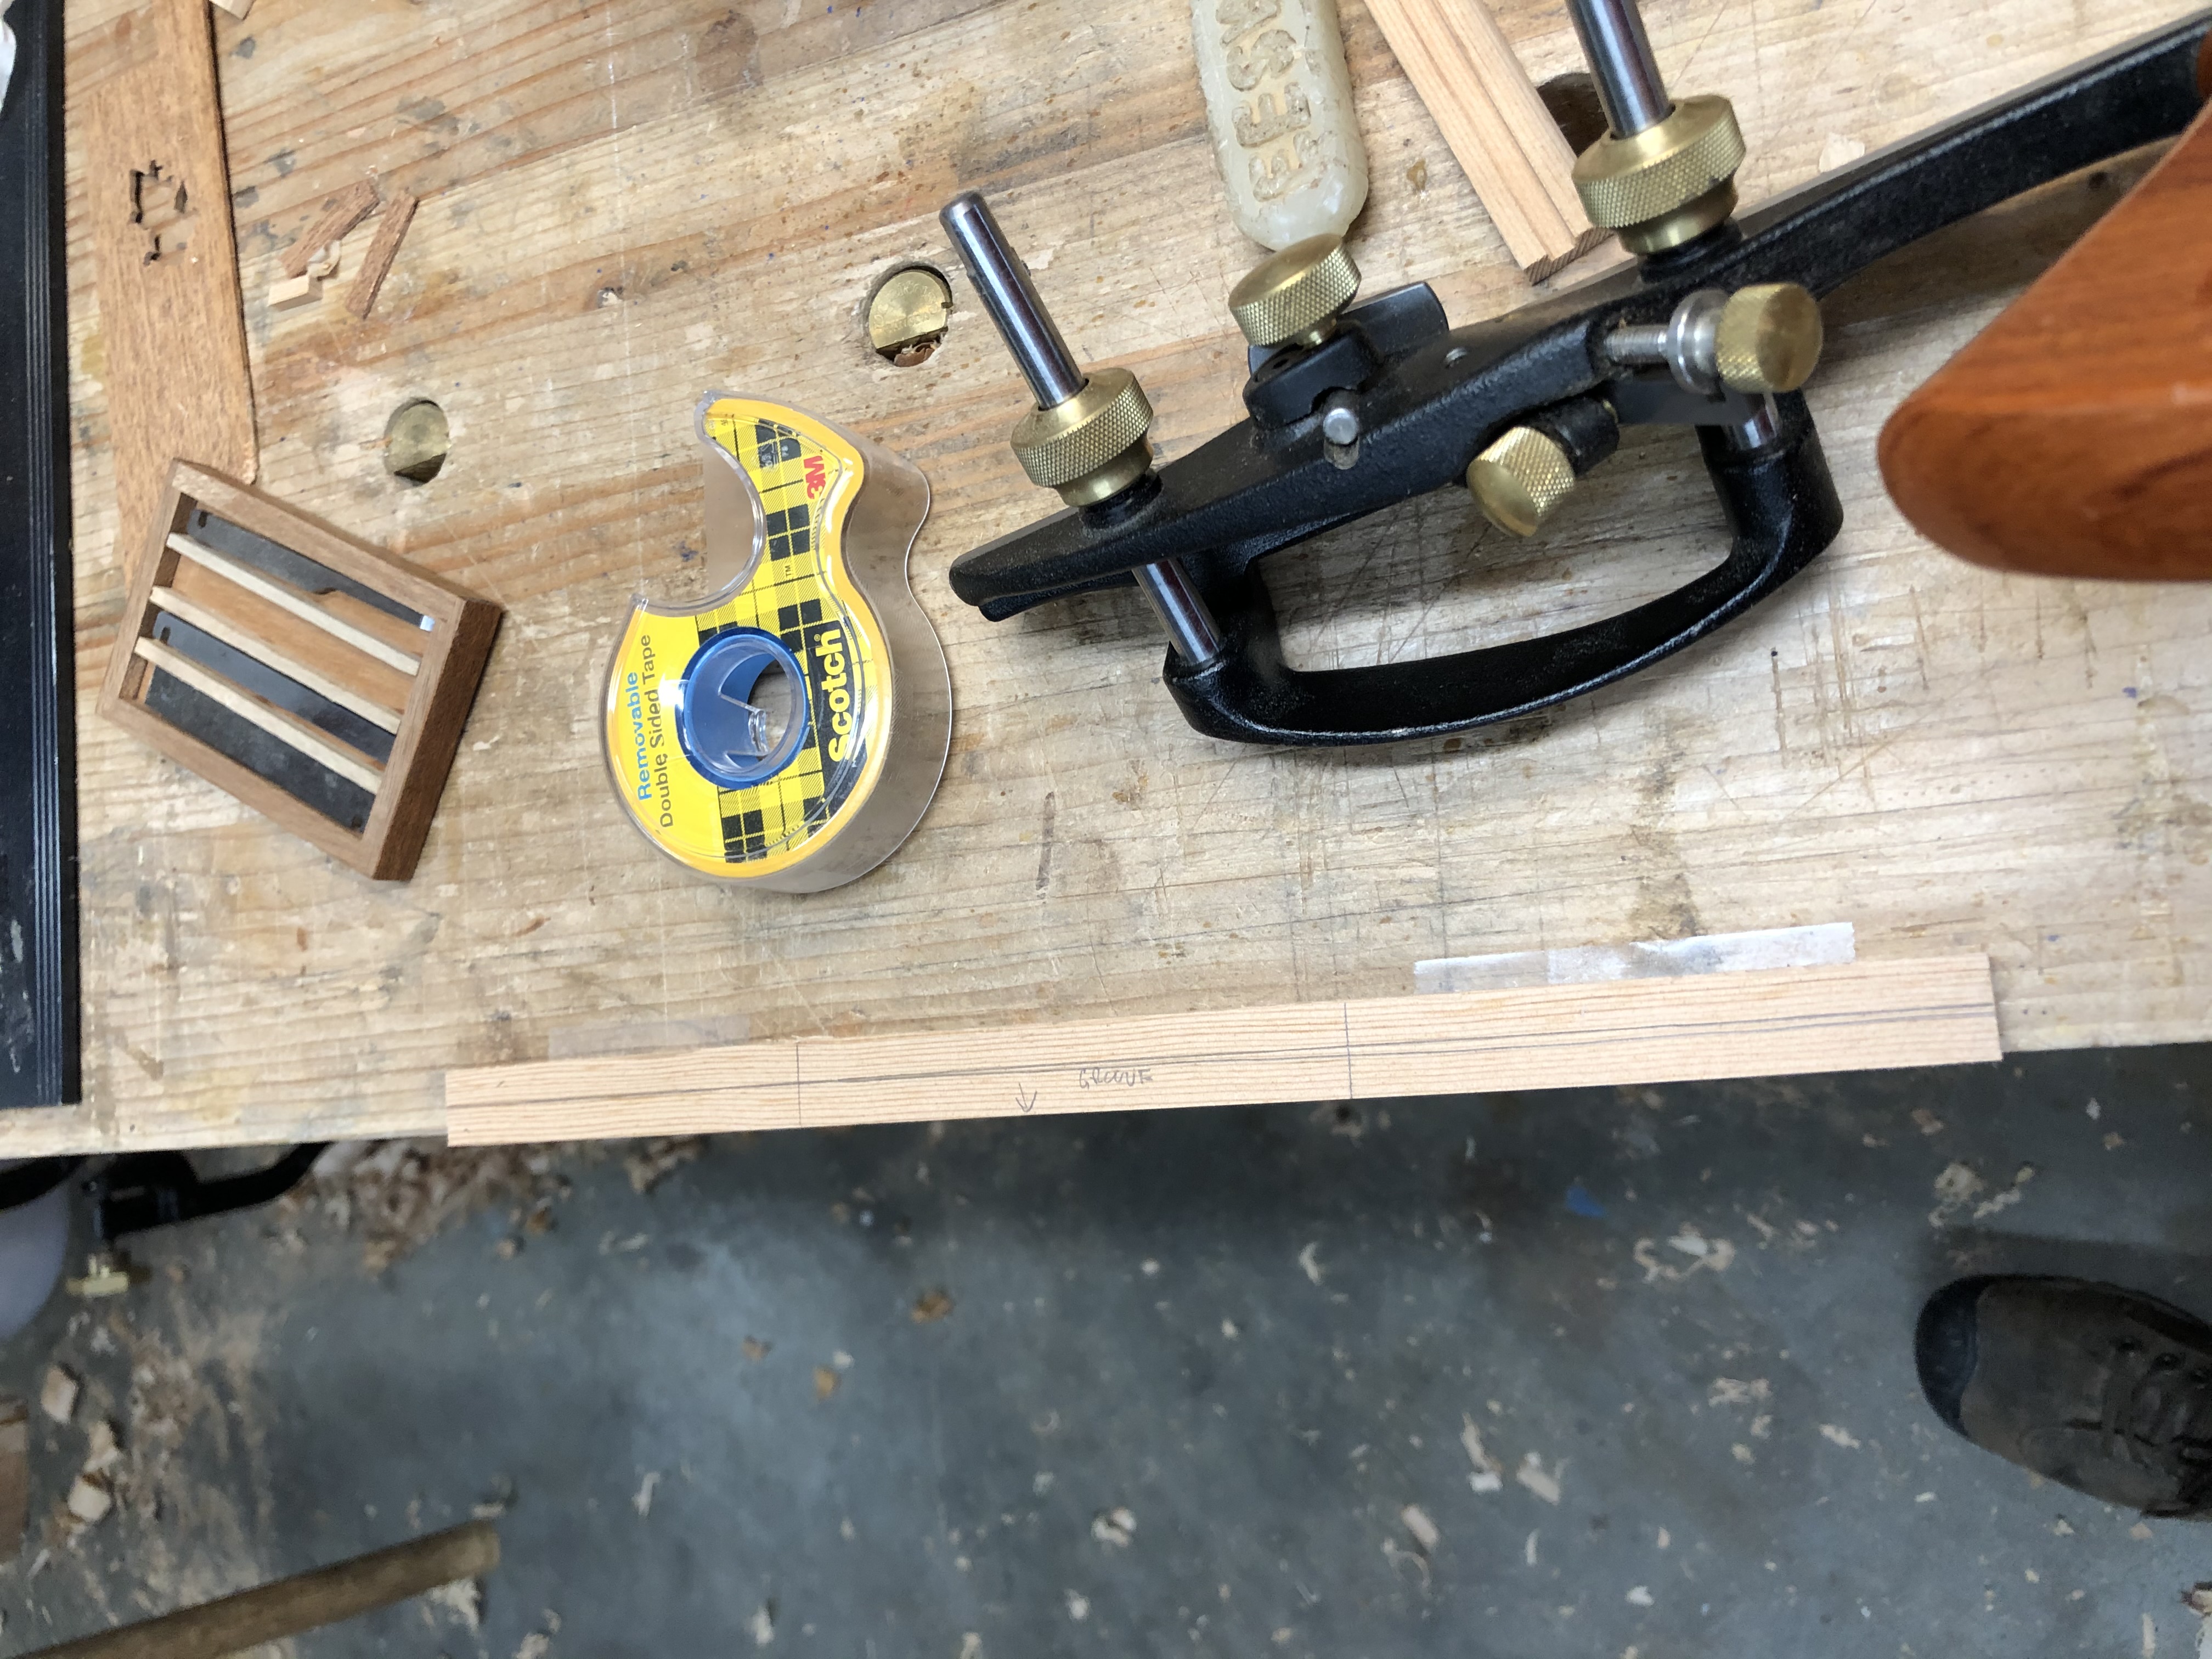
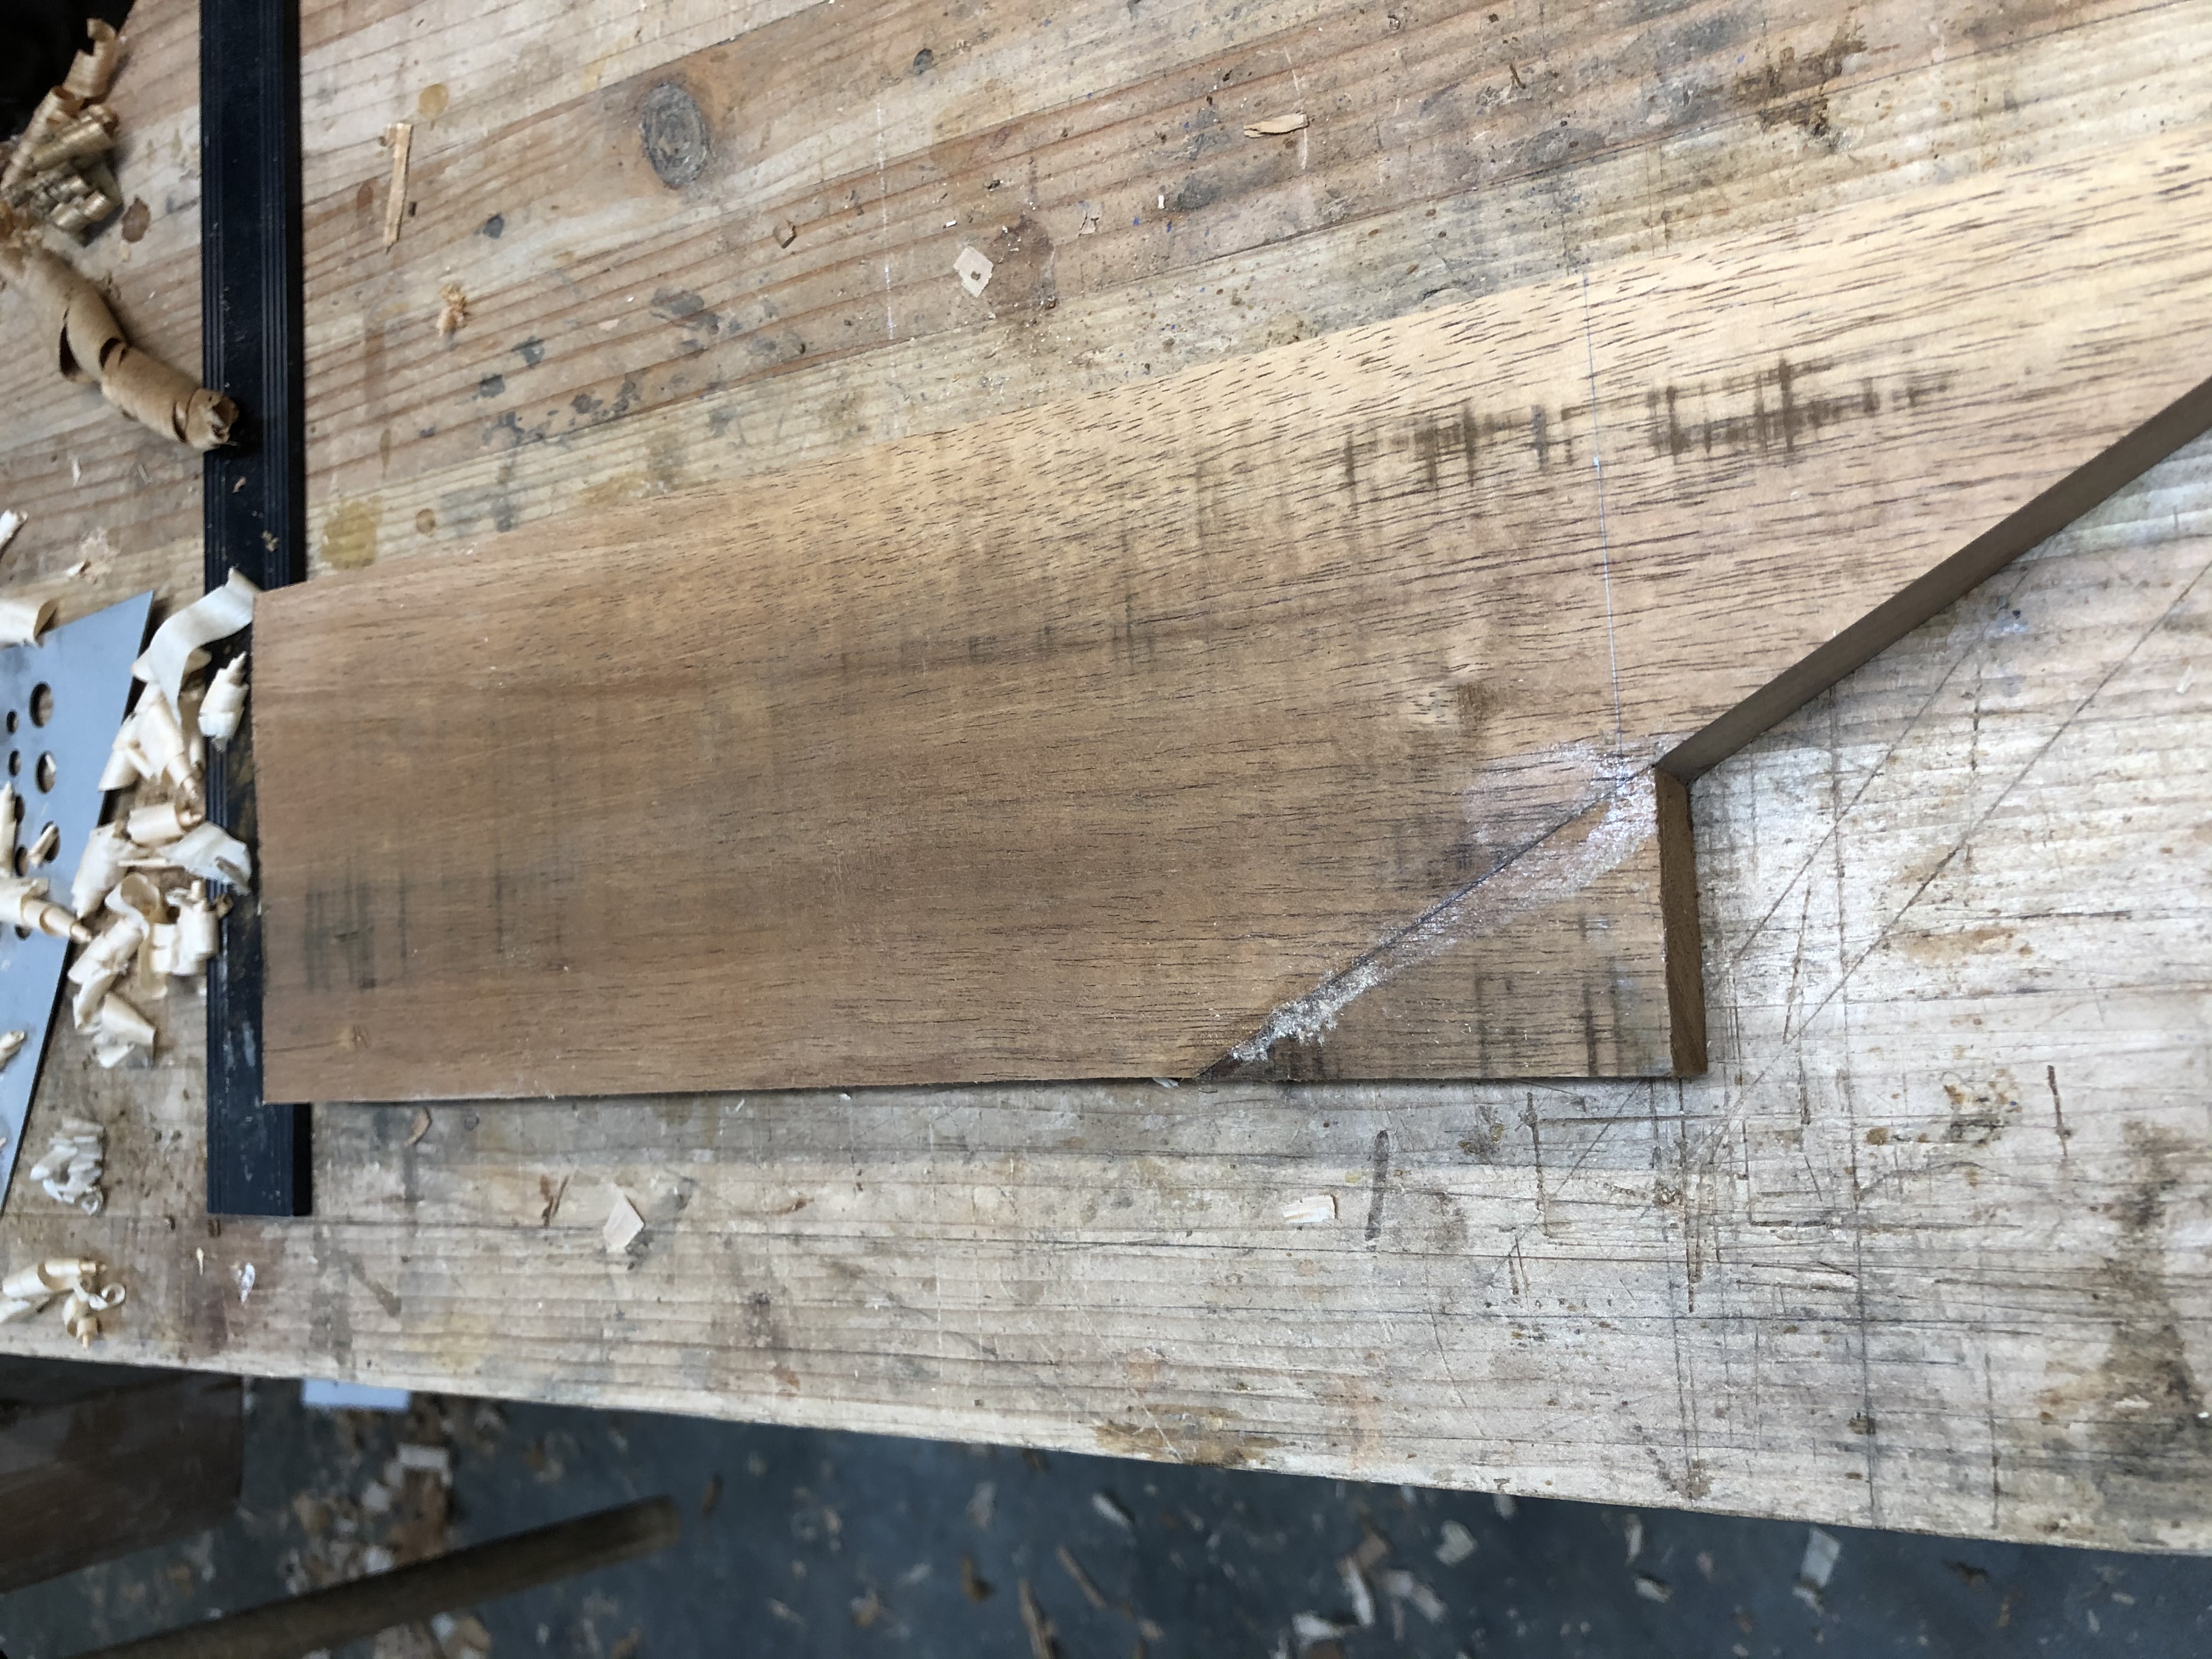
Shelf stock still in the rough, with the outline pencilled in. The notch intersecting the line is where the board runs out.
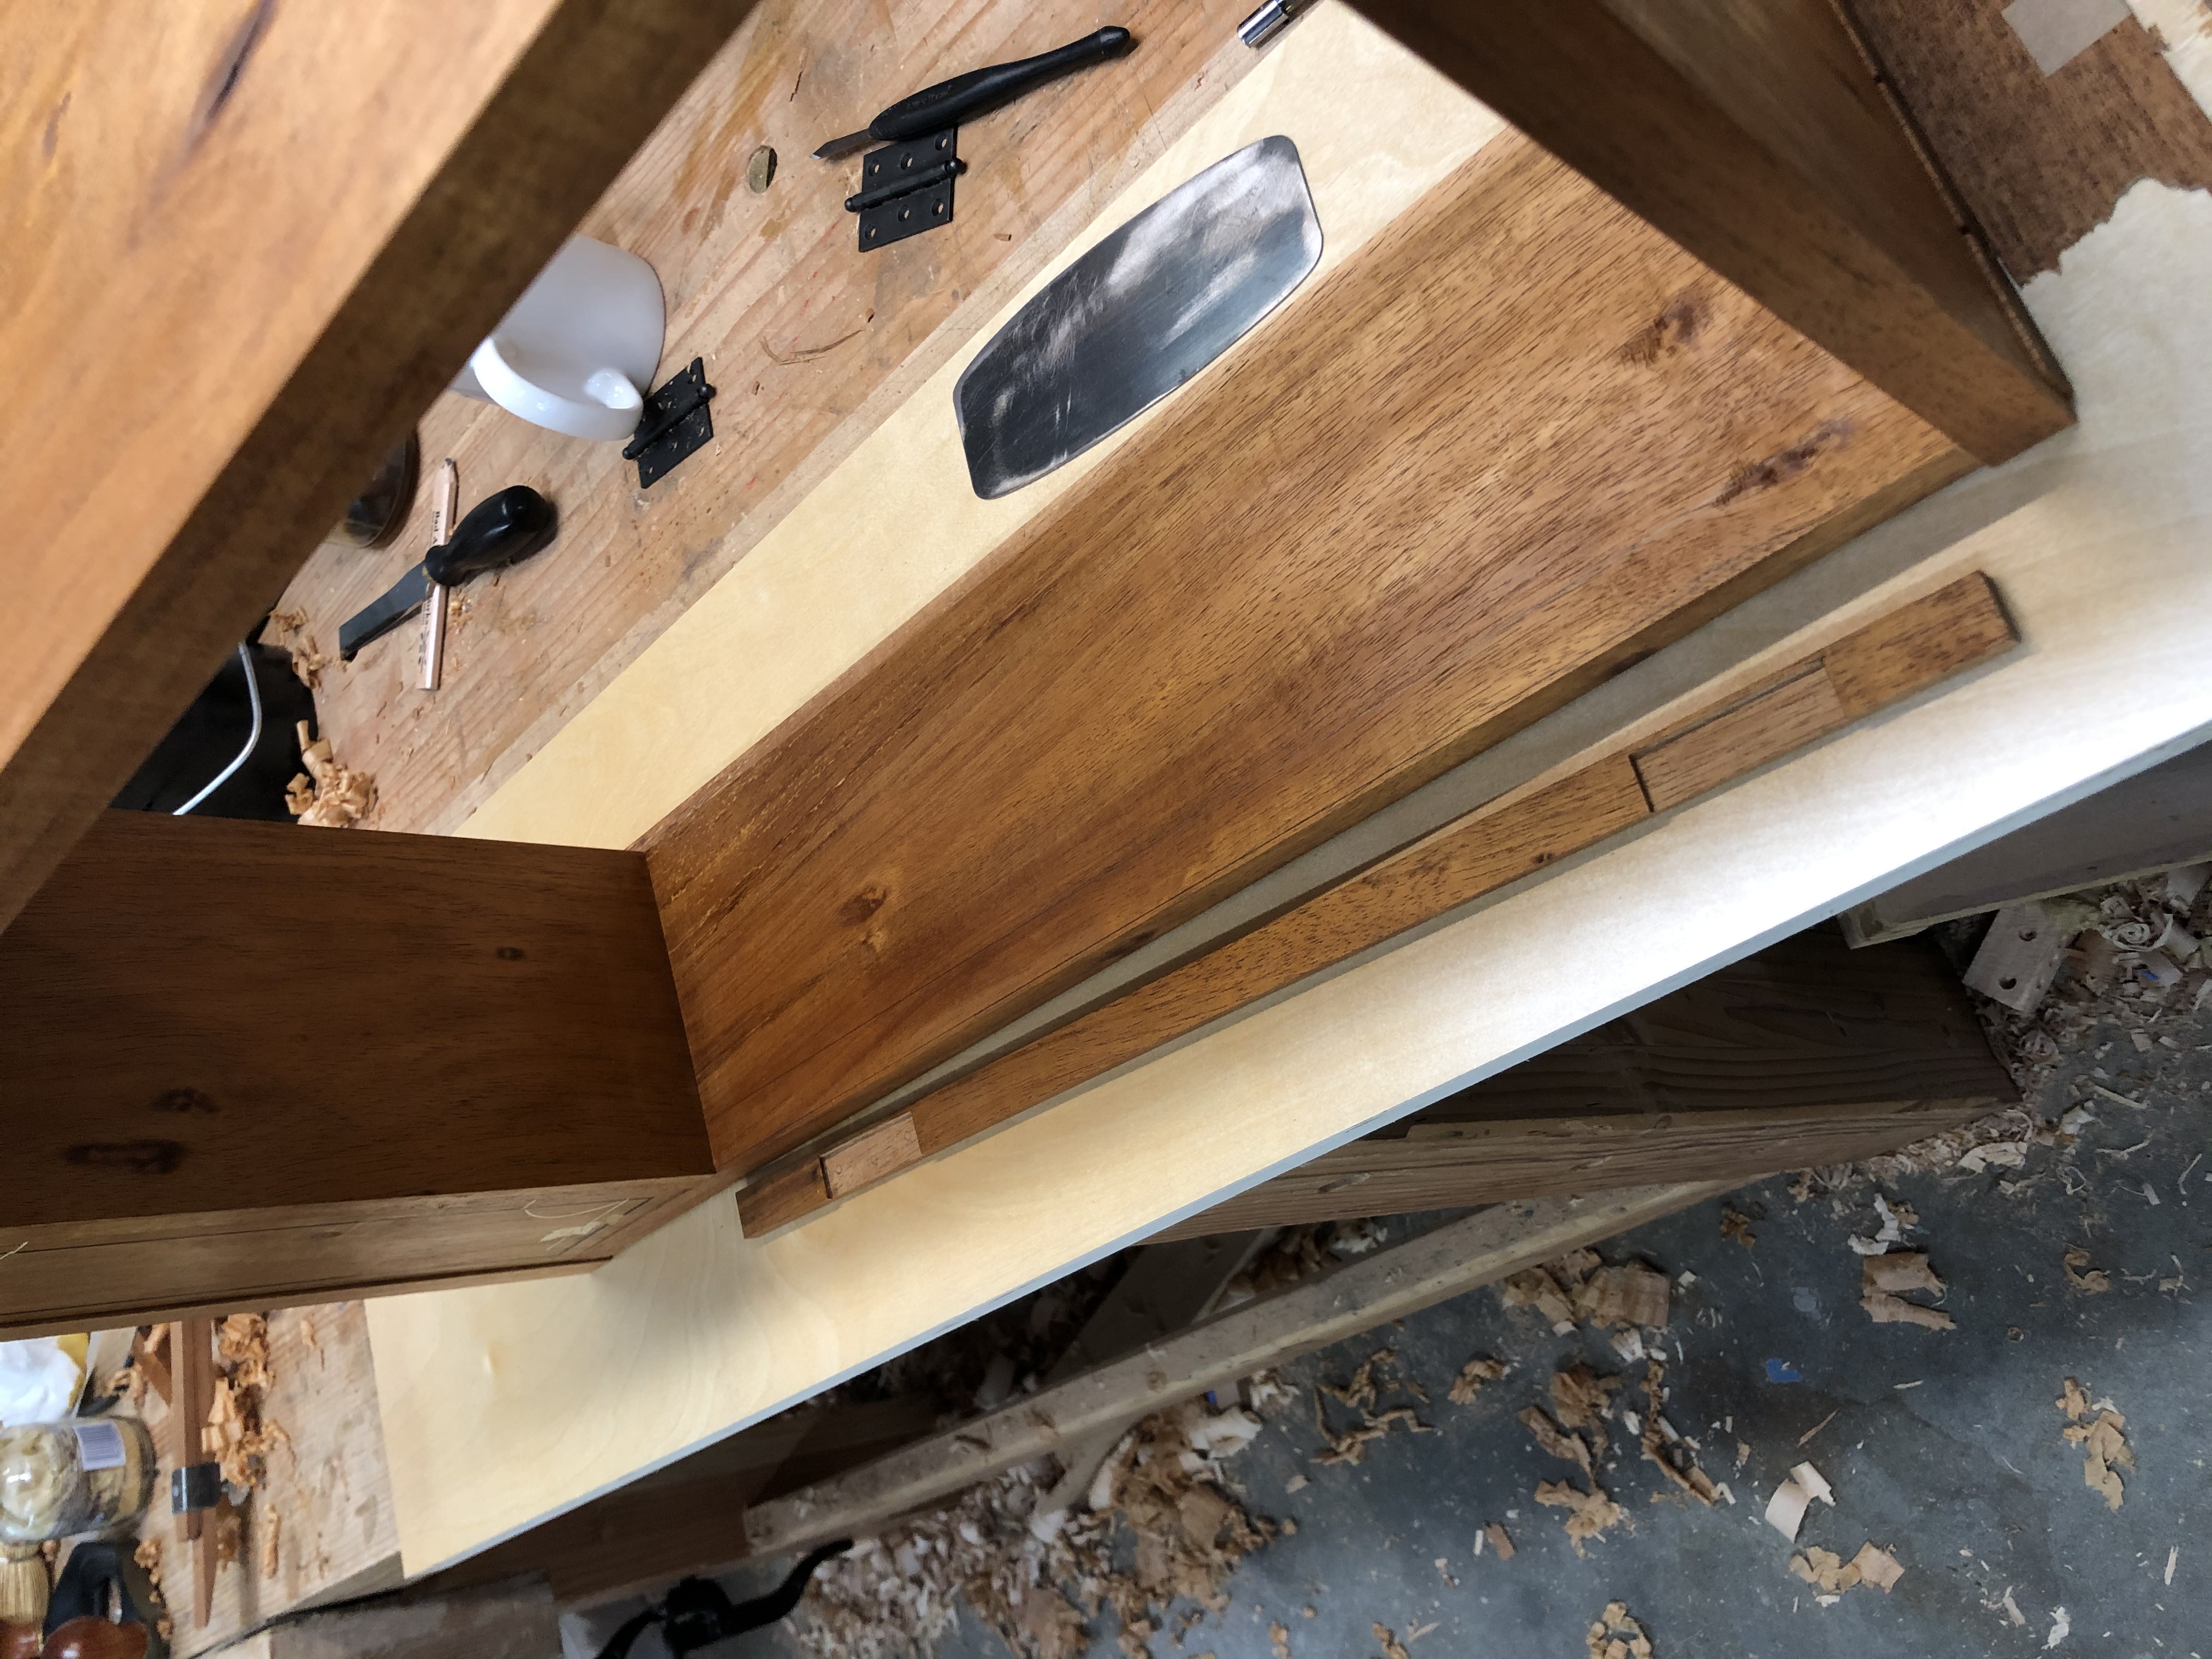
The shelves were the last piece that needed to be made that were still in the rough.
The eagle-eyed among you may notice a little notch that intersects my penciled outline of the shelf. That's right, I'm short about a square inch of material. Well, not short; it's just not in the right place. I've known this from the beginning so at least it's not a surprise.
I cut the notch back to an even angle and sistered in a piece from slightly further down the board. When planed down it's not invisible, but it's a great match and should be unnoticeable oriented to the back corner of the cabinet.
Due to the sloped angle, which wouldn't allow easy clamping, I used a rub joint with hot hide glue for the first time. It worked surprisingly well with minimal effort. Will definitely use again.
Next up was resawing this one patched board into two thin shelves.
Resawn and fitted. From an angle the patch on the shelves just disappears. With the backboards in and no rear lighting it will be even more invisible.
Forced on hold for a week. Out of the right sized cut nails for the shelf supports, and I need a bullet catch for the door. Package on its way from Lee Valley with both. Maybe this will force me to actually do the knobs. Not sure why that seems like such a hurdle (although I did procrastinate them so much that I took an eight-month break in the project to build a lathe to turn them).
(My only regret on the shelf patch: I didn't send my son off on a hunt to find the board stretcher.)
Dispatch: Punky Wood
The punky spot on a back corner.
A short one. I've got a bit of punky wood on the back corner of this cabinet.
If I'd had more stock I'd have cut around it, but I didn't, so I put it in a non-obvious, less-structural spot. Still a bit worried. I know certain epoxies can stabilize punky wood, but I don't want to muck up the finish and I don't have any on hand. My thinking: a thinned coat of hot hide glue and let it soak in. Or maybe flood it with shellac to stabilize.
I'm just putting on a straight shellac film, so compatibility shouldn't be an issue. Still going to test on a scrap first. (Of course I trashed the off-cut of worse rot months ago; would have been nice to have that to test process on.)
Drawer Glue-up, Door Hung, Hardware On
Back on the front of the bench.
This one is back on the front of the bench.
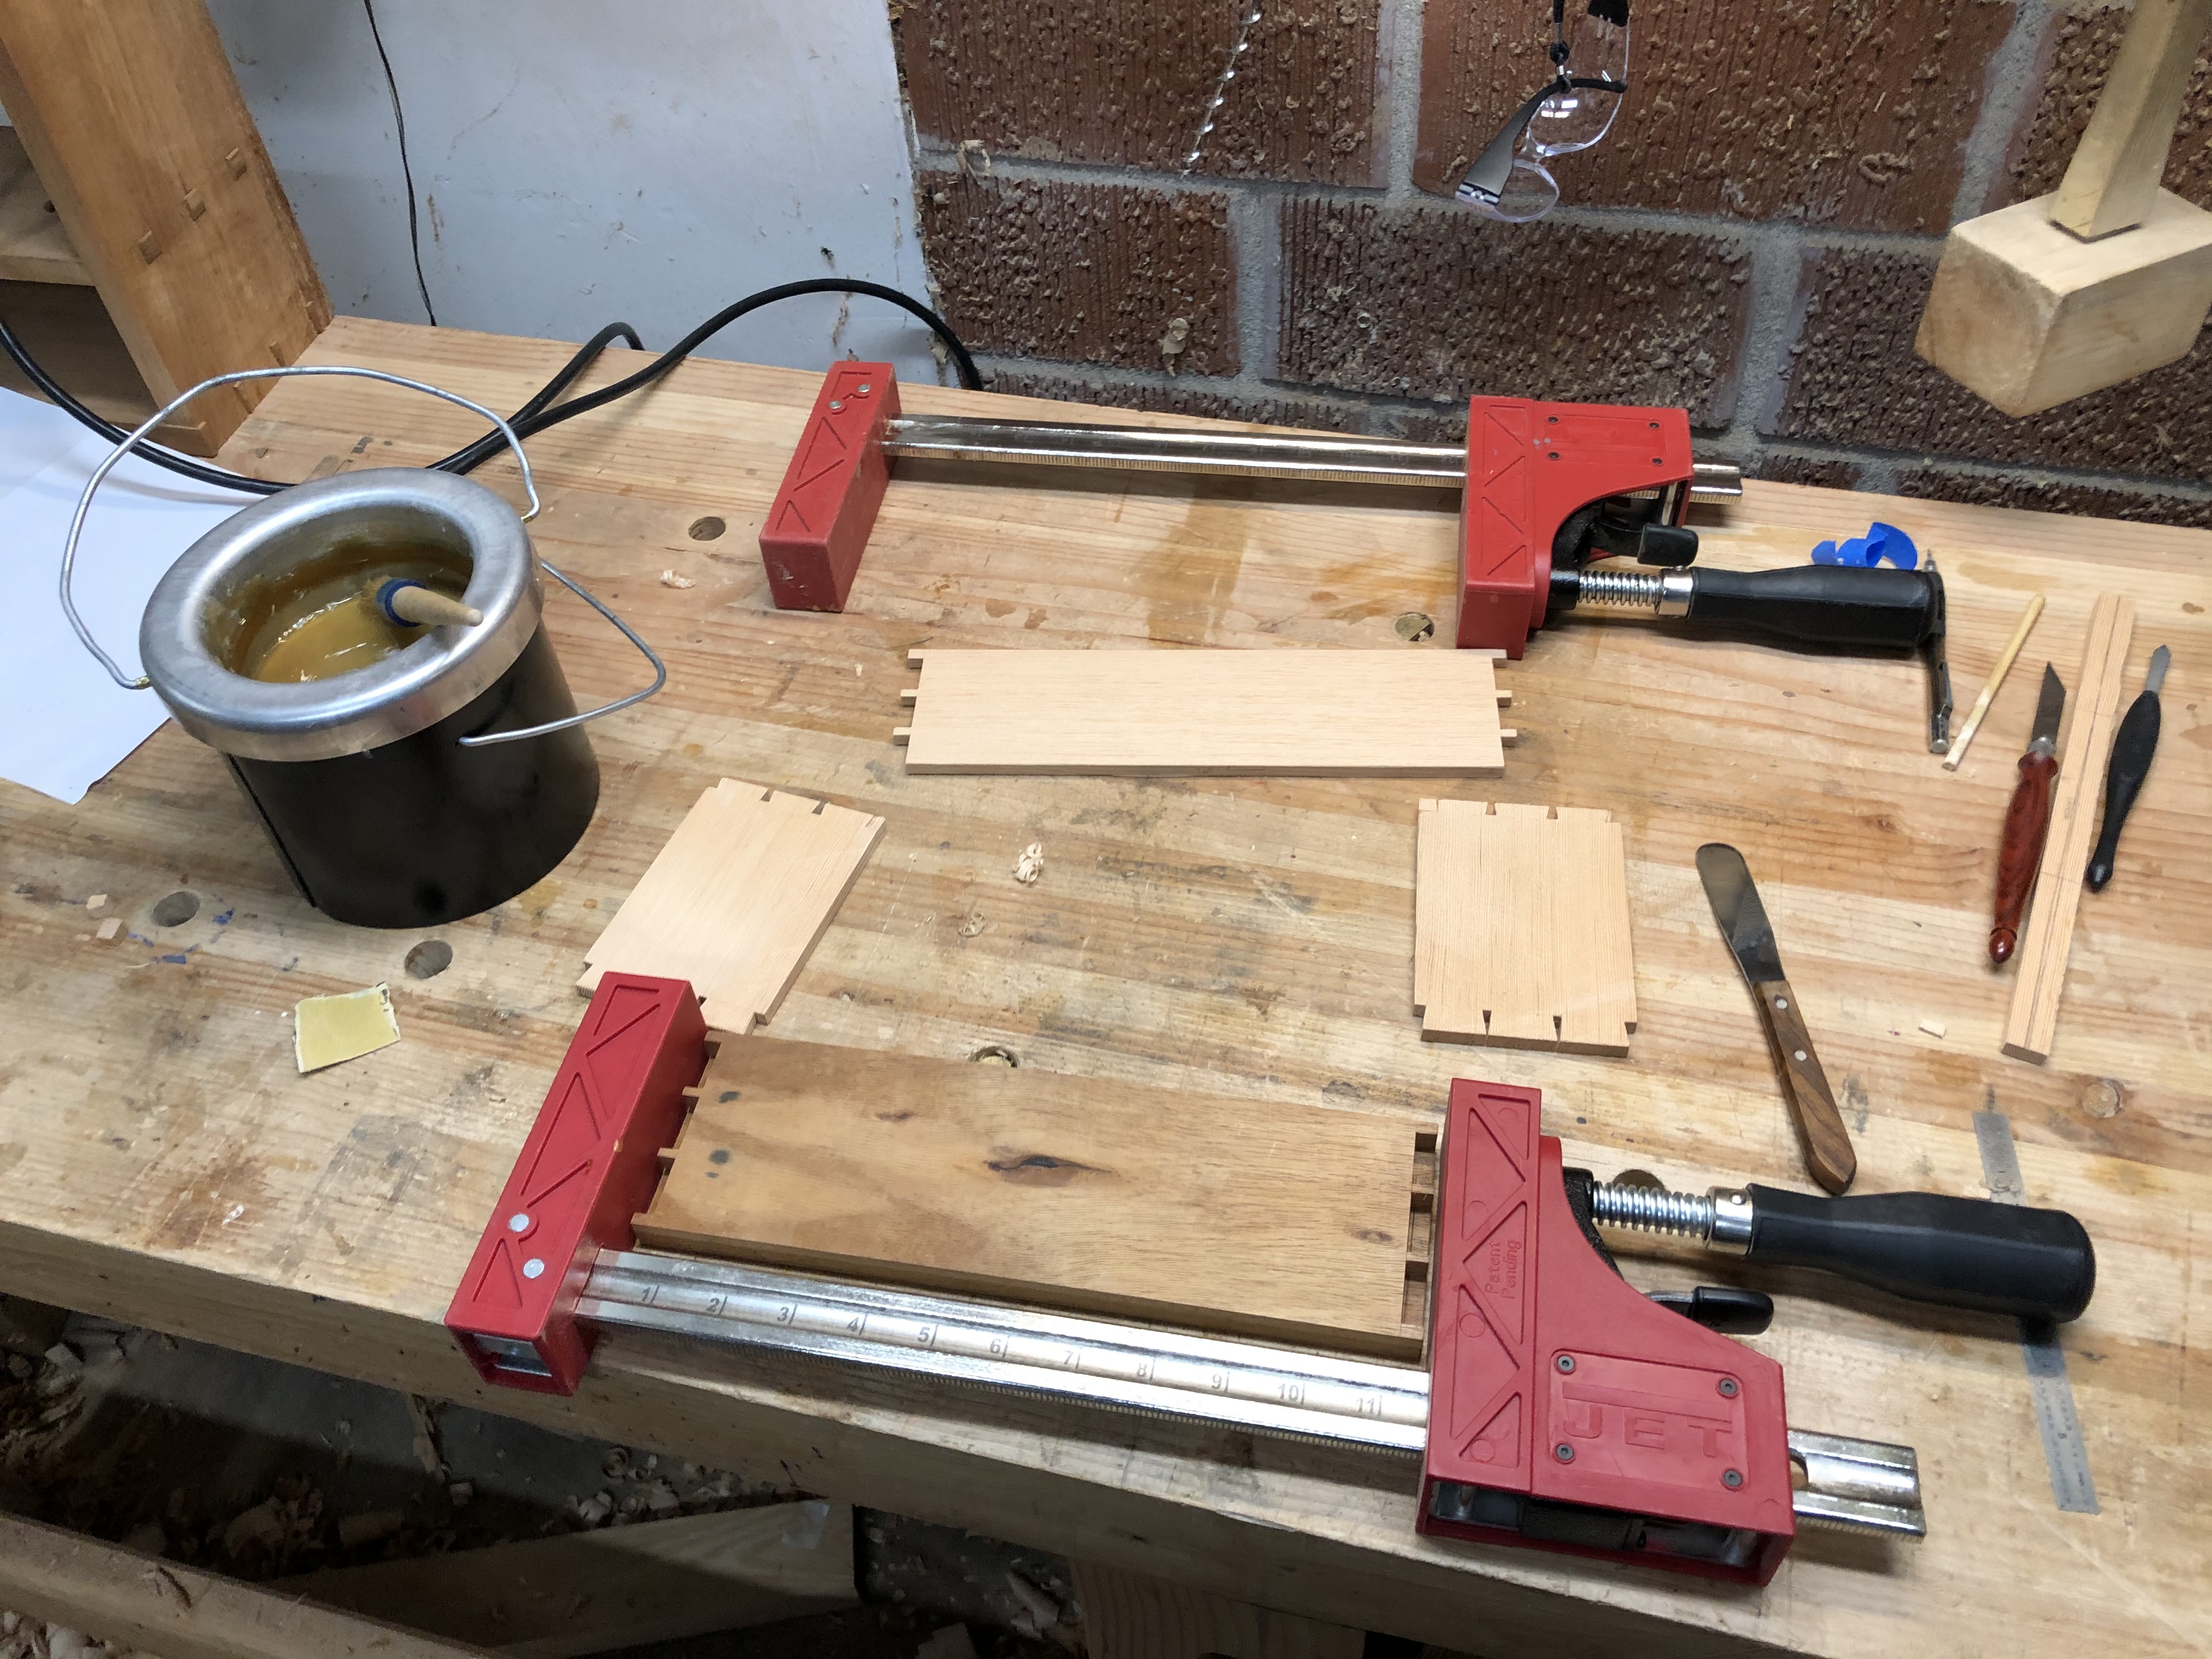
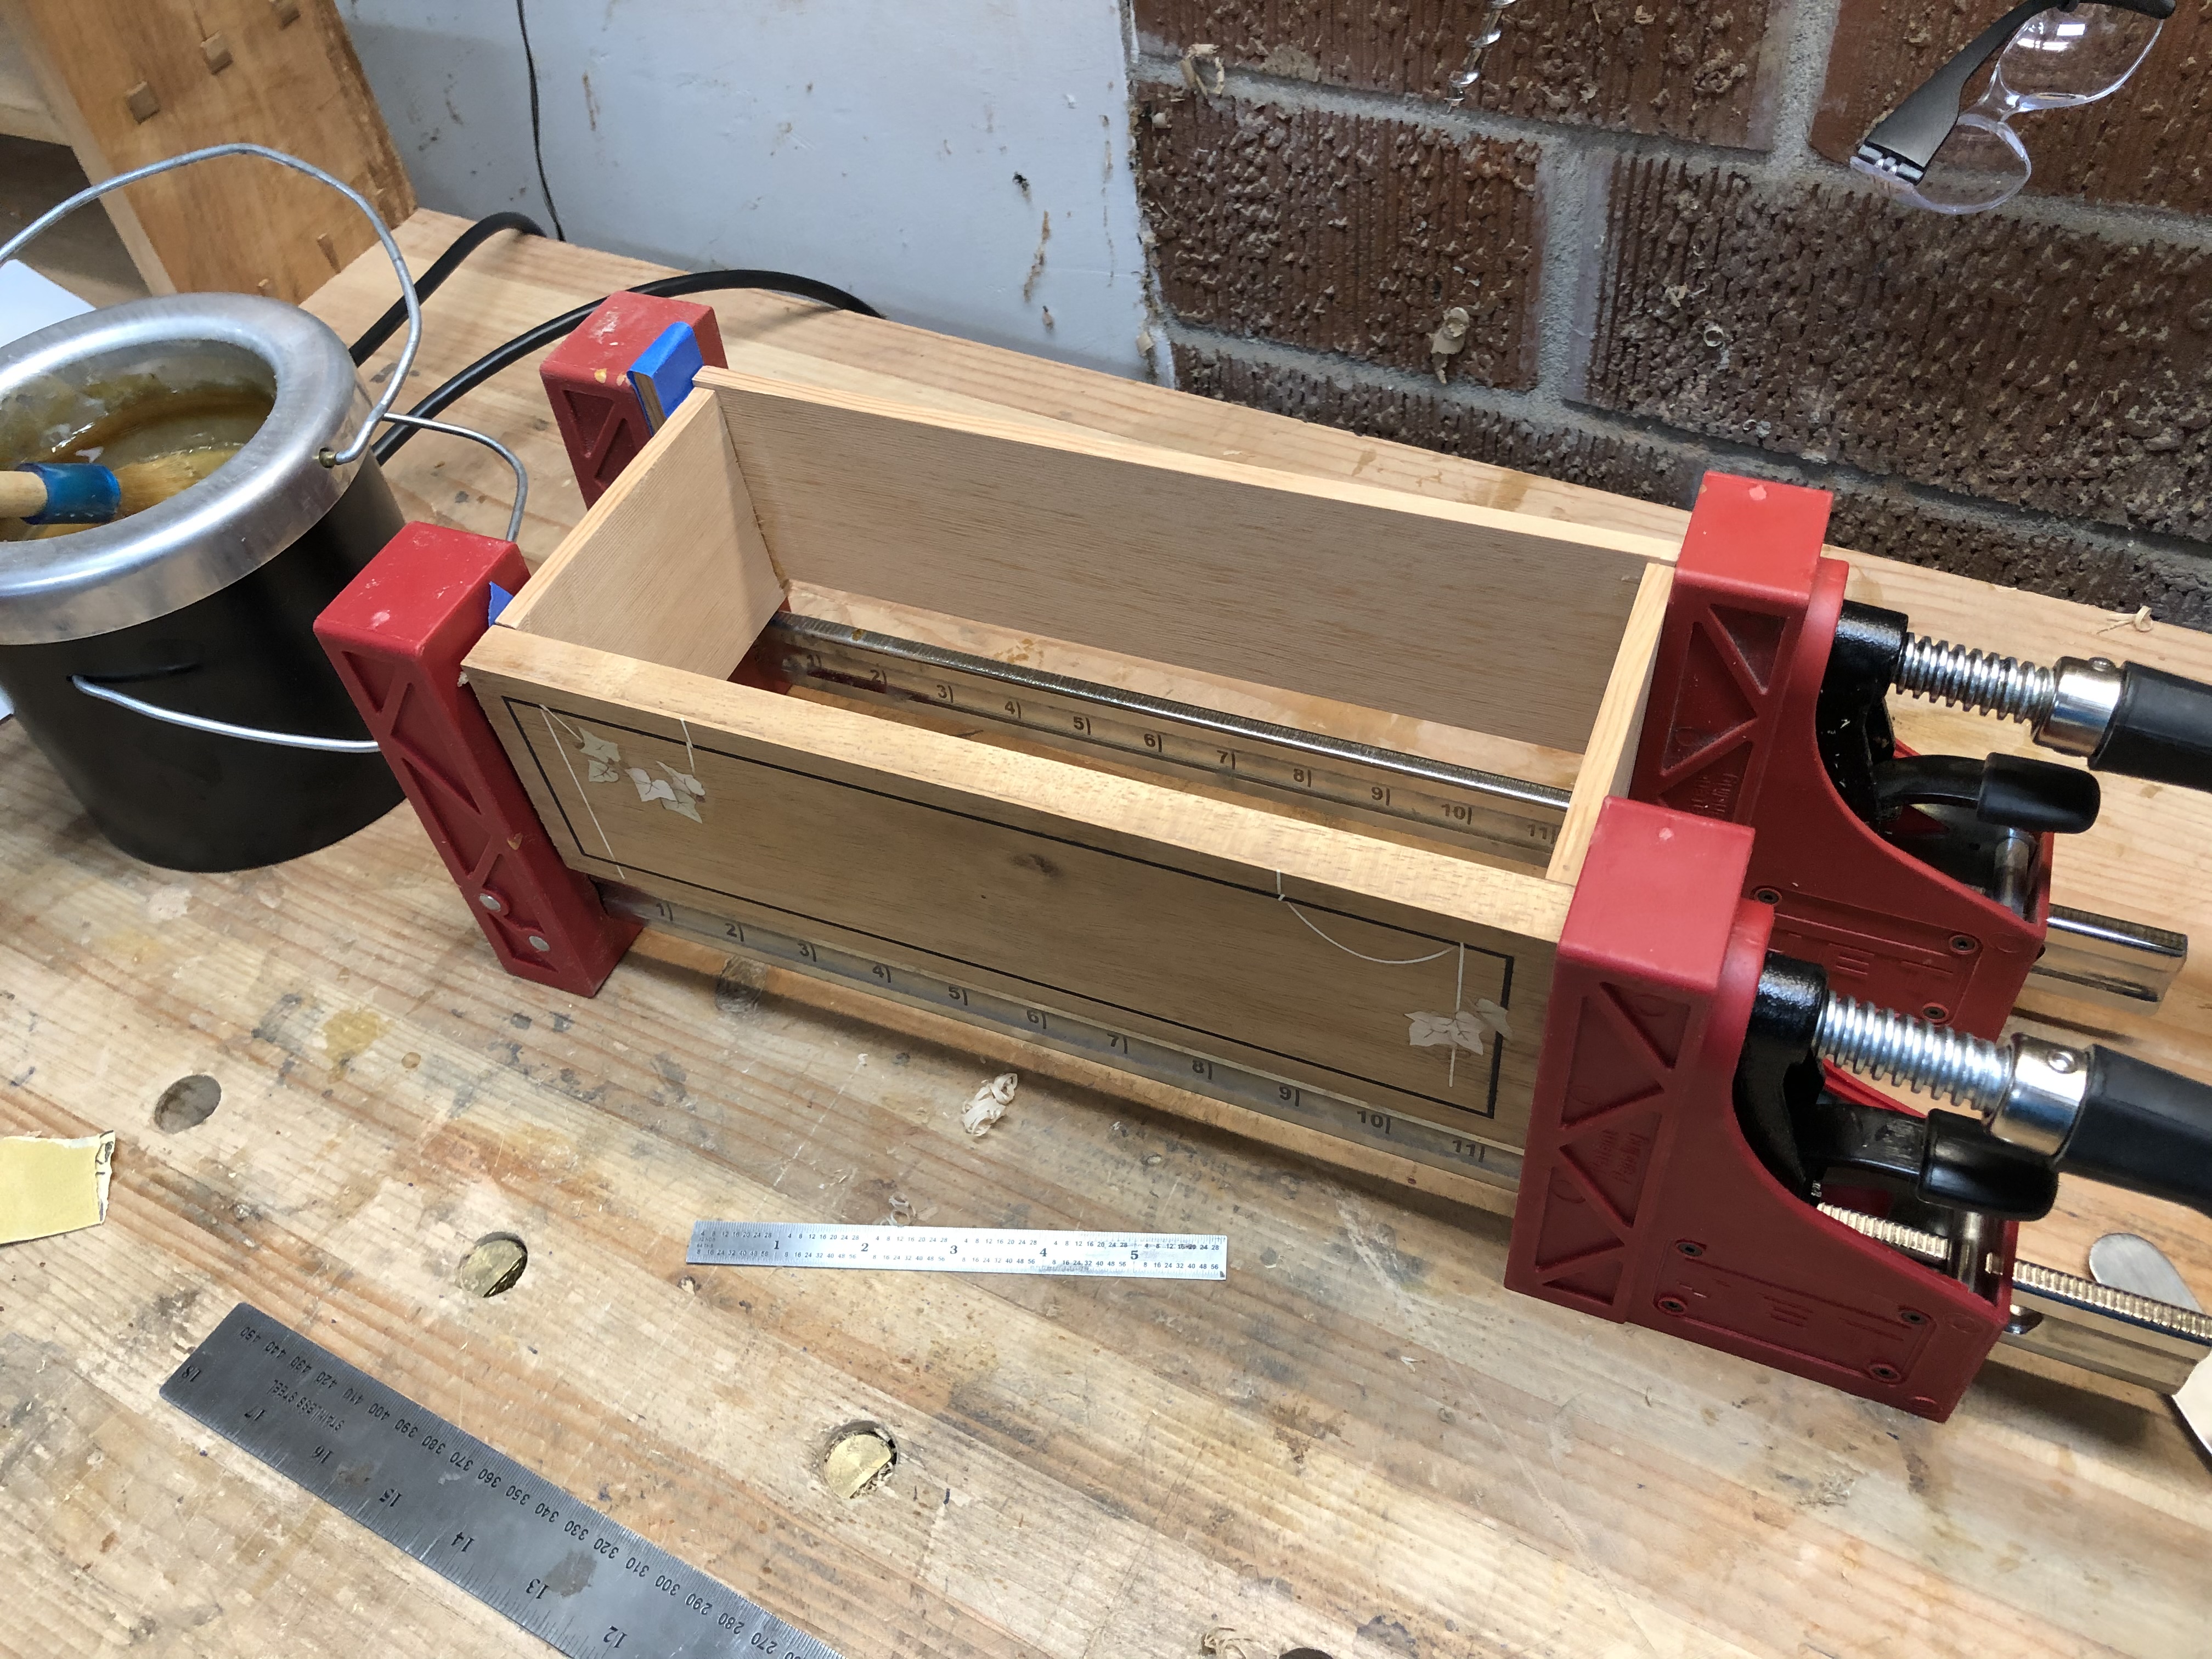
Got the drawer glued up. This was my first time using hot hide glue for a glue-up. So far I'd used it for hammer veneering, parts of the marquetry process, and assorted repair-job work. Worked great here too. Simple glue-up, so no concerns about open time. I especially liked that the squeeze-out gelled quickly; I could run a metal rule up the inside of the joint, scrape off the glue boogers before they set hard, and drop them right back in the glue pot.
Drawer slips in. I've got a drawer.
A number of years ago I bought a Bridge City block plane because their tools seemed fun and they were local. My woodworking aesthetic has moved away from them and I've rarely found a need to pull it out. But the depth skids and low angle were perfect for trimming the through-tenons and proud dovetails on the case.
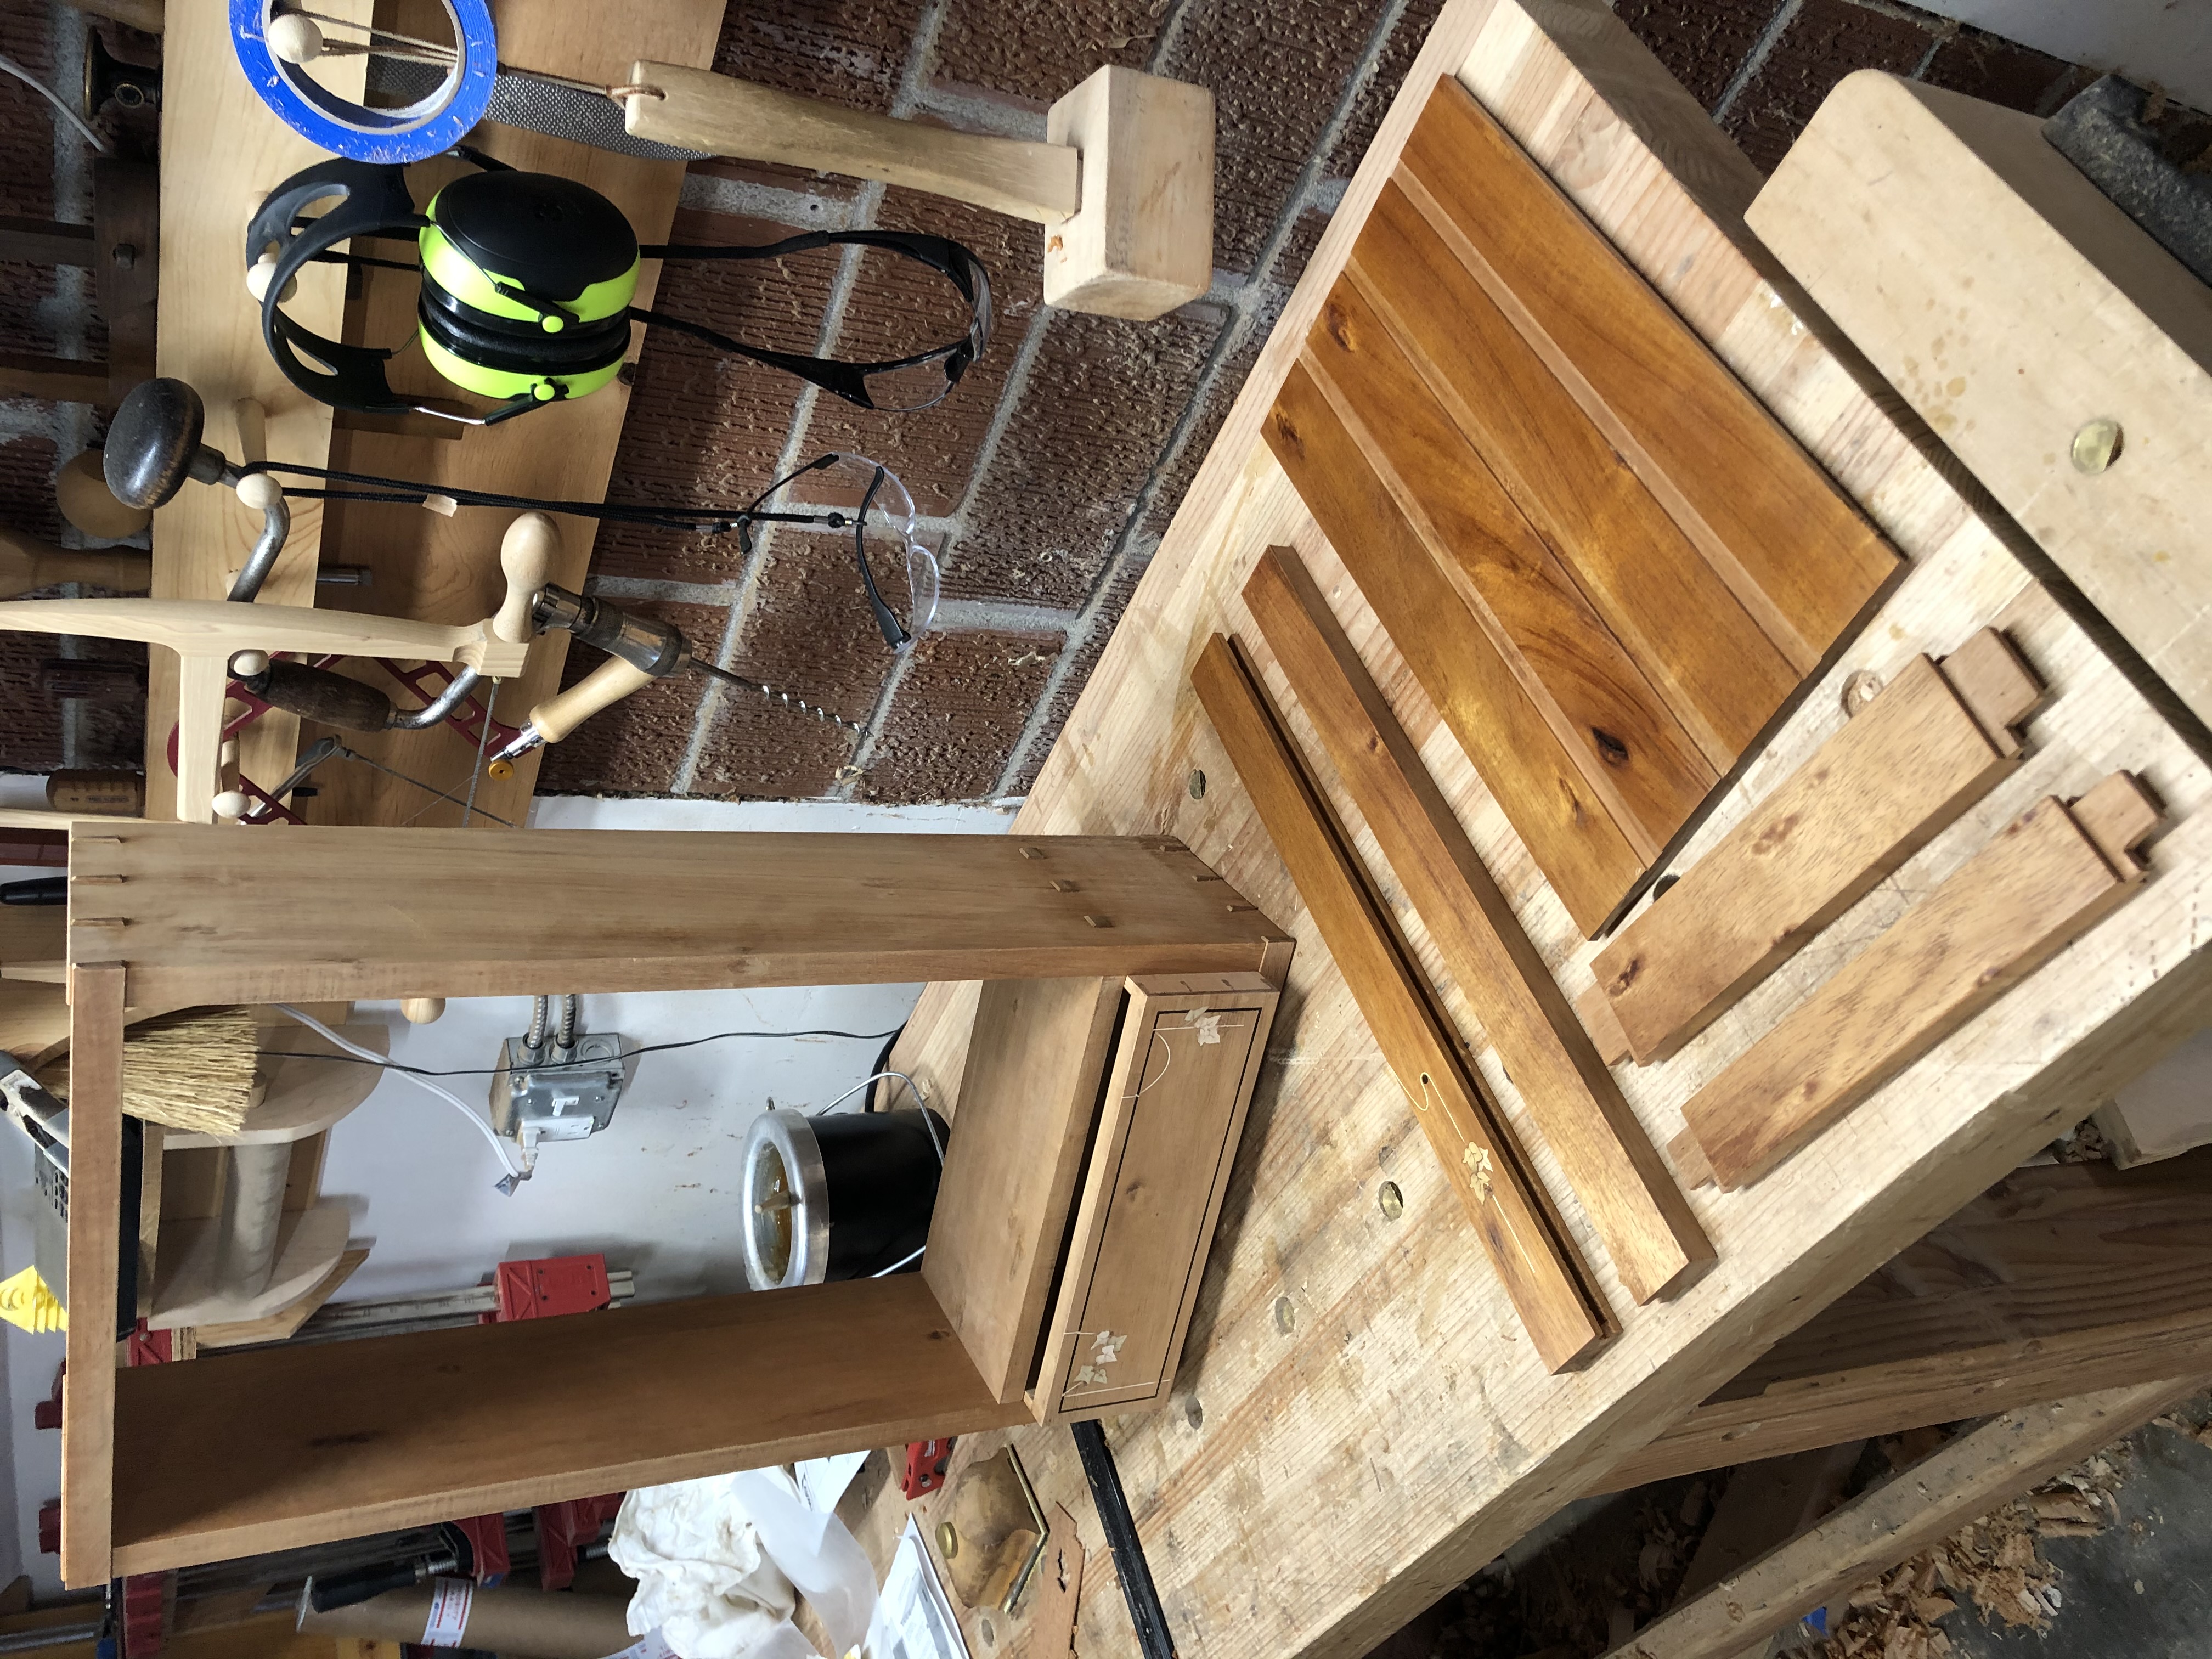
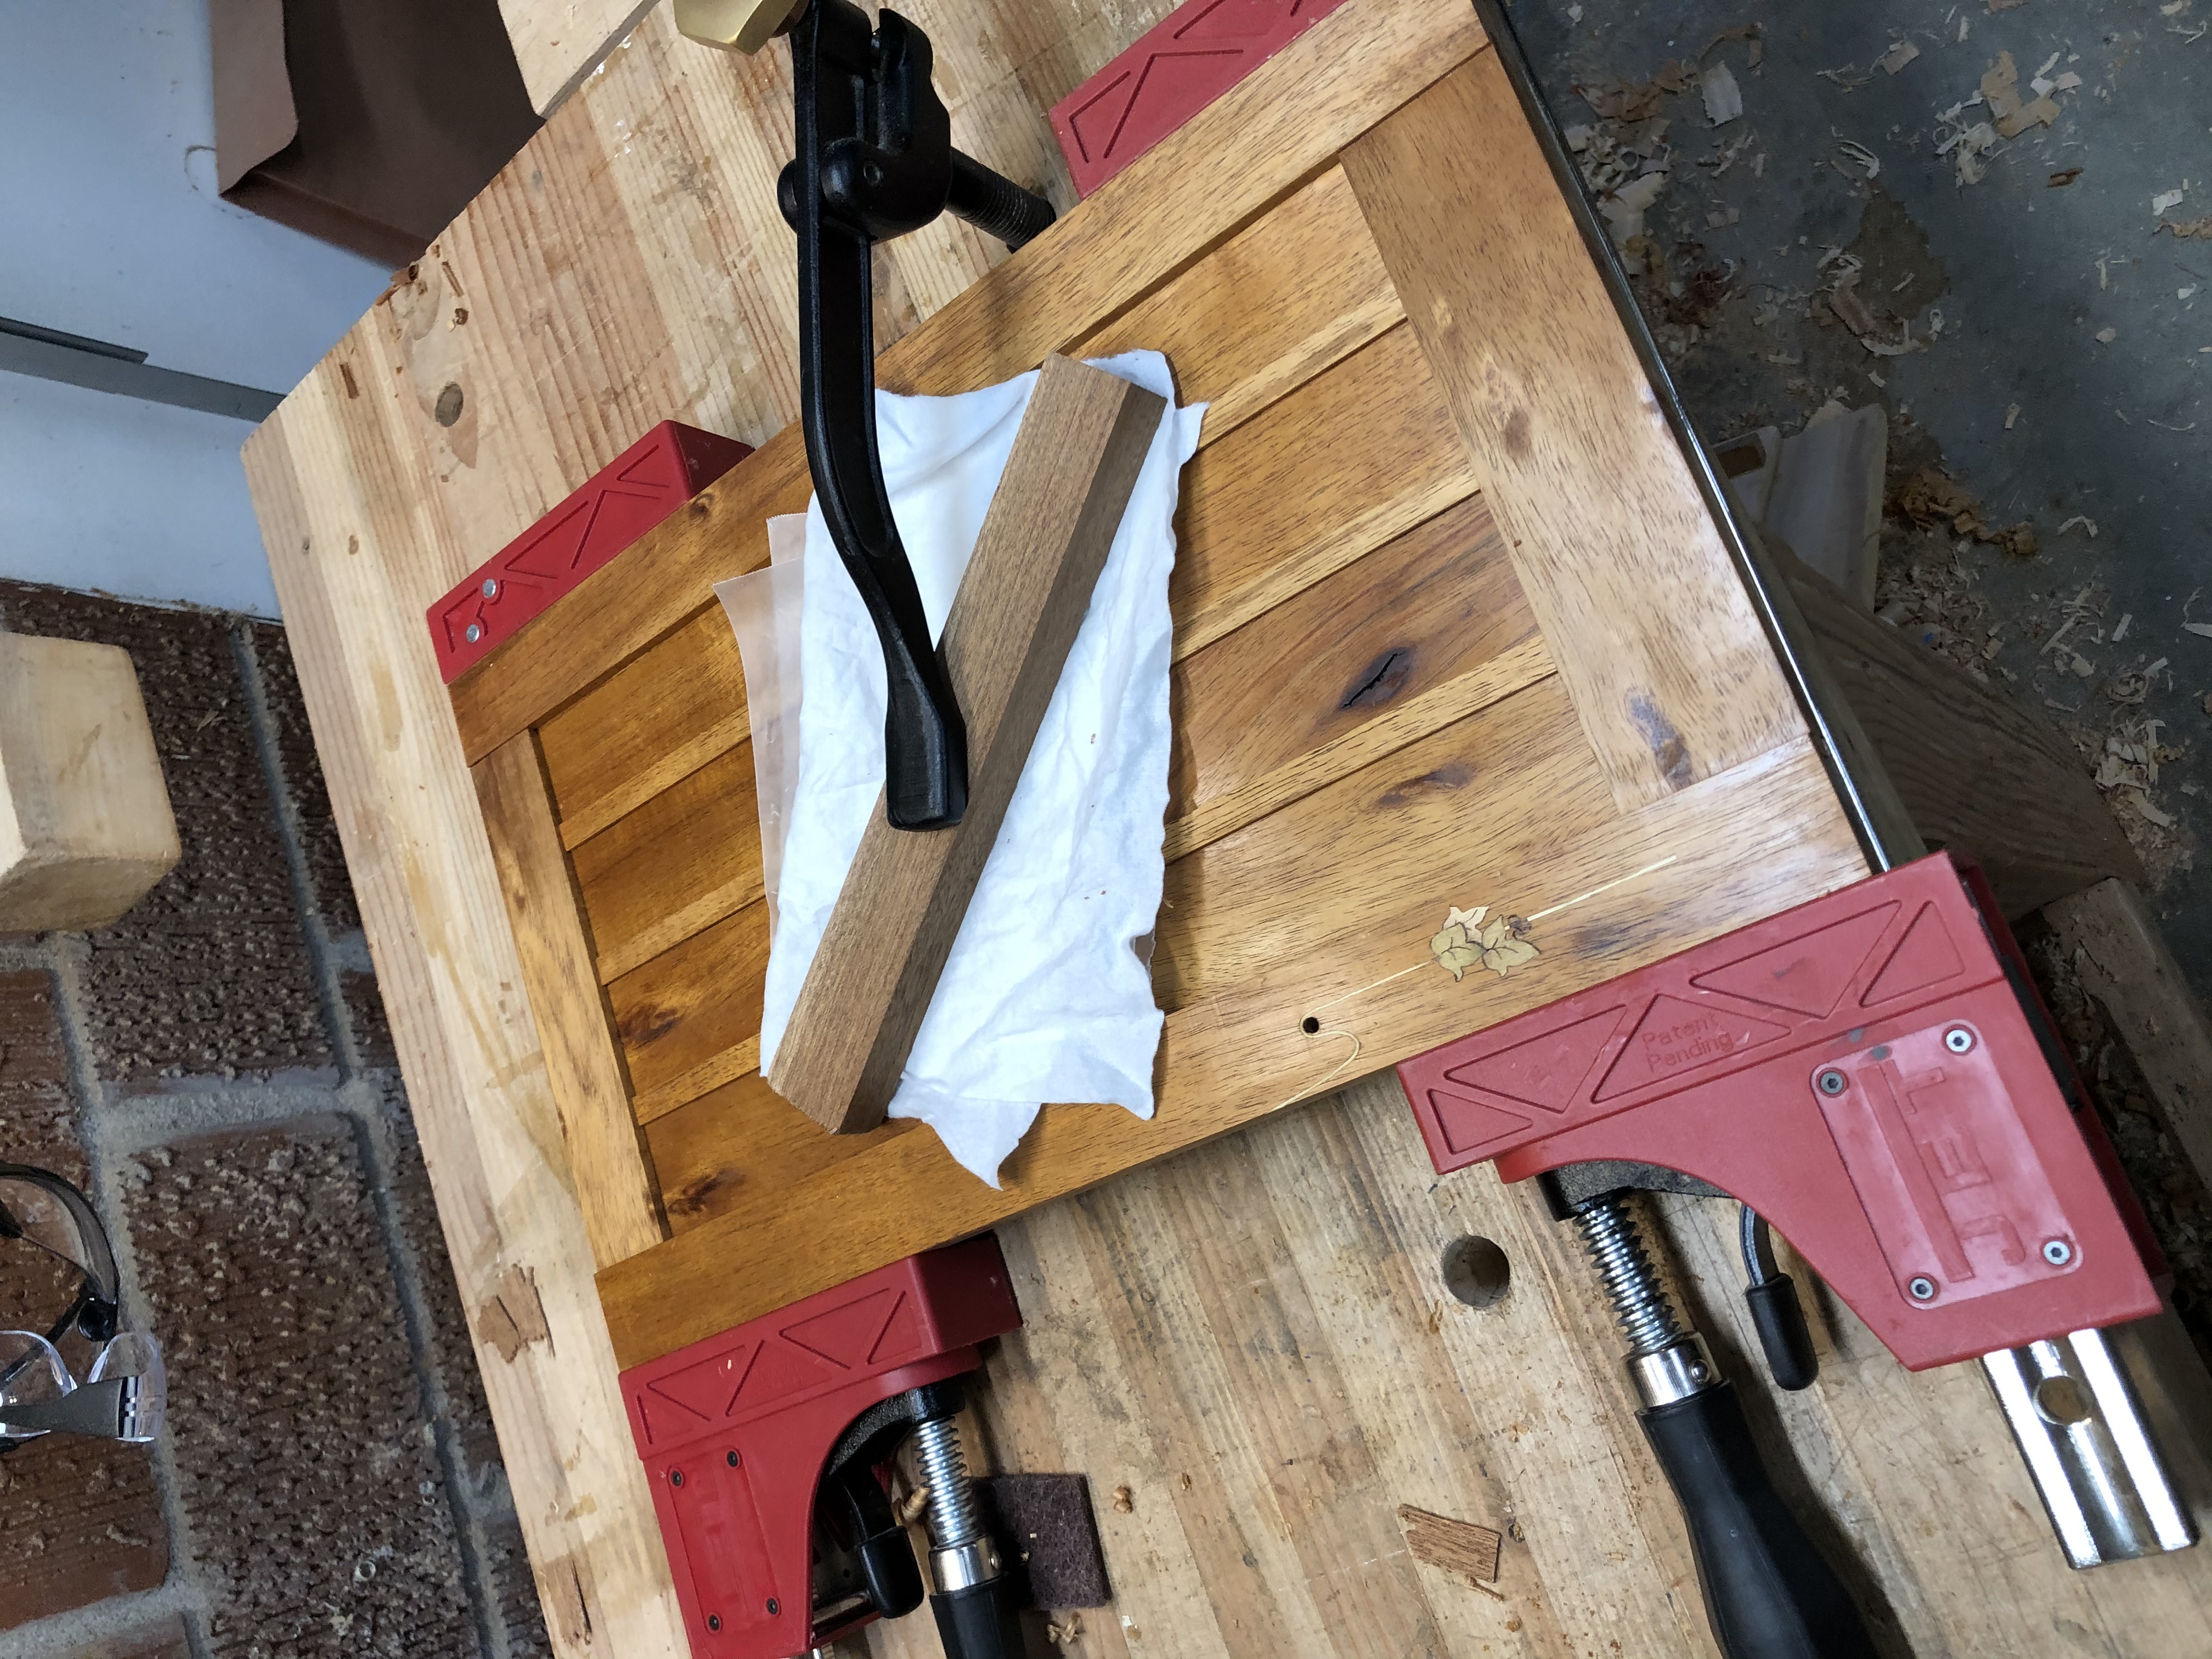
For once I remembered to prefinish, which is great because this door has quite a few inside corners.
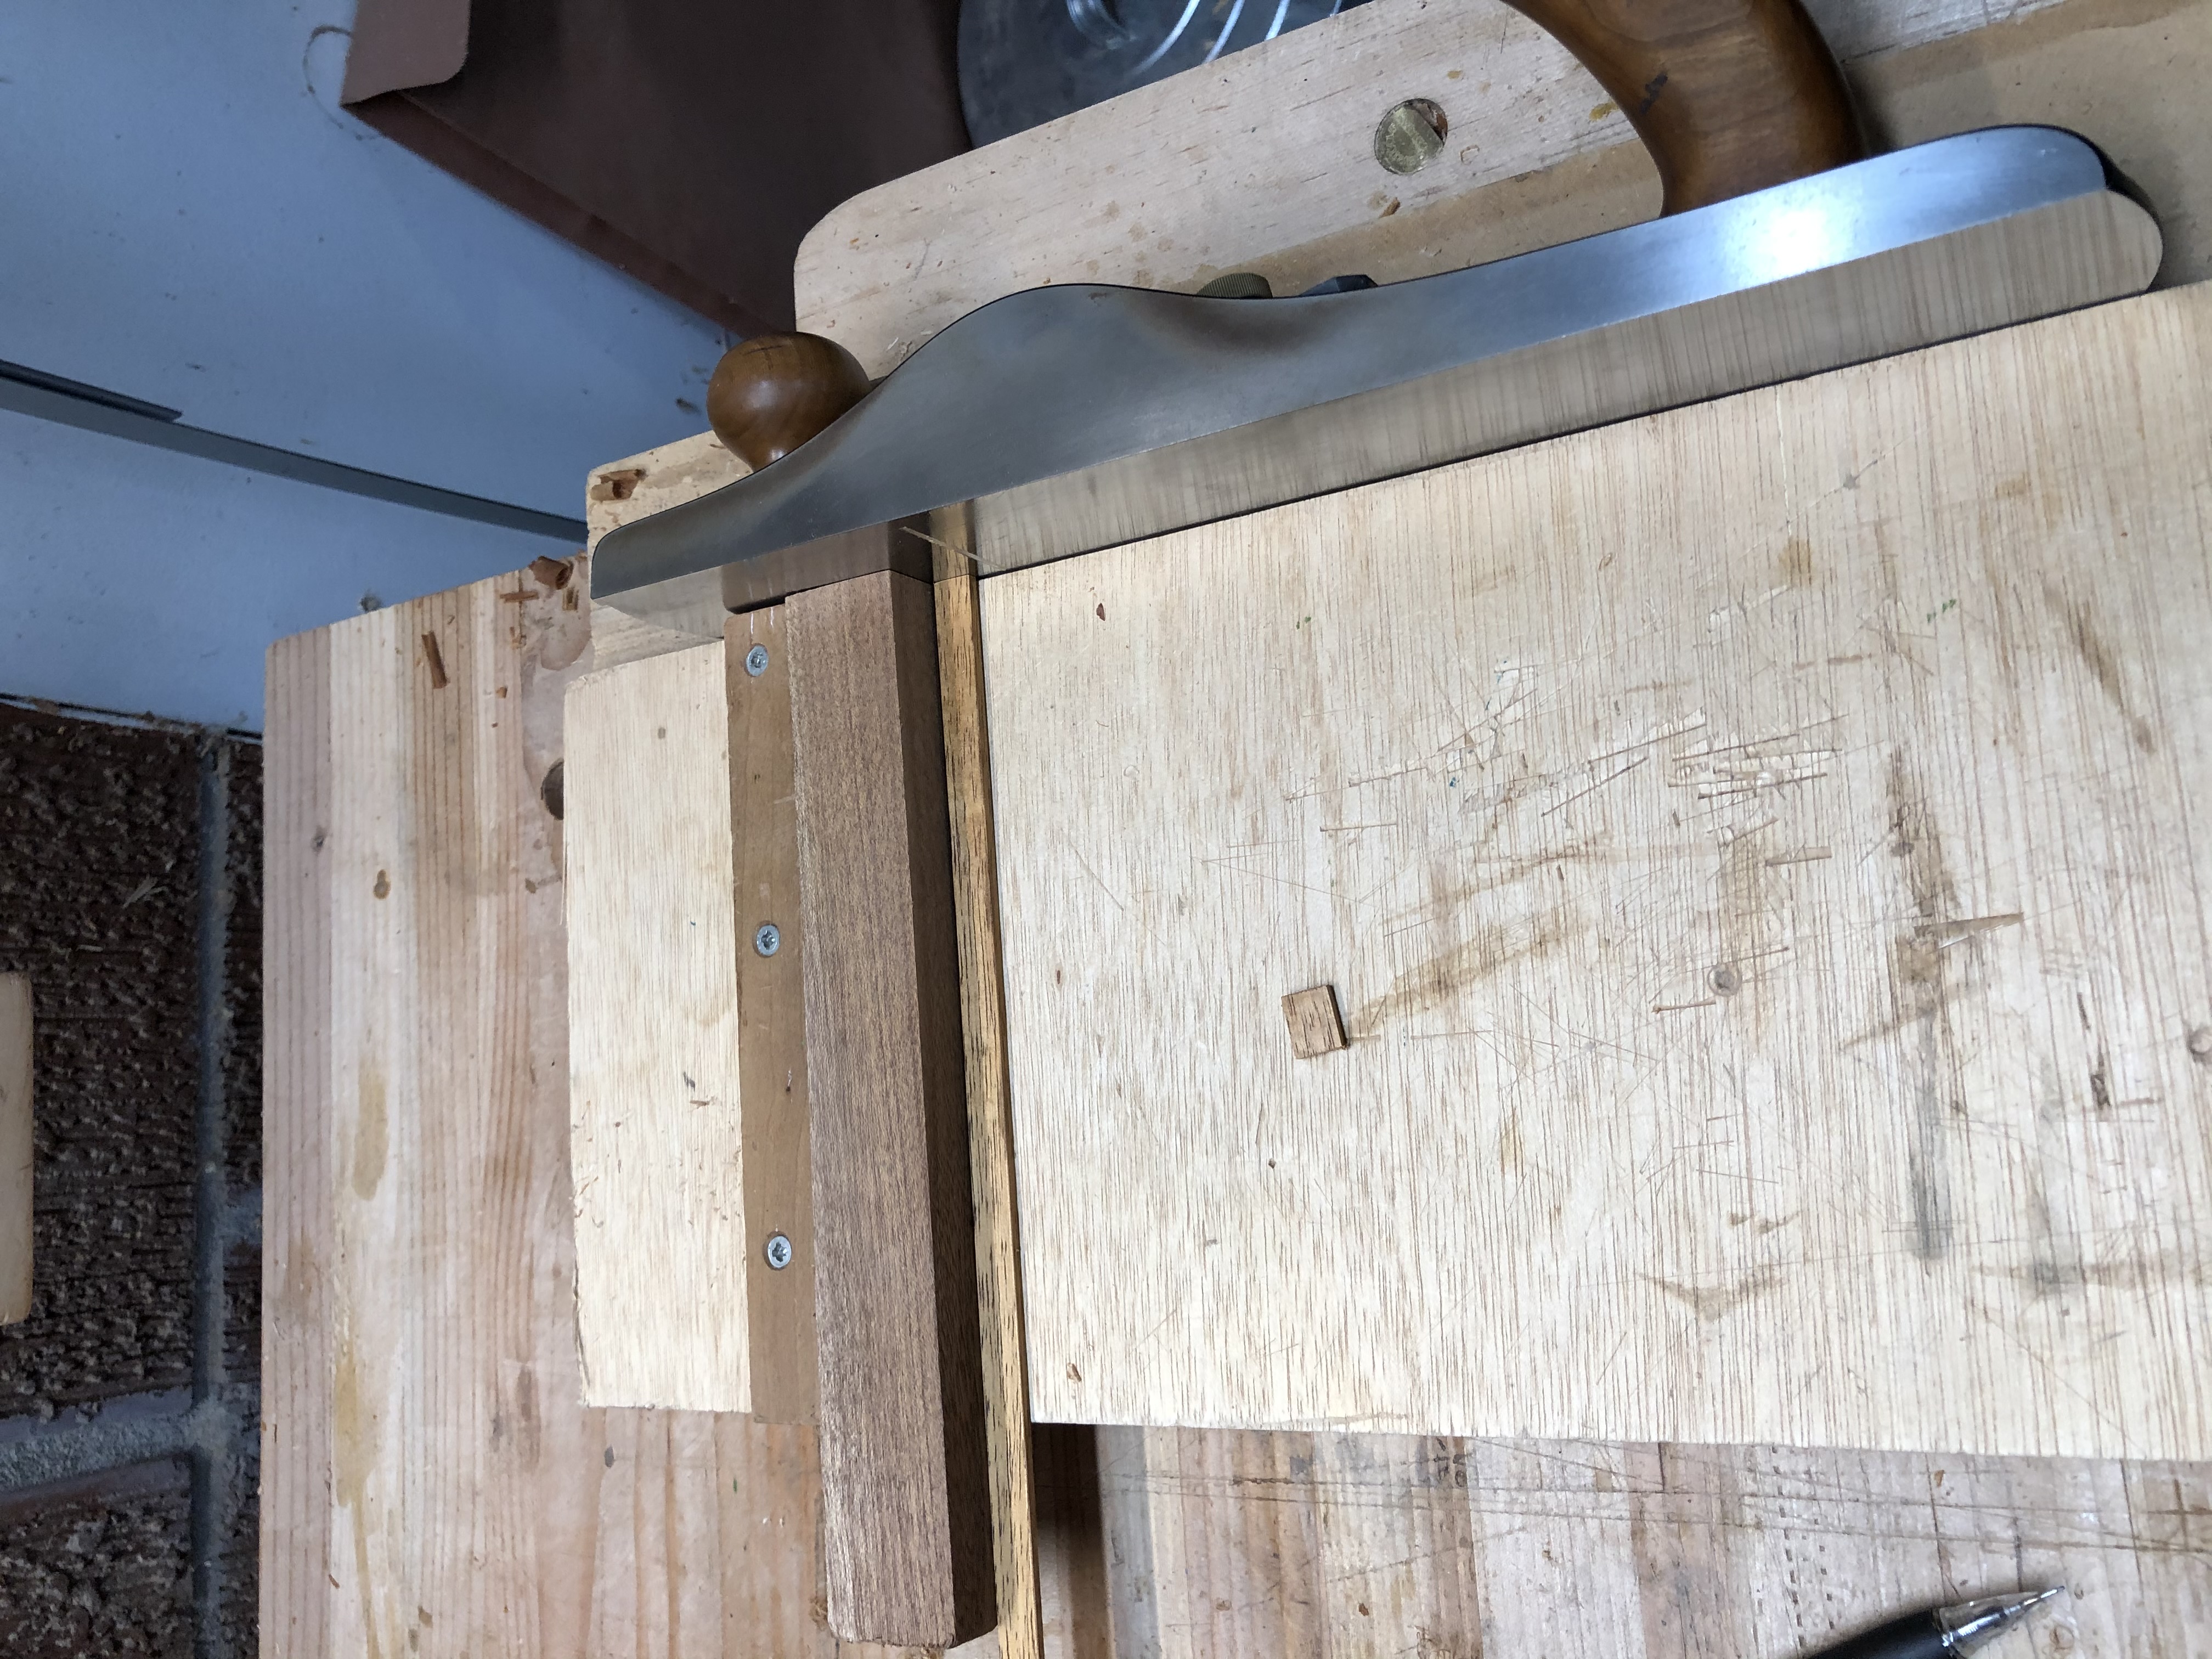
Shooting board
My shooting board is fairly useless these days. The fence has got chewed up enough that it provides basically no backing support. Heavy misuse when I started out. I've always meant to make a new one but use it so rarely that it's never seemed worth it.
I needed to precisely trim the inserts in the door panel, which clearly called for a shooting board. Square was less important here than clean, so I grabbed an offcut, dropped it on the board as a movable fence for zero-clearance support, and shot the thin pieces to length. Worked great.
Also, prefinishing, where have you been all my life.
Door hung
The door is hung.
Very satisfying. As was mounting the hardware. This design uses a hinge strip attached to the carcass so the door can be slightly inset. It made fitting everything pretty easy. (Don't worry, I scraped off the shellac under the hinge strip before gluing it down.)
Fitting hinges is methodical, but I had the very satisfying experience of cutting the hinge mortises on the door and thinking: "that was the best I could have done."
Doors are a lot easier to fit when there's still access to the back of the cabinet.
I'm running out of excuses to not turn the knobs. Just knobs and shelves left. The backboards and hanging cleat are already made, waiting to be attached.
(Asked where this one's going to live: it's not for the shop. I built it to use a particular board, not for a particular place or purpose. Likely either a replacement medicine cabinet in our bathroom or a tea cabinet in my office at work. Not sure yet.)
Drawer parts set out for glue-up.Drawer slips in. That's a drawer.Bridge City block plane trimming through-tenons and proud dovetails.Prefinished door parts waiting for assembly.Chewed-up shooting-board fence with a scrap offcut used as a zero-clearance fence for the thin panel inserts.Thin panel insert fitted to length.Hinge strip glued to the carcass so the door can be slightly inset.Hinges mortised and fitted.The door is hung.
Mastic and the Drawer Front Reveal
Paper backing on the drawer-front marquetry, ready to be wet and scraped off.
As usual, no pictures of assembly, but it went well. Out of the makeshift press and on to the mastic.
Mastic is a glue/water/sawdust slurry that turns into a filler-cement that fills the gaps and locks everything in place. With stack cutting that means the saw kerfs. In more precise methods it's the inevitable little cracks and holes that show up here and there. In the French style it's forced through from the back, so there's no goop to clean off the front. In these pictures you're looking at the back of the marquetry. You can see only one of the ebony strings because I changed technique partway through and stopped cutting my grooves all the way through.
The mix is 1/2 tsp of hot water in a rubber mixing vessel, a swirl of a brush from the hot glue pot (glue on it but not dripping), and enough 220-grit sawdust in an appropriate color to get a chocolate-frosting consistency. Then force it in (really force) with a spatula. Mine is a $5 dental plaster mixing tool, perfect size and shape. Scrape off the excess and let it set overnight.
I did discover as I was assembling that my koa ground was thicker than expected. That meant a good bit of a height difference between the leaves and the ground, which made pushing the mastic in tough. There shouldn't be that much mastic piled up around the edges. Fingers crossed it turned out; I won't know for sure until I get it mounted to the drawer front and scrape the paper off.
Reveal
Got the big reveal. There are things to improve for next time, but I'm pleased.
Hammering the marquetry on was fairly straight forward. After trimming flush with the veneer saw, I wet the paper with a sponge, let it break down, and scraped it off with a razor.
It looks good enough that I'm not even too upset I put it on upside down. (It should still fit; I'll just need to make a new drawer back with the bottom cutout on the other side.)
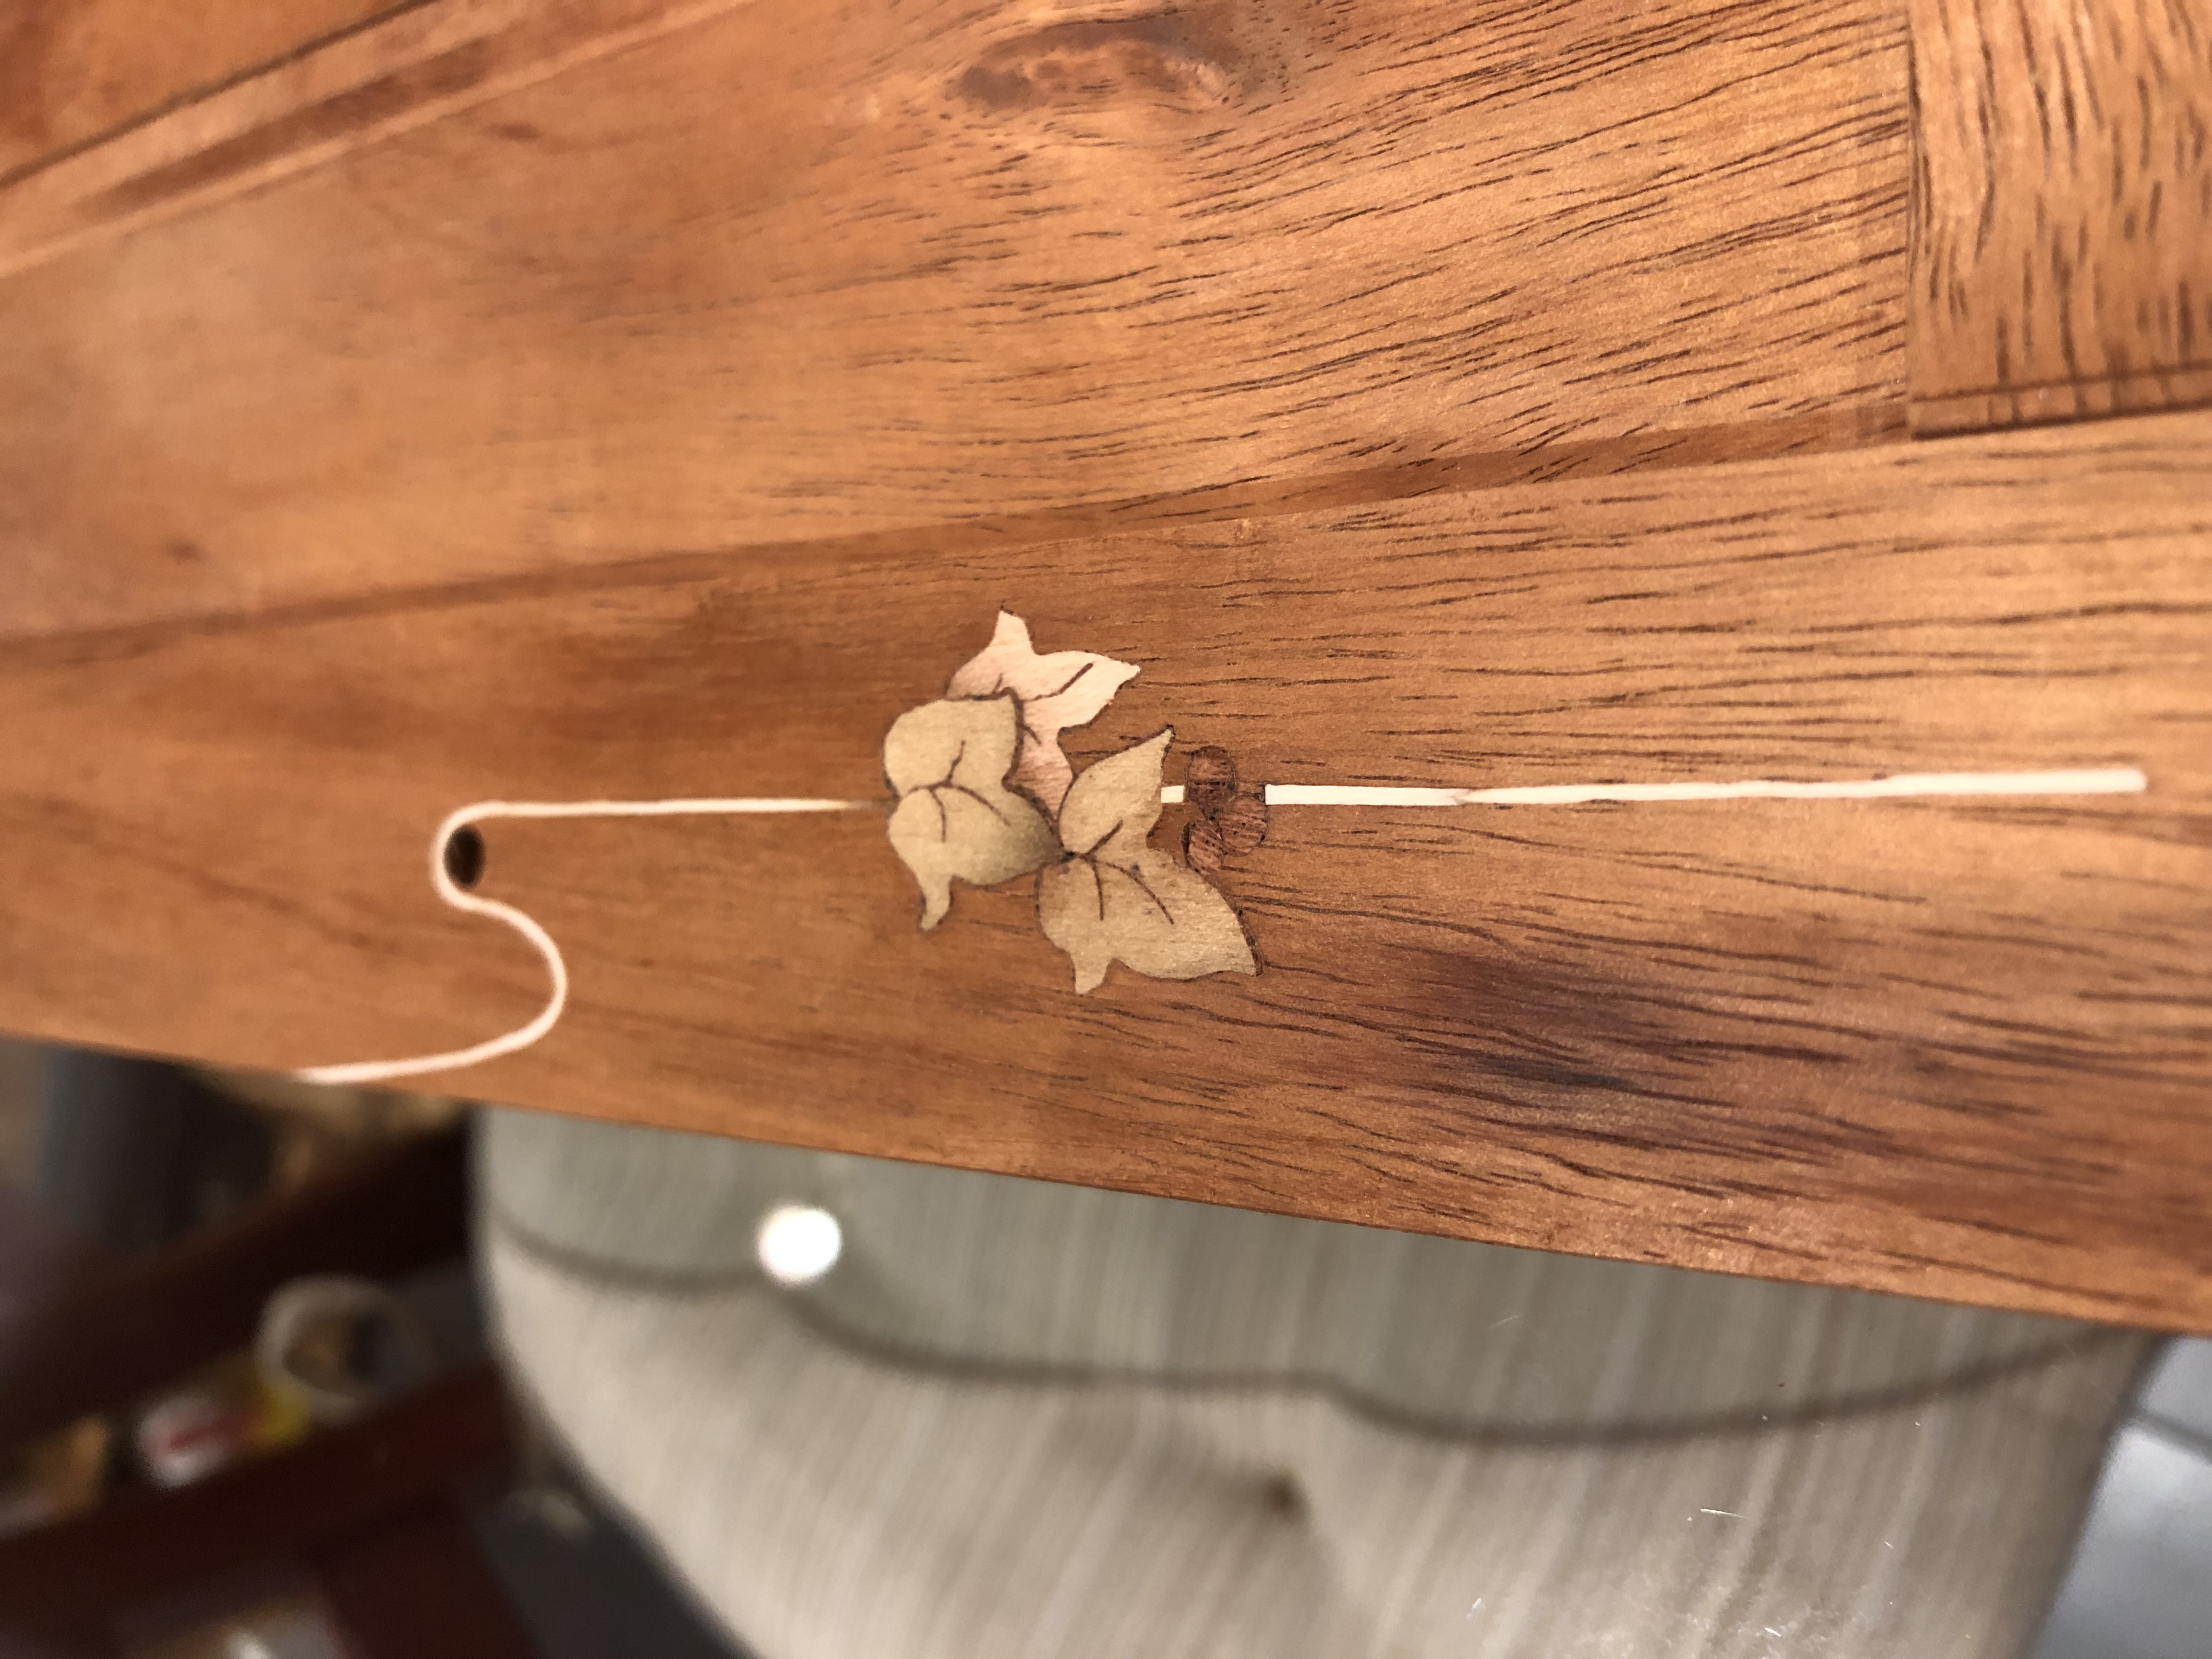
Paper partly removed.Scraping off the last of the paper with a razor.Drawer front with the marquetry revealed.Close-up. The ivy cluster sits to the corner, with stringing looping up and over.
Stringing the Drawer Front
Stringing going in slowly on the drawer-front packet.
Everything takes longer than expected it seems. But the stringing is going in slowly.
For the first two sides I cut all the way through, just as I had for the pieces. It became clear I wouldn't be able to assemble it all at once, and my 1/32" stringing would be a bear to put in from the back and keep flush. So I glued in two pieces of ebony to the through grooves and started cutting the others as blind grooves. That lets me insert the stringing from the front, flush it, then proceed with the leaves in the ordinary way.
You can see the difference in the picture. On the right side there's still a bit of the through groove above the leaves; the two on the left side are blind.
Curves
I was trying to work out a good process for the curves. They're not sections of a circle, so I can't use a compass point. On the stile I'd just drawn the curve in, knifed it very carefully, and nibbled with a 1/32" chisel.
Someone on the forum suggested a template. I didn't have metal, but a scrap of 1/16" ply worked a treat. Quick purpose-built template, better than French curves in this case.
Shaded with hot sand, glued, and flushed. The stringing is done. Time to assemble some marquetry.
Set up for stringing. Right side has a through groove running above the leaves; left side has been cut as a blind groove.Detail of the stringing seating down.Purpose-built curve template cut from a 1/16Last vine shaded, glued, and flushed. Stringing is done.Morning-after view of the flushed panel before assembly proceeds.
Stack-Cutting the Drawer Front Marquetry
Progress. Marquetry cutting is a great pop-down-to-the-shop task.
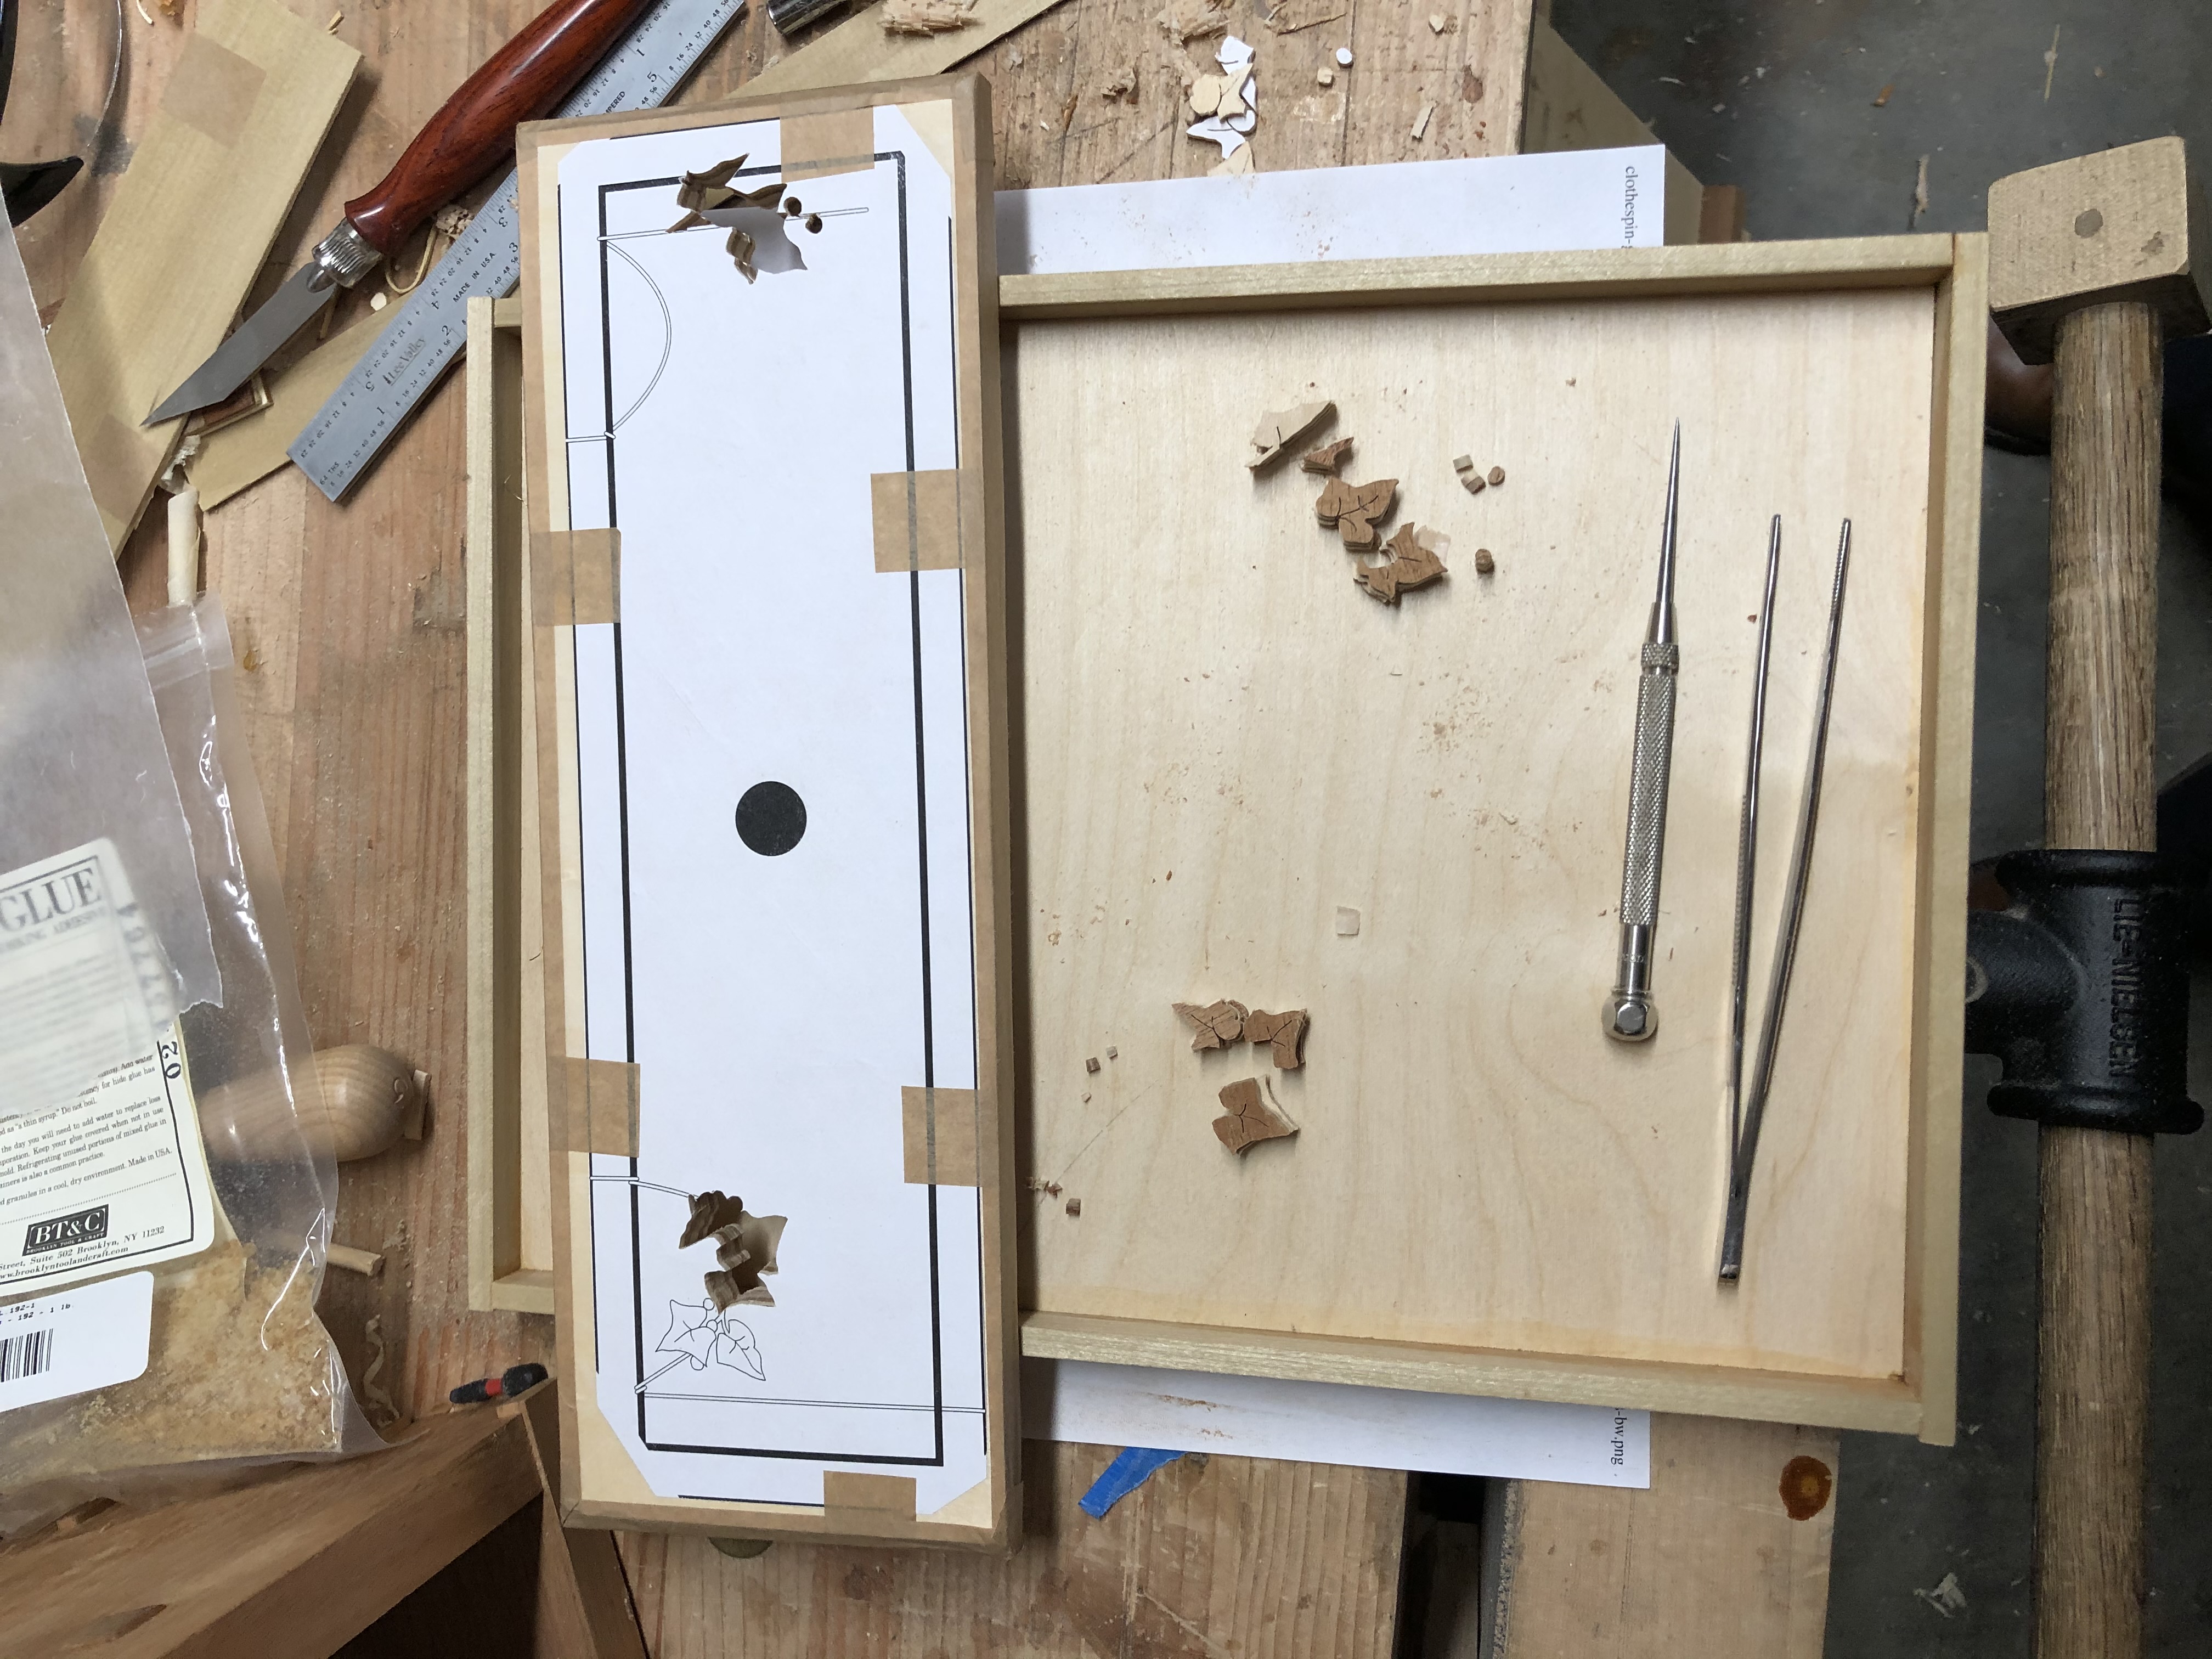
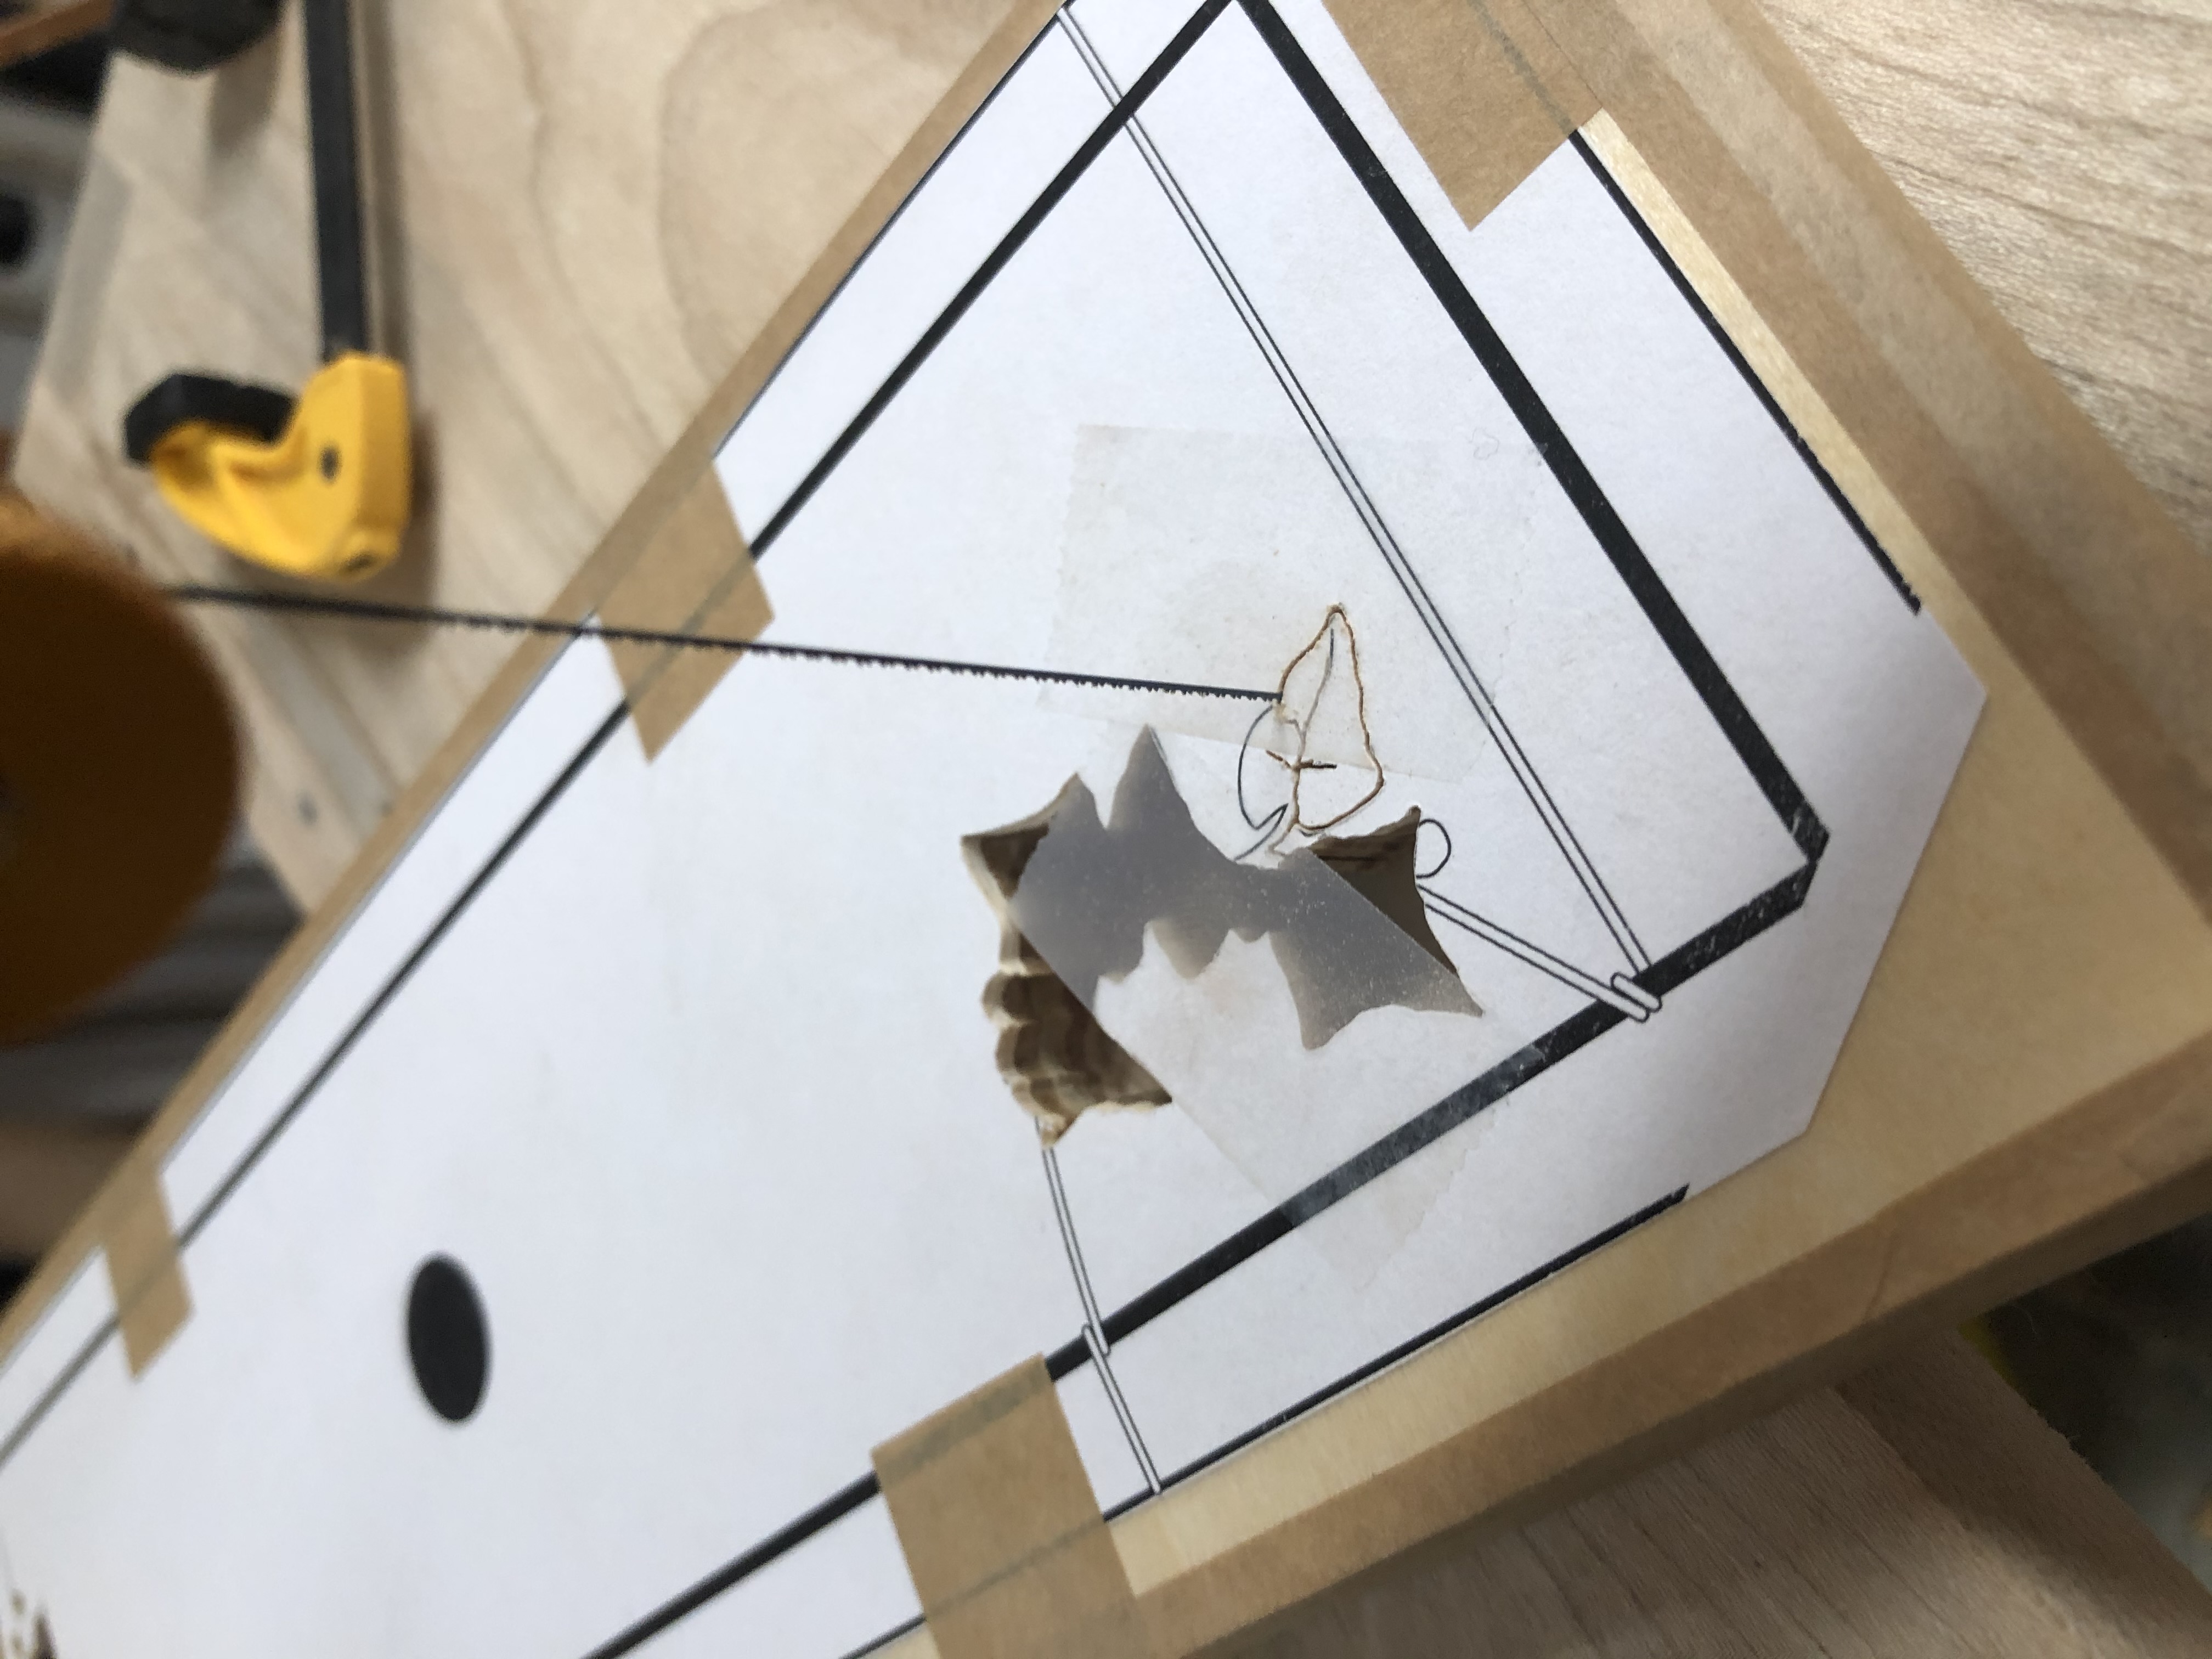
Progress, moving ahead slowly. One nice thing about marquetry cutting is I can pop down to the shop for five to ten minutes, cut a piece or two, and feel productive.
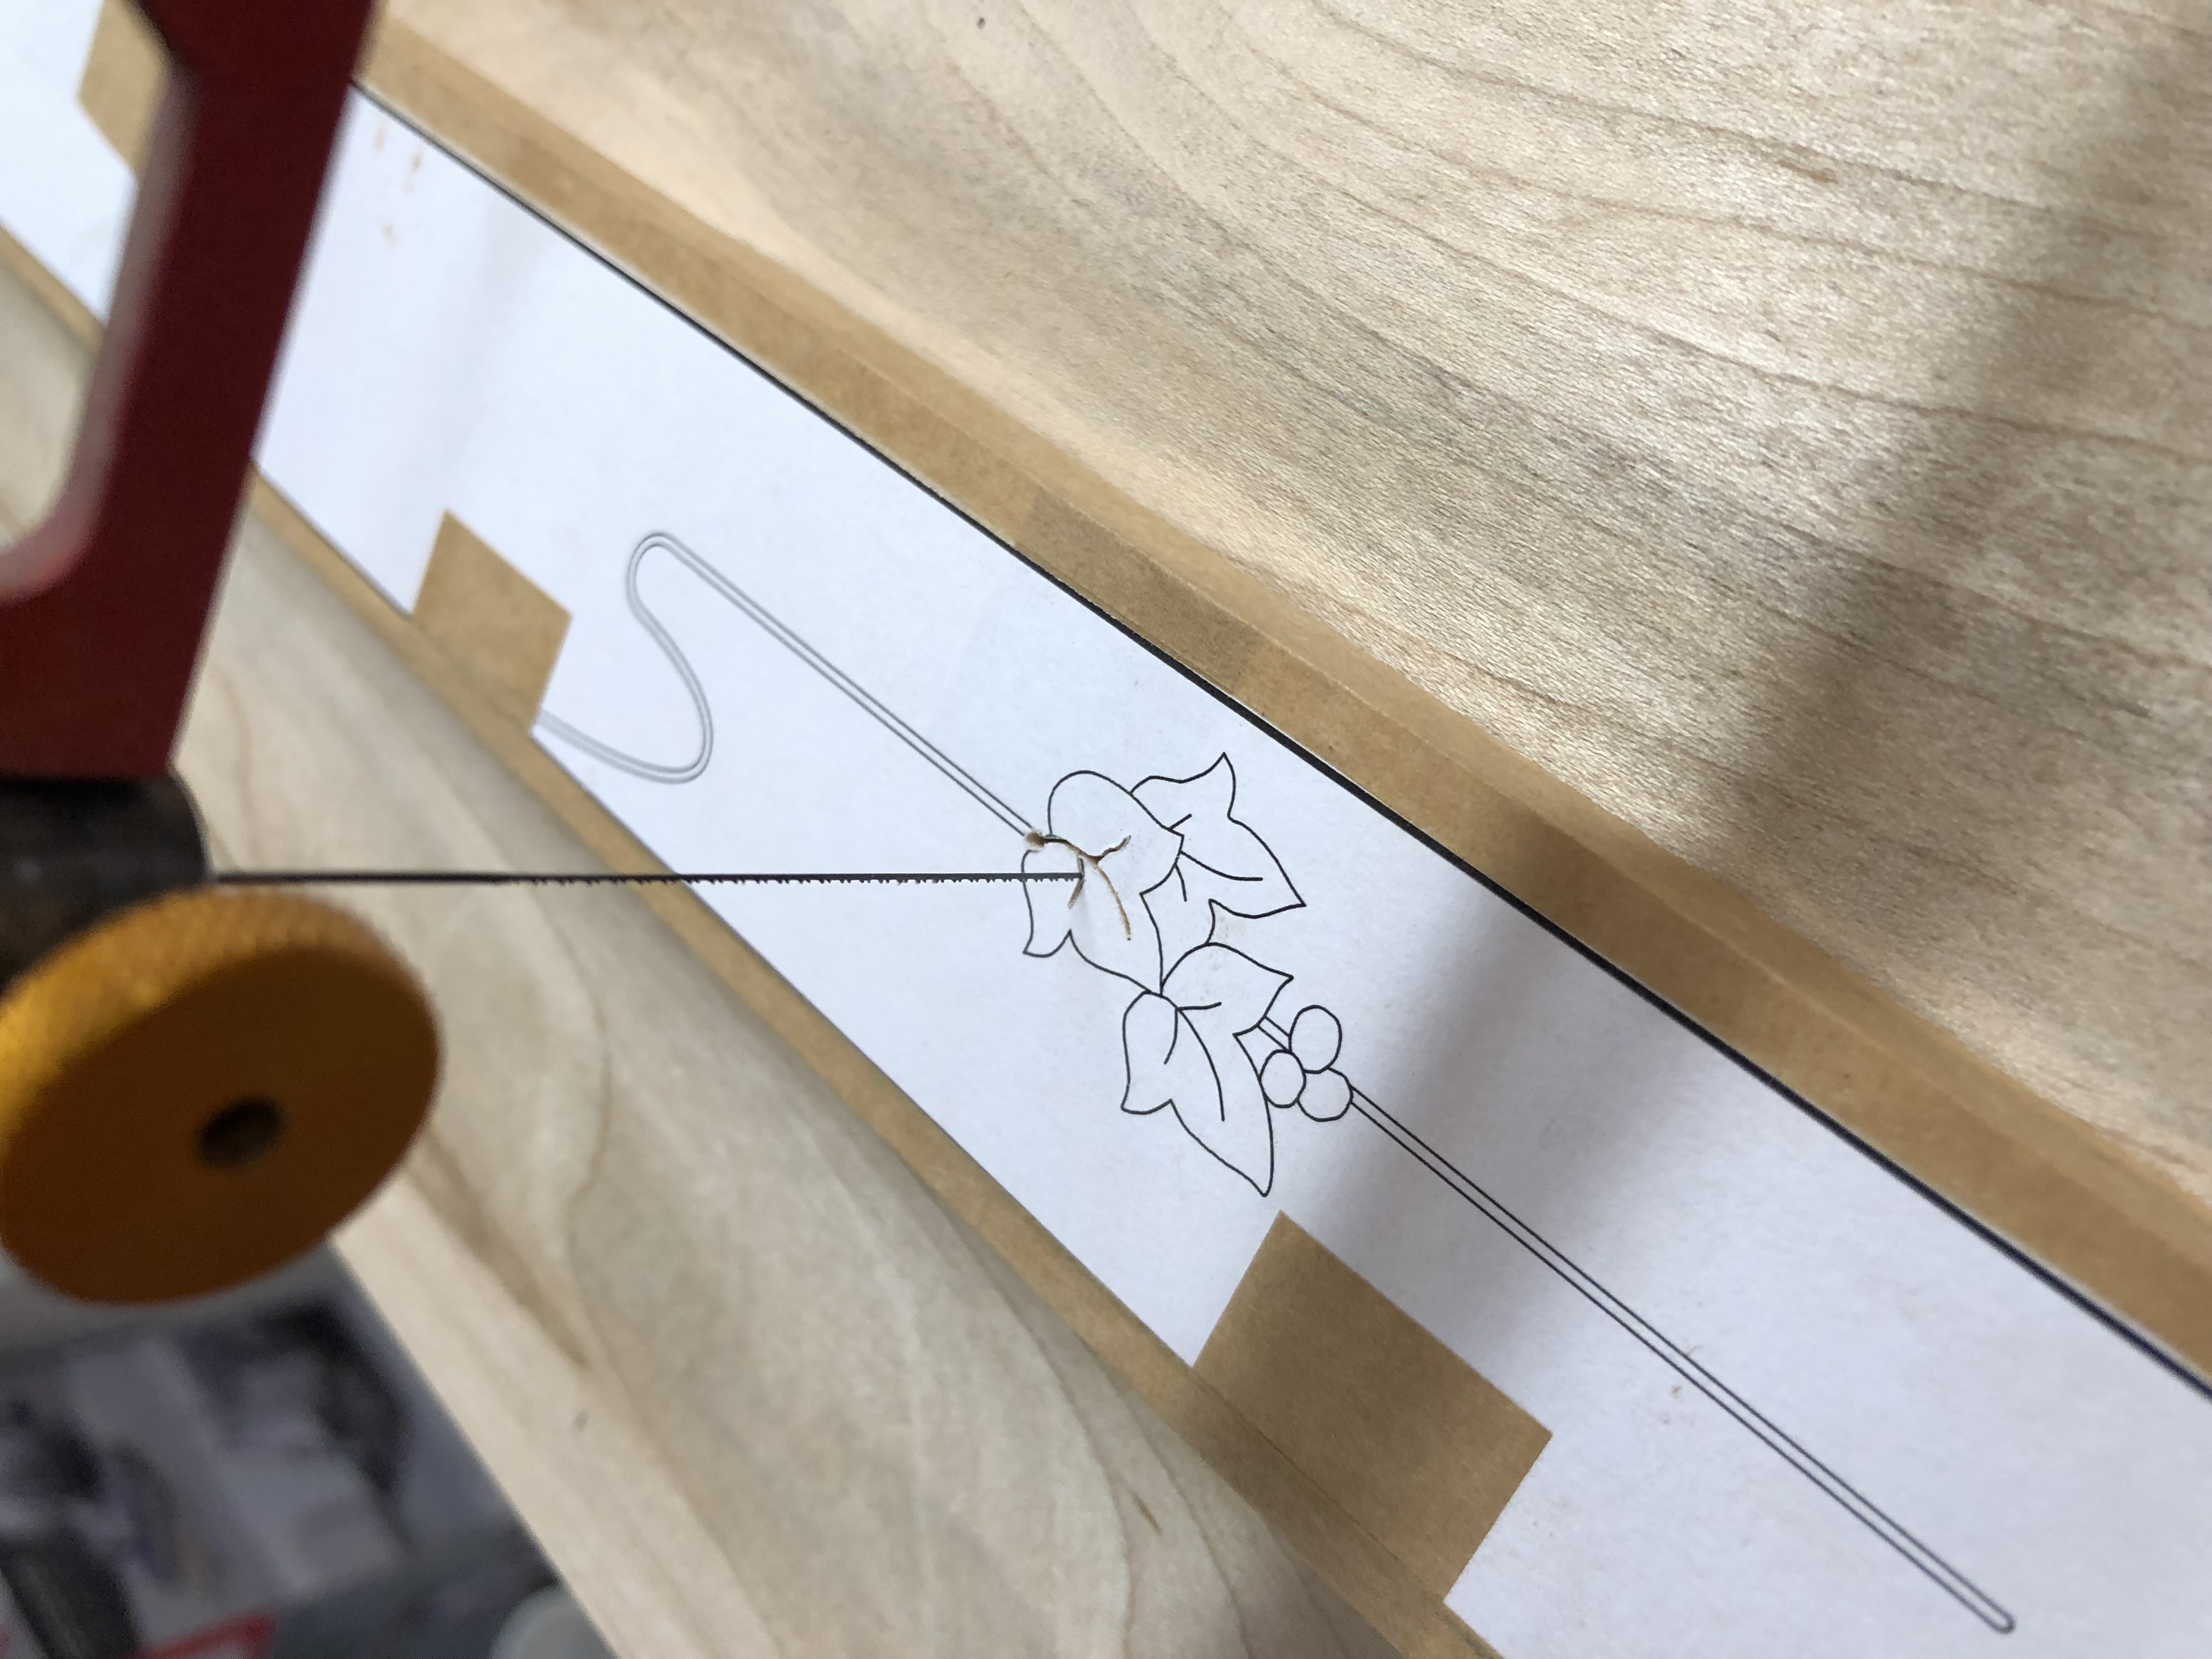
I'm using a fret saw; a coping saw would be way too coarse. It's a Knew Concepts 5", running a 2/0 blade. I have some 3/0 but haven't tried them yet.
When the packet starts to get delicate on a detailed part with thin elements, scotch tape shores everything up. It provides support but is trivial to cut through when necessary.
Contrepartie
Given my "ooo, shiny" attitude to new projects in the shop, it's highly unlikely I'll ever make the second of these cabinets. But I laid out the contrepartie (counterpart) design anyway. The great thing about stack cutting is you get at least two, often more, variations of the same picture for the same amount of cutting.
Bookcloth on the tray
I took twenty minutes while the glue pot was on and the usable pieces were out of the tray to put a bookcloth surface on my work tray. Not only does it make for better pictures, it makes things slip around less and makes everything more visible. Light blue is best (the rarest color in traditional marquetry), but light gray was the closest I could find at my local art supply store.
Scotch tape shoring up the delicate parts of the packet. Supports the work but cuts through easily when needed.Contrepartie (counterpart) pieces laid out on the new bookcloth surface. Light gray was the closest the art store had to light blue.
Bending the Stringing and Mounting the Stile Marquetry
Stile marquetry, paper side up, glued in place on the carcass.
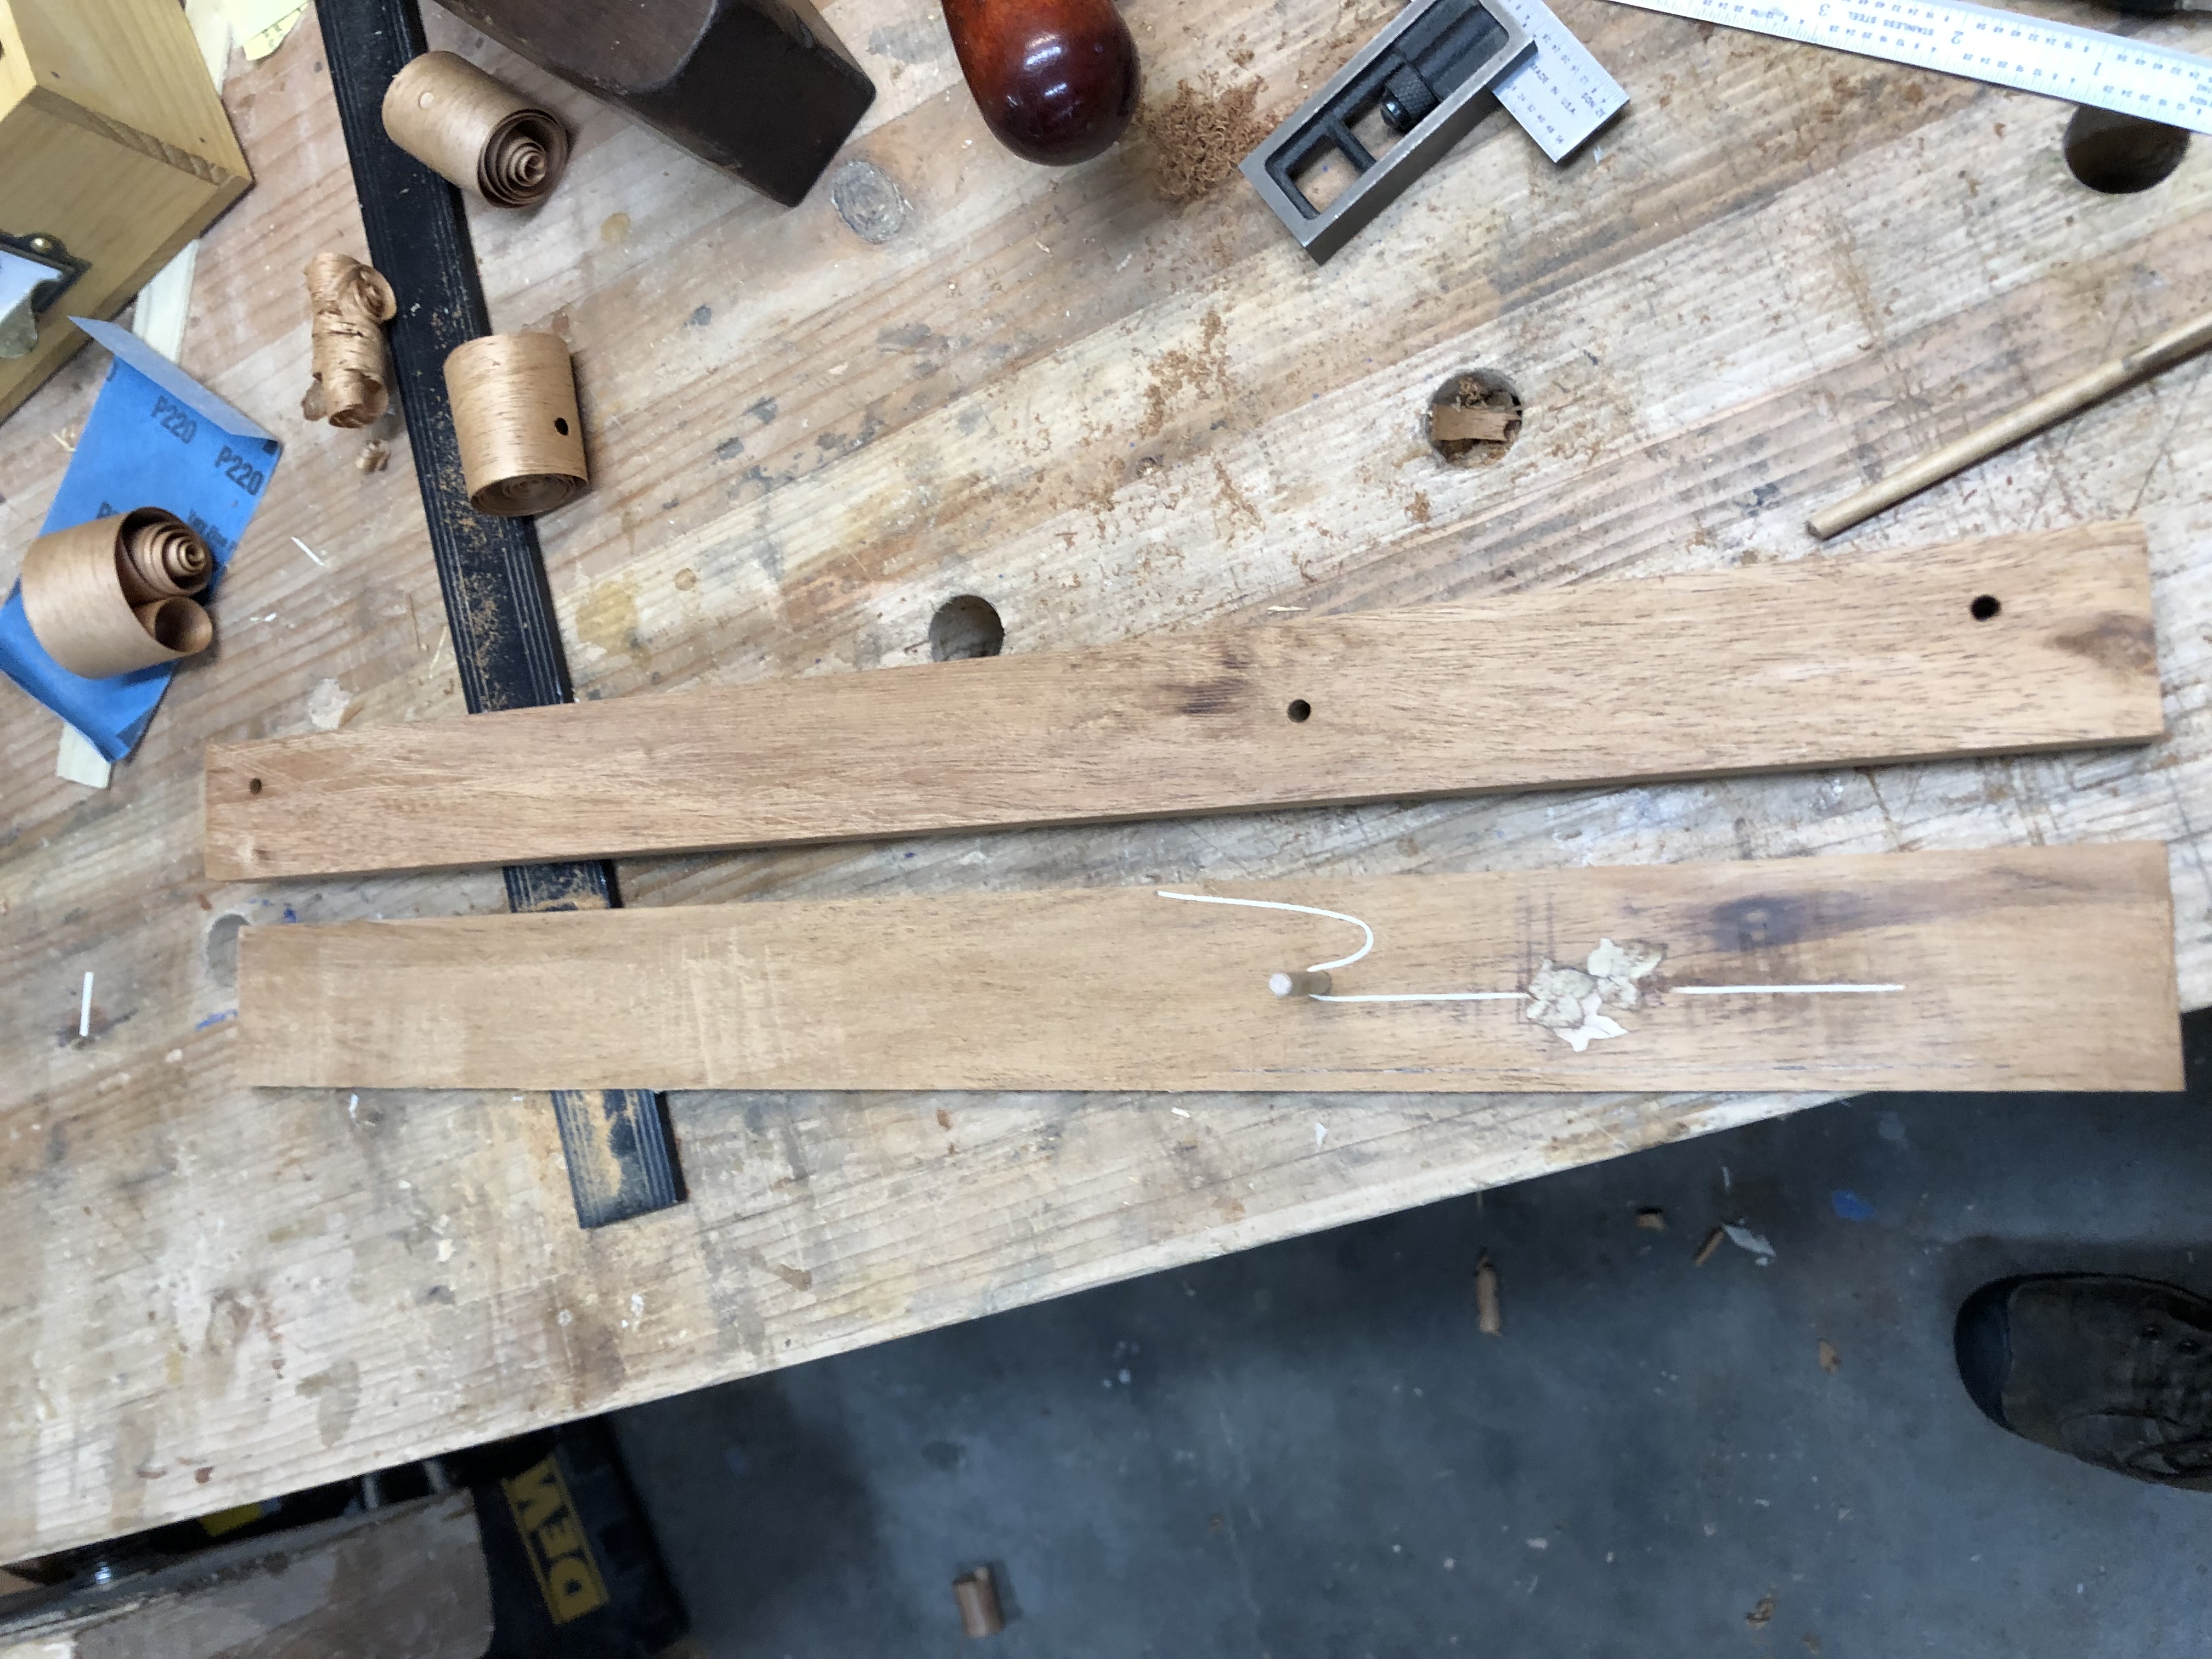
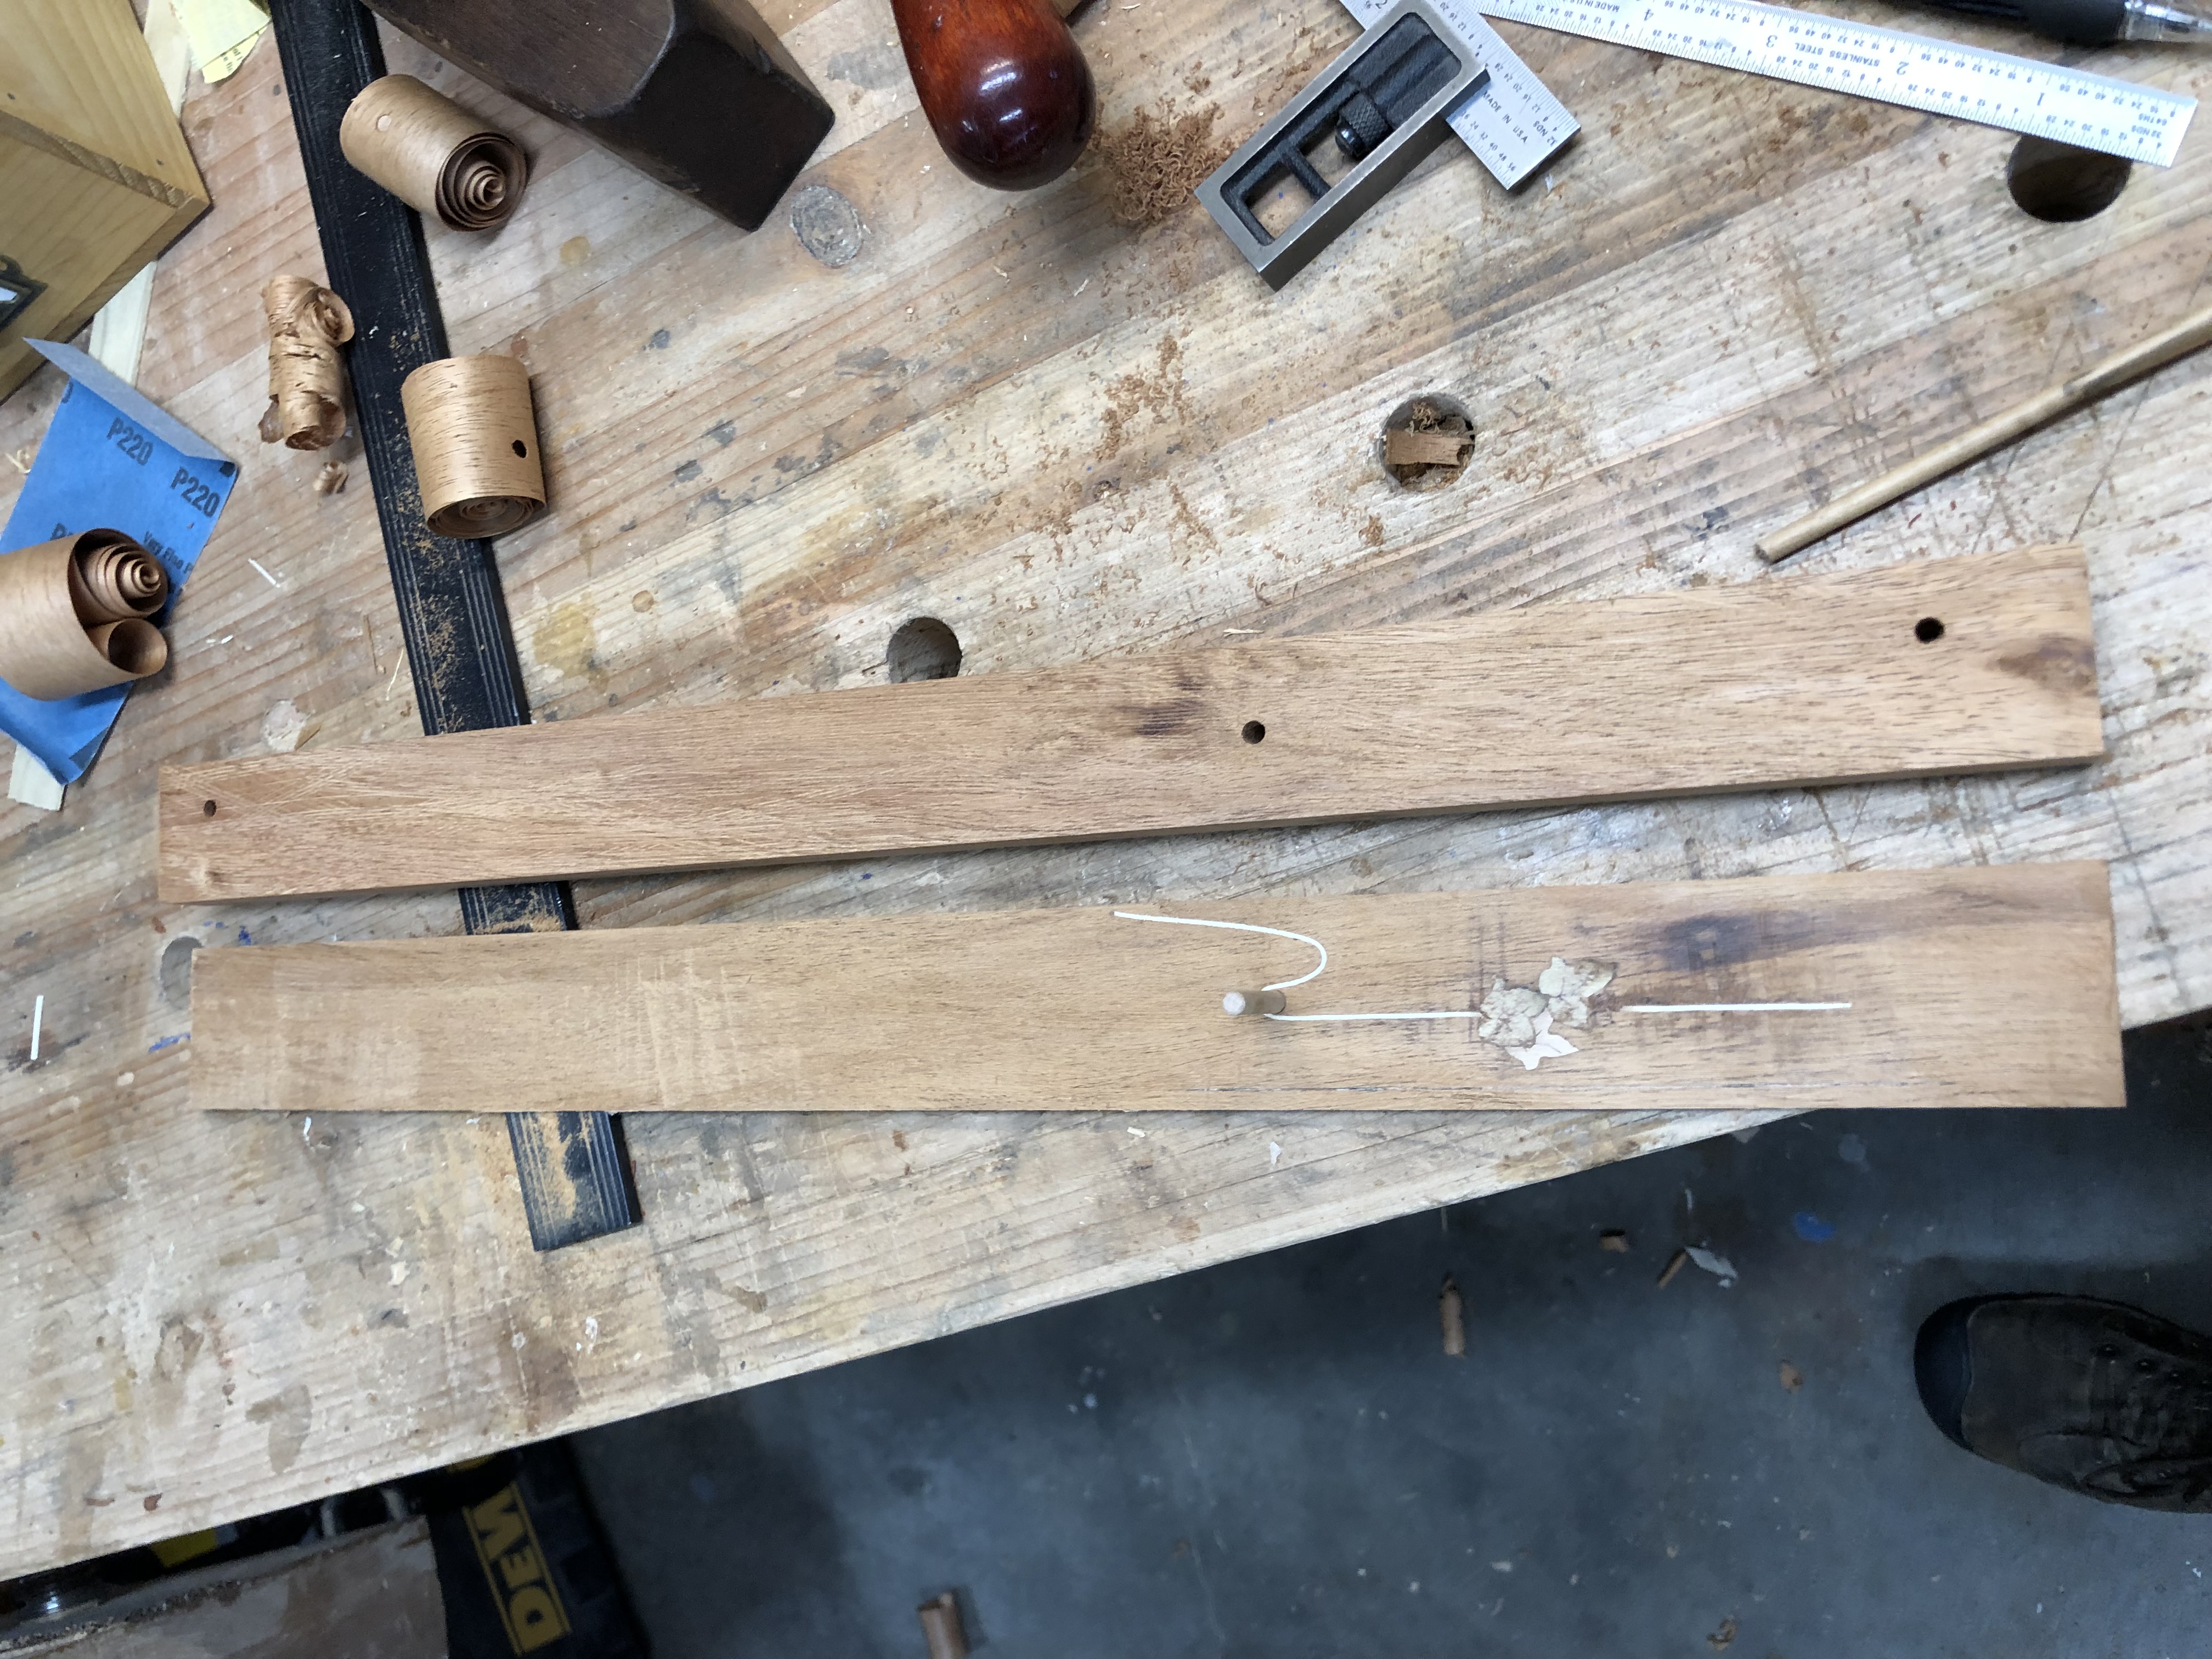
I set to work on the stringing. When I designed the tight bends in the vines I was thinking purely from an aesthetic standpoint. Turns out that's a bit tricky to pull off.
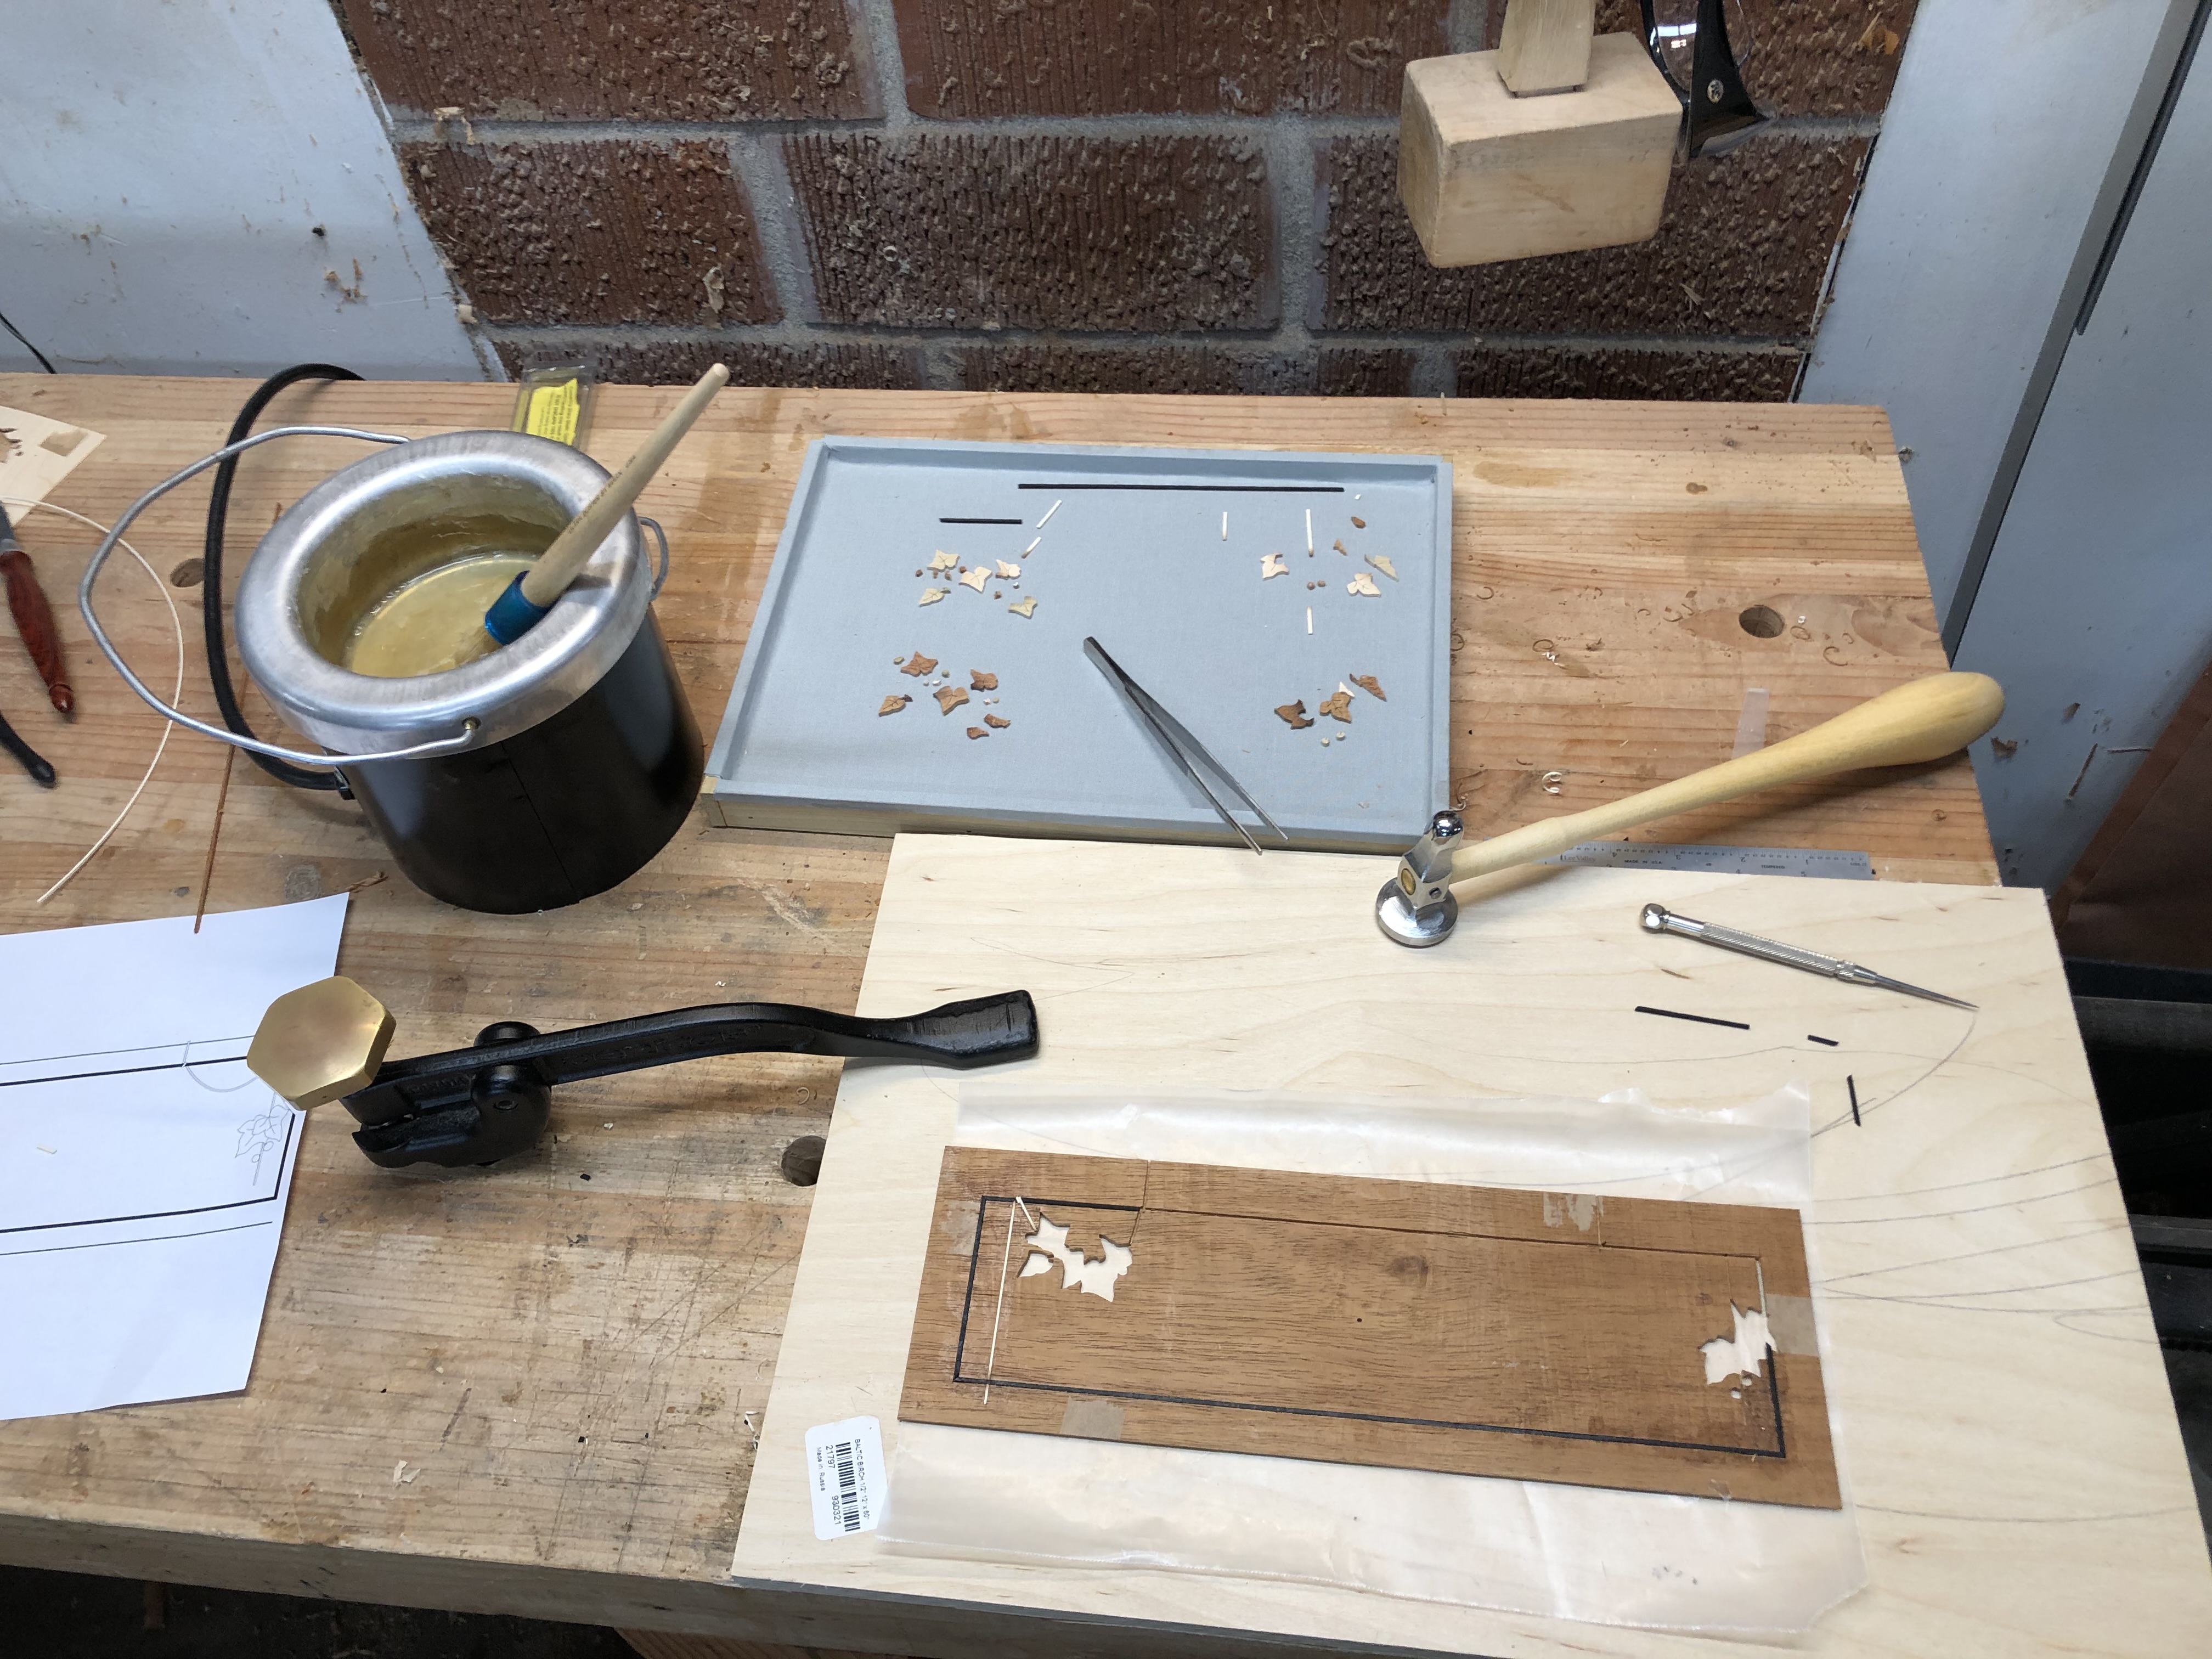
I found an old Woodwright's Shop with Steve Latta where he talked about bending stringing over a hot iron for inlay letters. So I set up my 3/8" drawbore pin (second time I've ever used it in seven years; tool bomb) in a machinist's vise, heated the pin on a hot plate, and got a great bend with a quick spritz of water and a thin metal shim for backing support.
My first bend was in satinwood, which I'd chosen for color. Satinwood is a little prone to breaking. Someone on the forum suggested holly, which I had but worried was too bright. I tried it anyway. Holly for the win. Much cleaner bend, and not as glaring on the koa as I'd feared. I also switched the lower leaf from maple to poplar for the composition.
The assembly board
Assembly of the packet is from the back, so the face of the marquetry glues down to the paper. I'd made an assembly board a few weeks earlier using W. Patrick Edwards' method (he has write-ups and videos on his blog).
Assembly is hectic, so no pictures. The stringing was a snug dry fit, but once the ground was glued down and no longer flexed it was a really tight fit. After a considerable amount of force (please don't break please don't break please don't break) it was in. Plexi on top, weight on top of that.
I made a note to pick up a chasing hammer; super useful for encouraging pieces into their spots. I'd forgotten it was part of the assembly toolkit at ASFM until I needed it and didn't have one.
Mastic
Mastic went well, but it isn't a high-risk operation. Getting the marquetry glued in the right place on the stile was the problem that had been bothering me. If I'd planned this from the beginning to have marquetry I'd have left some meat on my wood to true it up to wherever the design landed. Here it was an afterthought, and I'd designed stringing that drapes over the knob. The knob needs to be centered on the stile. So it had to be right on.
I settled on drilling a locating hole through both the marquetry and the stile where the knob would go. That got me precise location at the knob, but the veneer could still rotate around that point. And my design wasn't square to the edge of my veneer.
I seized on a stray sentence from a class (maybe this is what they meant) about using pins to be precise. I traced the edges of the stile onto the glue side of the veneer and drove three veneer nails in just a hair outside the edges. The veneer dropped right into position and provided light resistance against the stile while I hammer veneered. Hot glue, veneer hammer, and it was down in seconds.
The reveal
I was extra excited to get the kids to bed that night so I could pull it out of clamps.
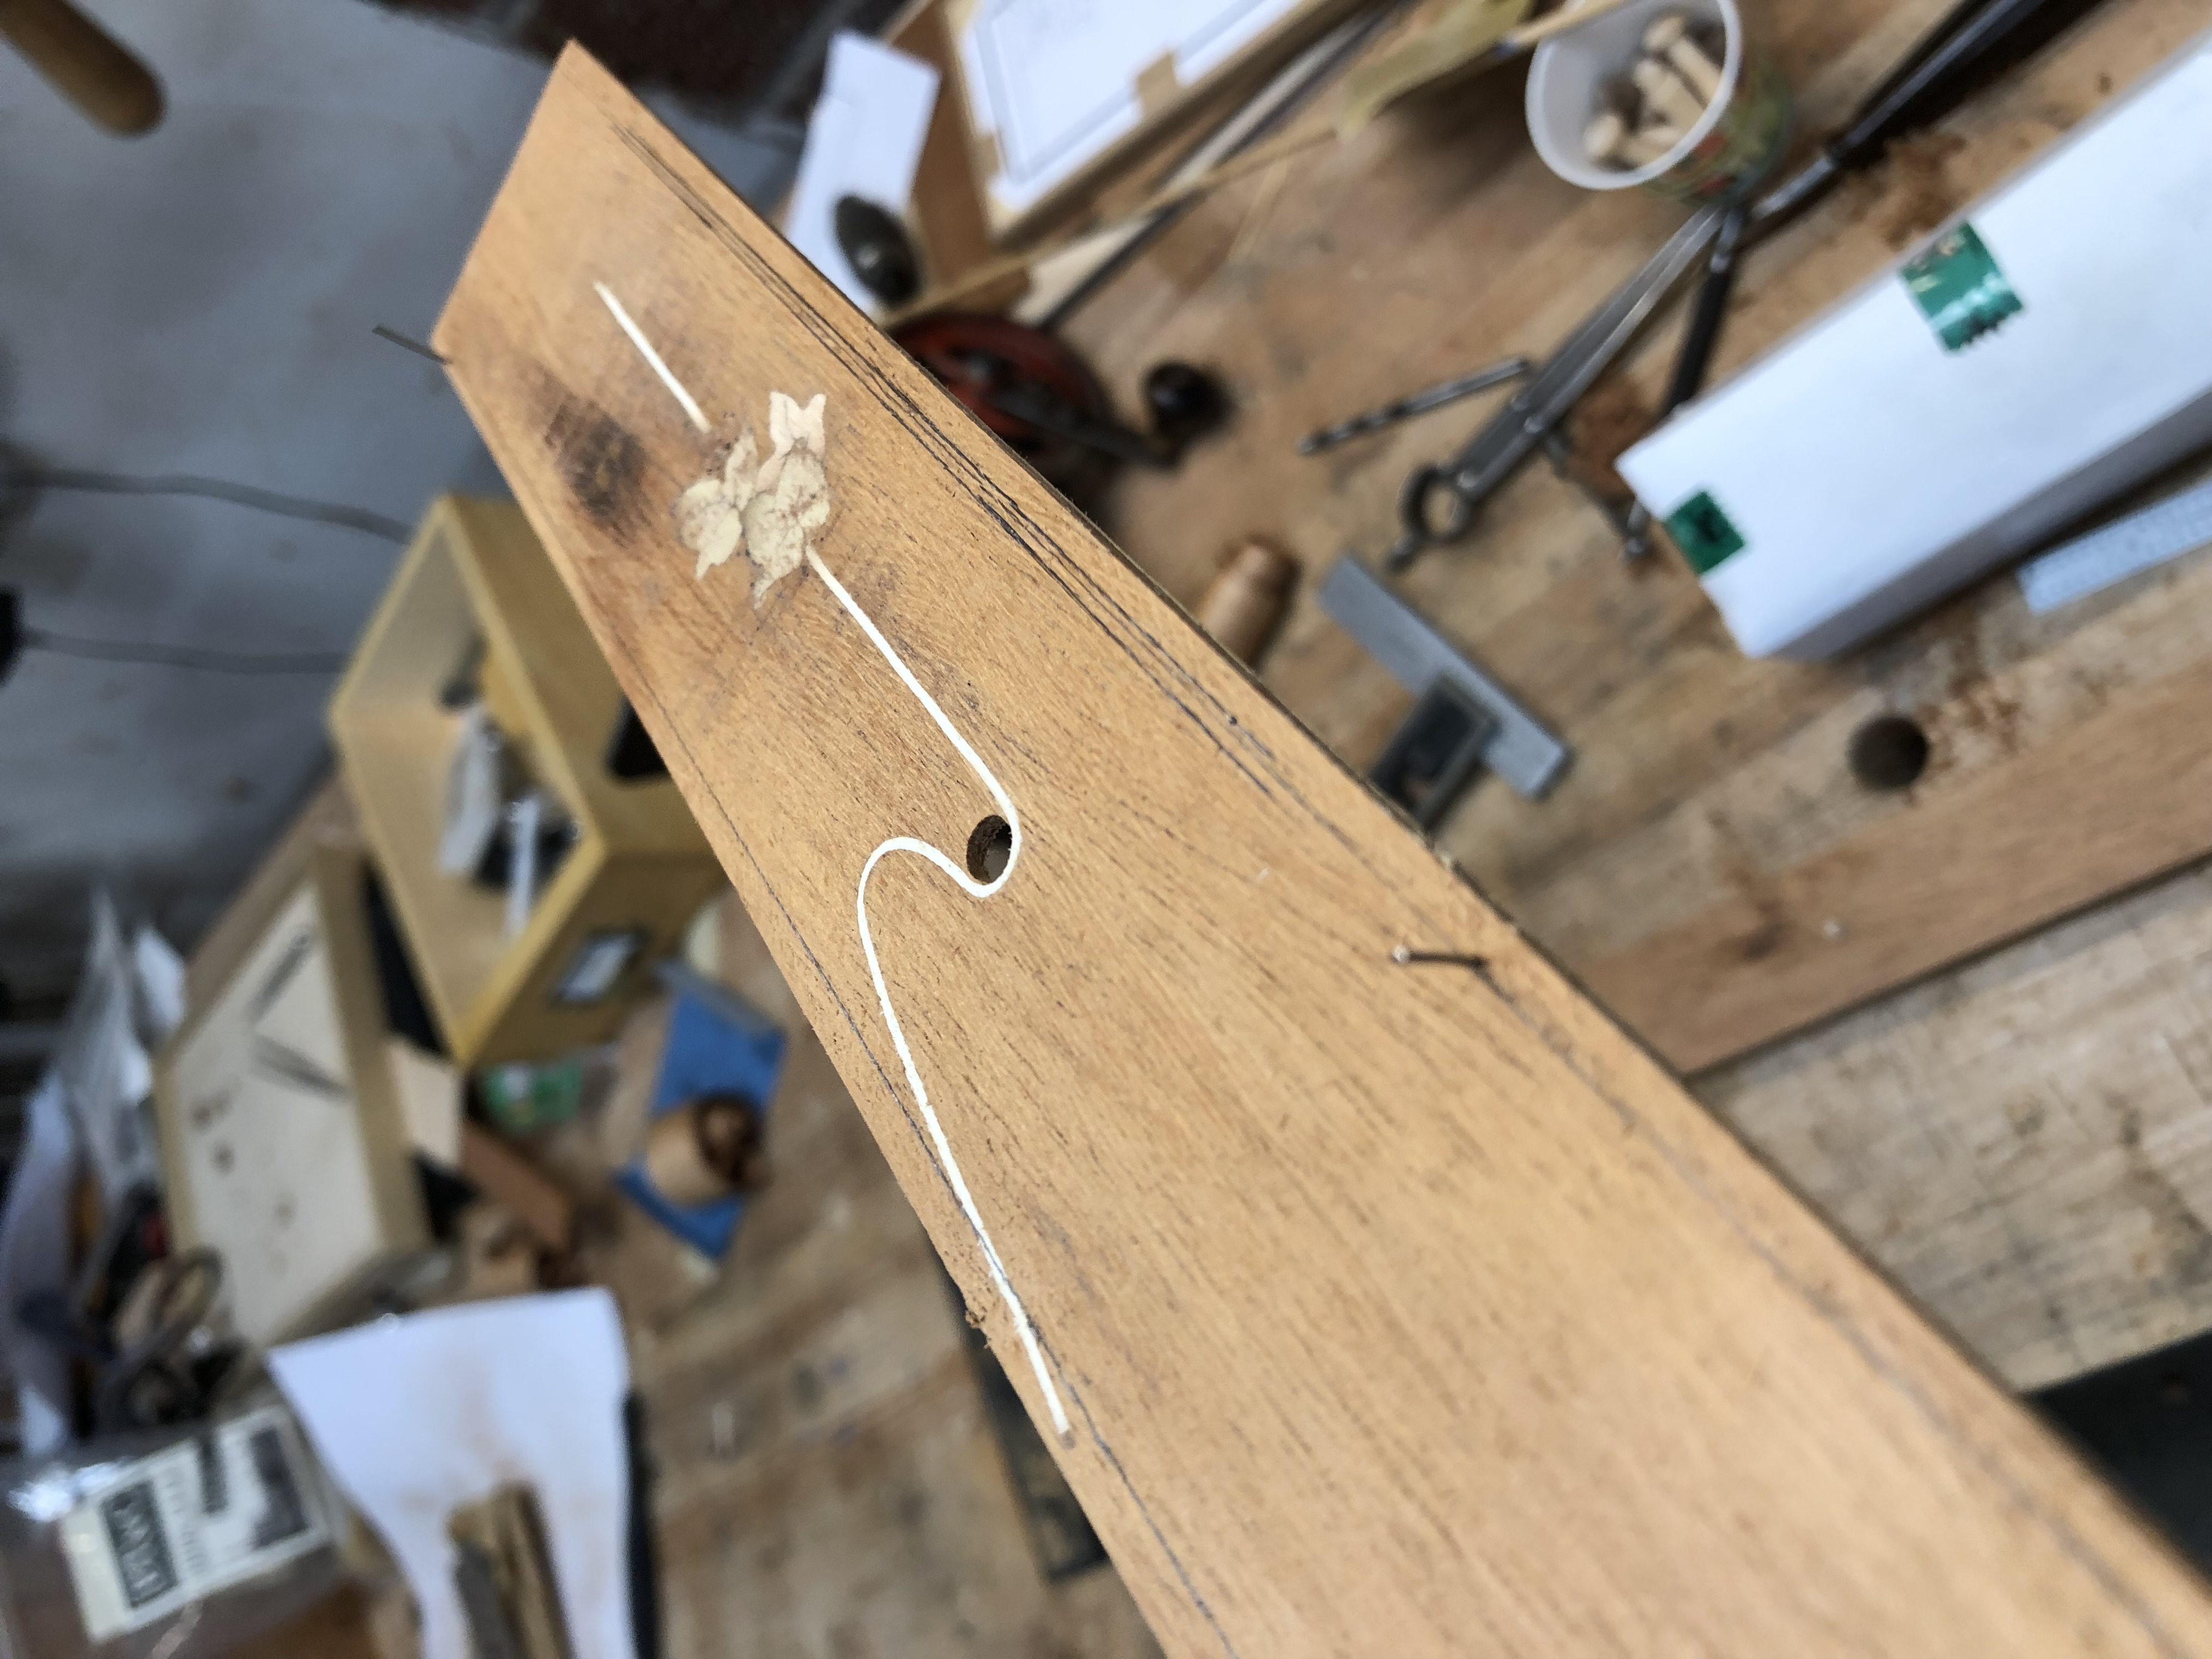
The paper covers the face. All it takes is wetting the paper with a sponge to disintegrate it, dissolve the glue, and scrape it off with a razor blade. We're all scared of getting veneer and hide glue wet, but it can take a lot before it lifts. The water doesn't even penetrate through to the glue bond anyway.
There's one teeny piece of the vine that peeks out between the leaves that I'm going to carve out and put in from the face. There's room for improvement, but I'm pleased. It will look great at ordinary viewing distance.
Couldn't resist dry-assembling the door. This is about the marquetry.
Stile work in progress at the bench.Detail of the marquetry edge.Stile revealed after scraping off the paper: vine, ivy knot, and berries. Room for improvement, but it looks great at ordinary viewing distance.
Starting the Cabinet: Carcass, a Door Mishap, and the Pivot to Marquetry
Shop shot, parts on the bench.
I've alluded to this build a few times in other threads; I'm finally documenting it to give me the kick in the pants to get it to the finish line. It's been my back burner project for about a year.
Here's the carcass and the drawer.
The secondary wood is the VG fir I picked up on a whim. I love it, and I have more than enough for the shiplapped back and the drawer sides and back.
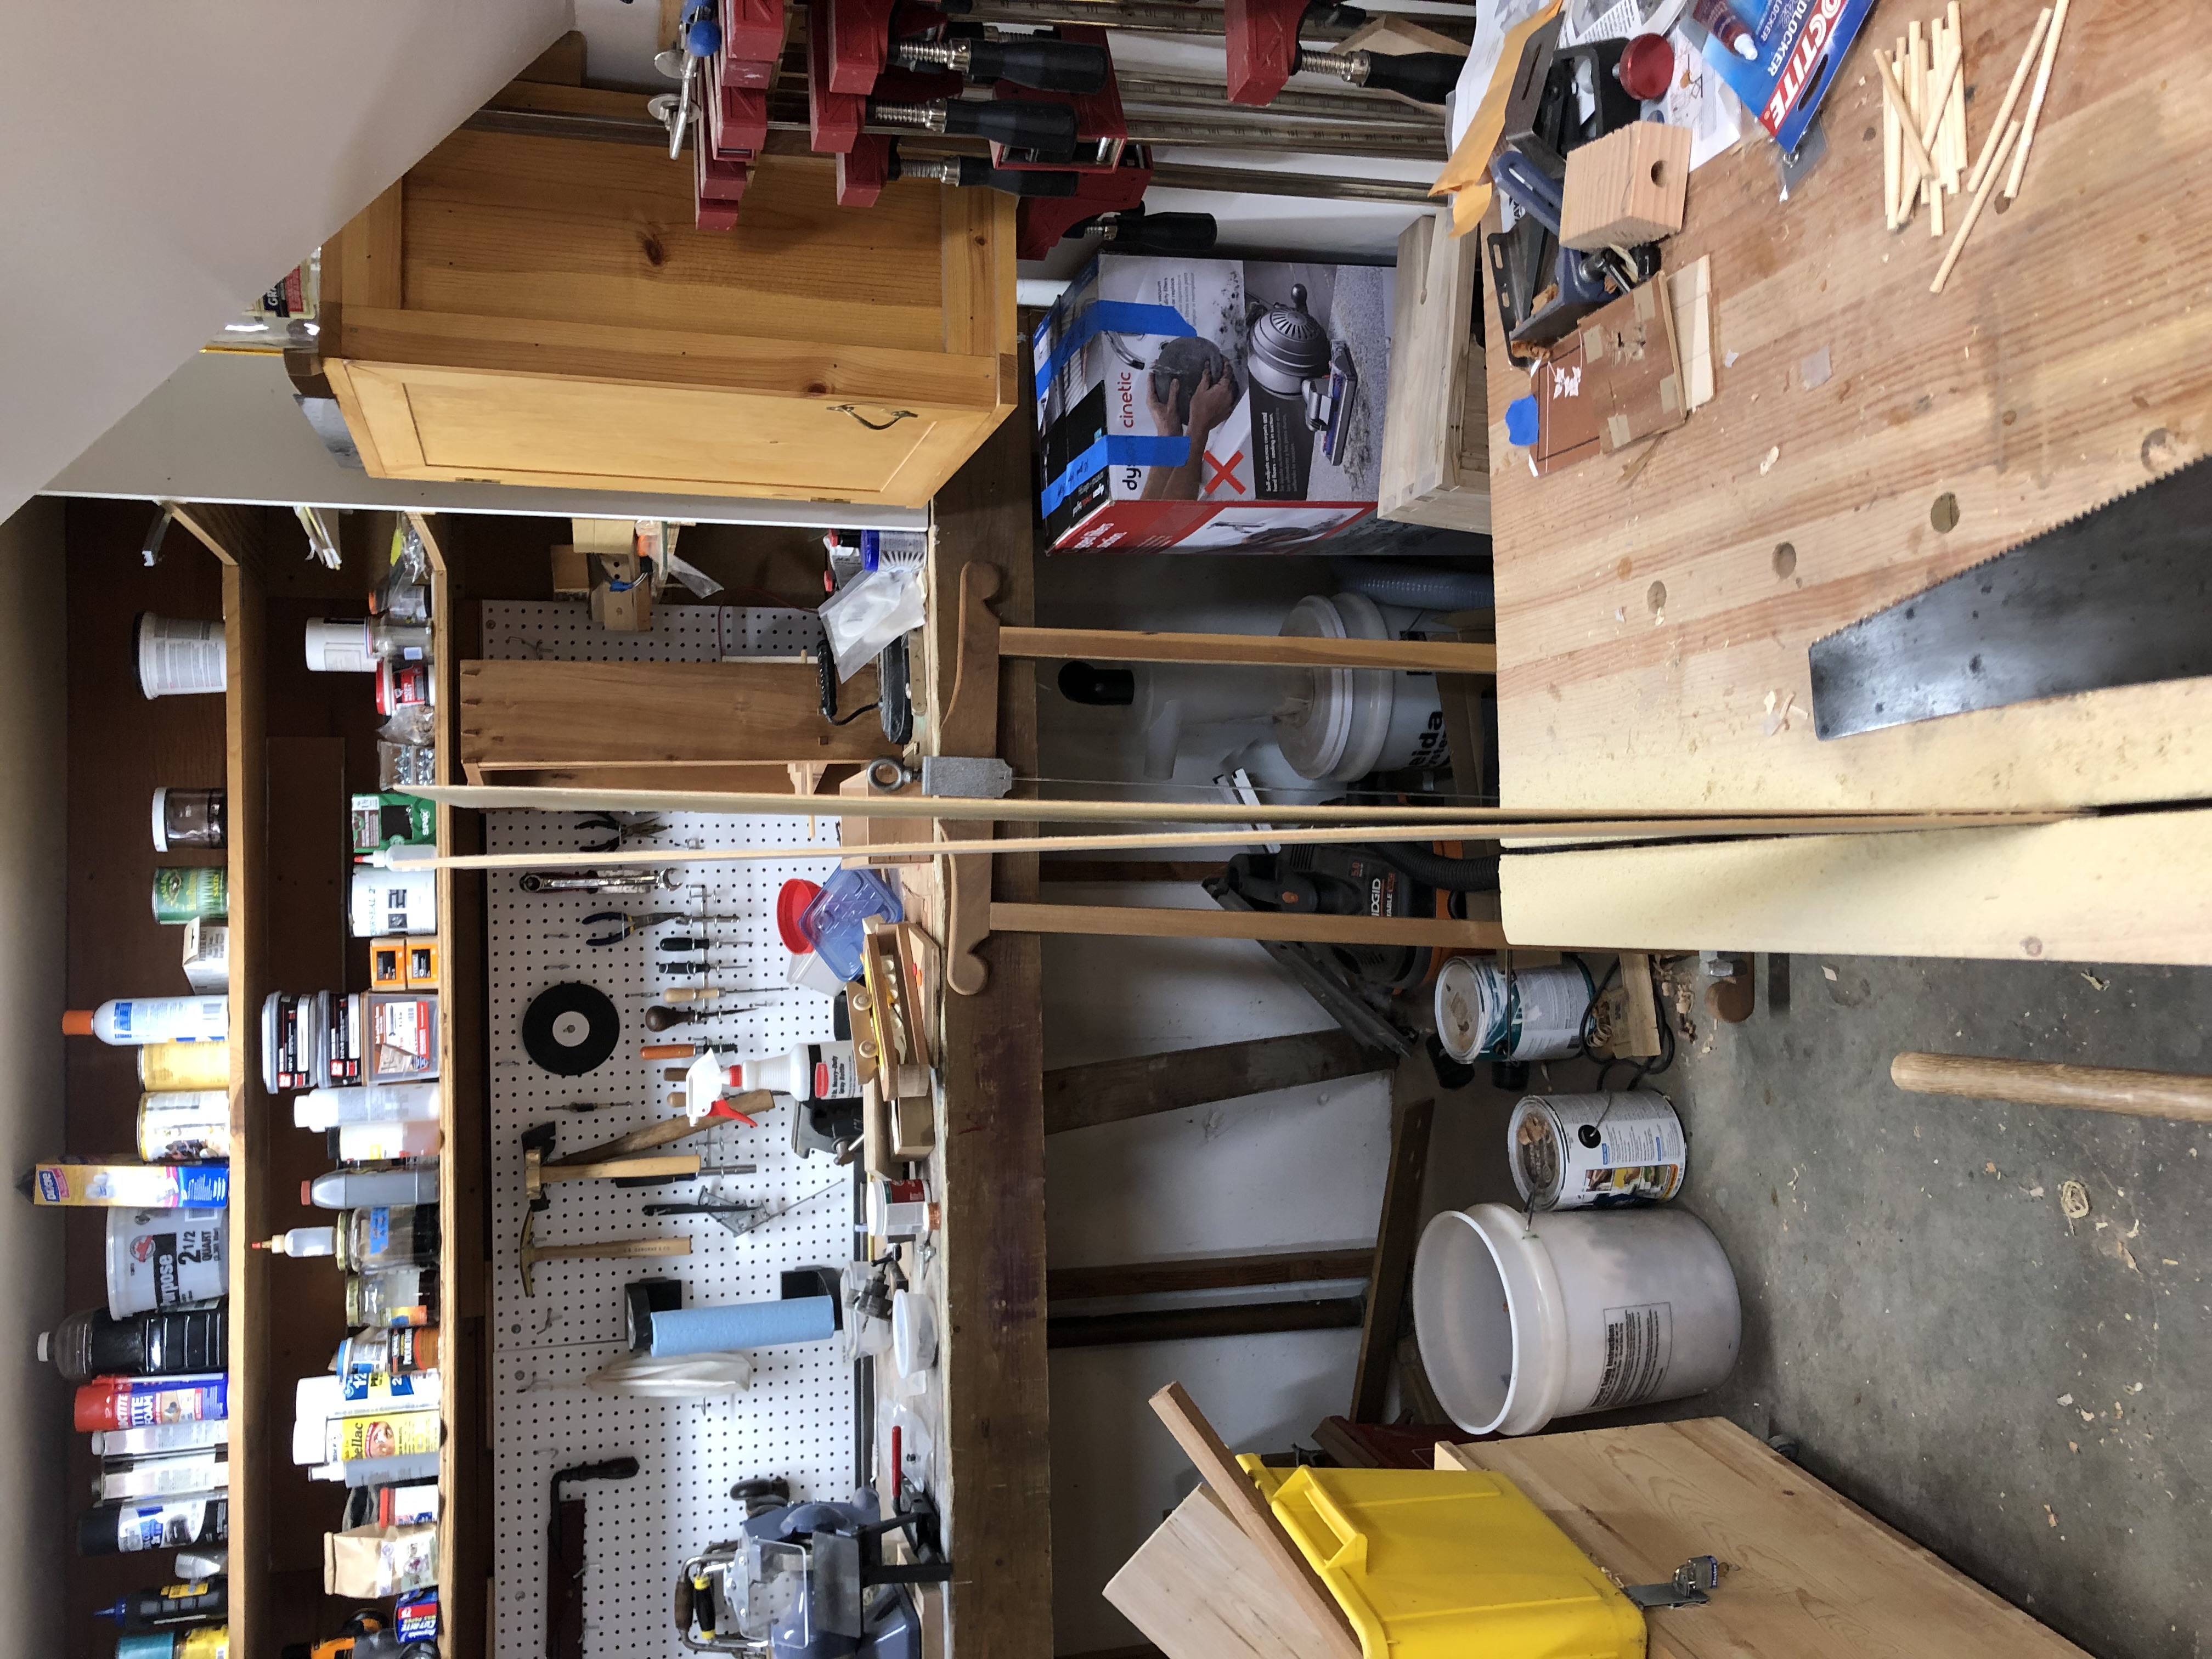
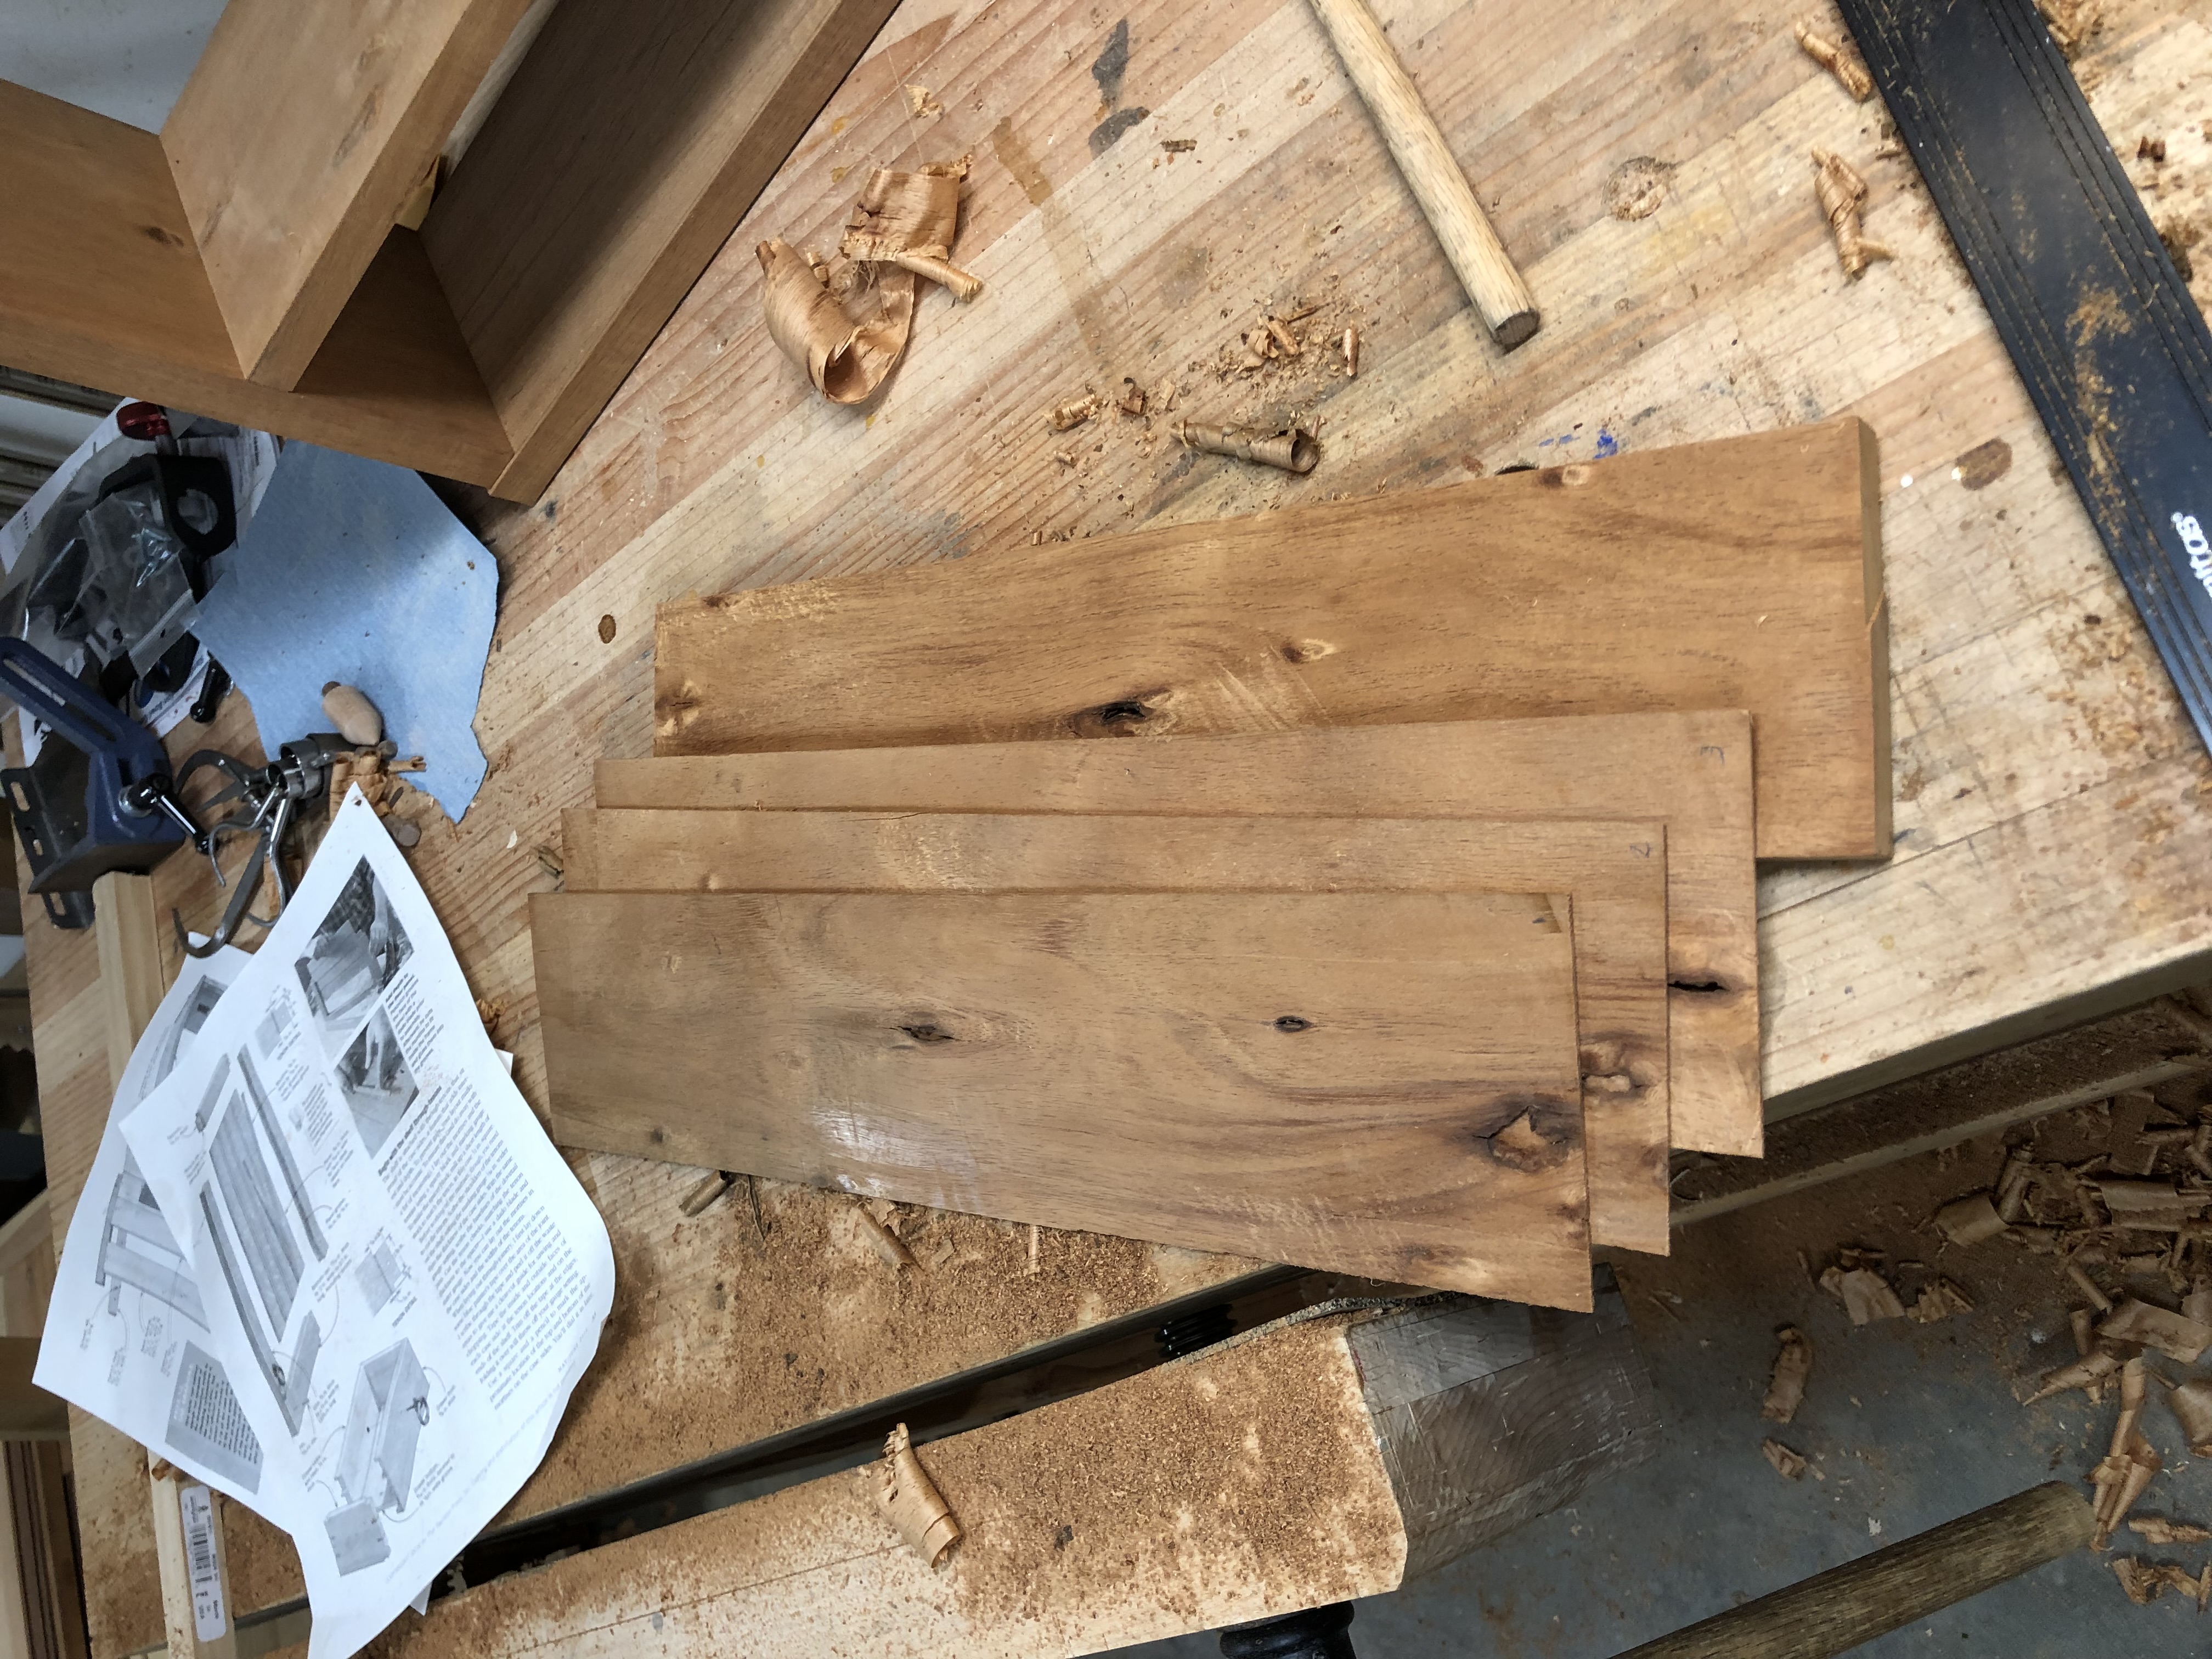
Fitting all the parts onto the koa I had took serious Tetris, with no room for error. Instead of thickness planing I sawed off veneers. For resawing I use a shop-made fixed-fence kerfing plane built around a Blackburn blade. The fence is set to give me a strong 1/16" between the face of the board and the kerf. That gets me 3/8"-ish deep, then I follow with a 5 TPI handsaw and work carefully. I have a frame saw, but don't have the touch with it to saw veneers. Maybe if I could use it two-handed like in the famous Roubo engraving.
Drilling the pegs for the corner joints in the door resulted in a very annoying fail: they ended up in different places on different sides. But since I had the veneers, I could plane the face down 1/16", add a veneer, and I'd have a clean surface to try again.
And as long as I was veneering, why not add a little marquetry?
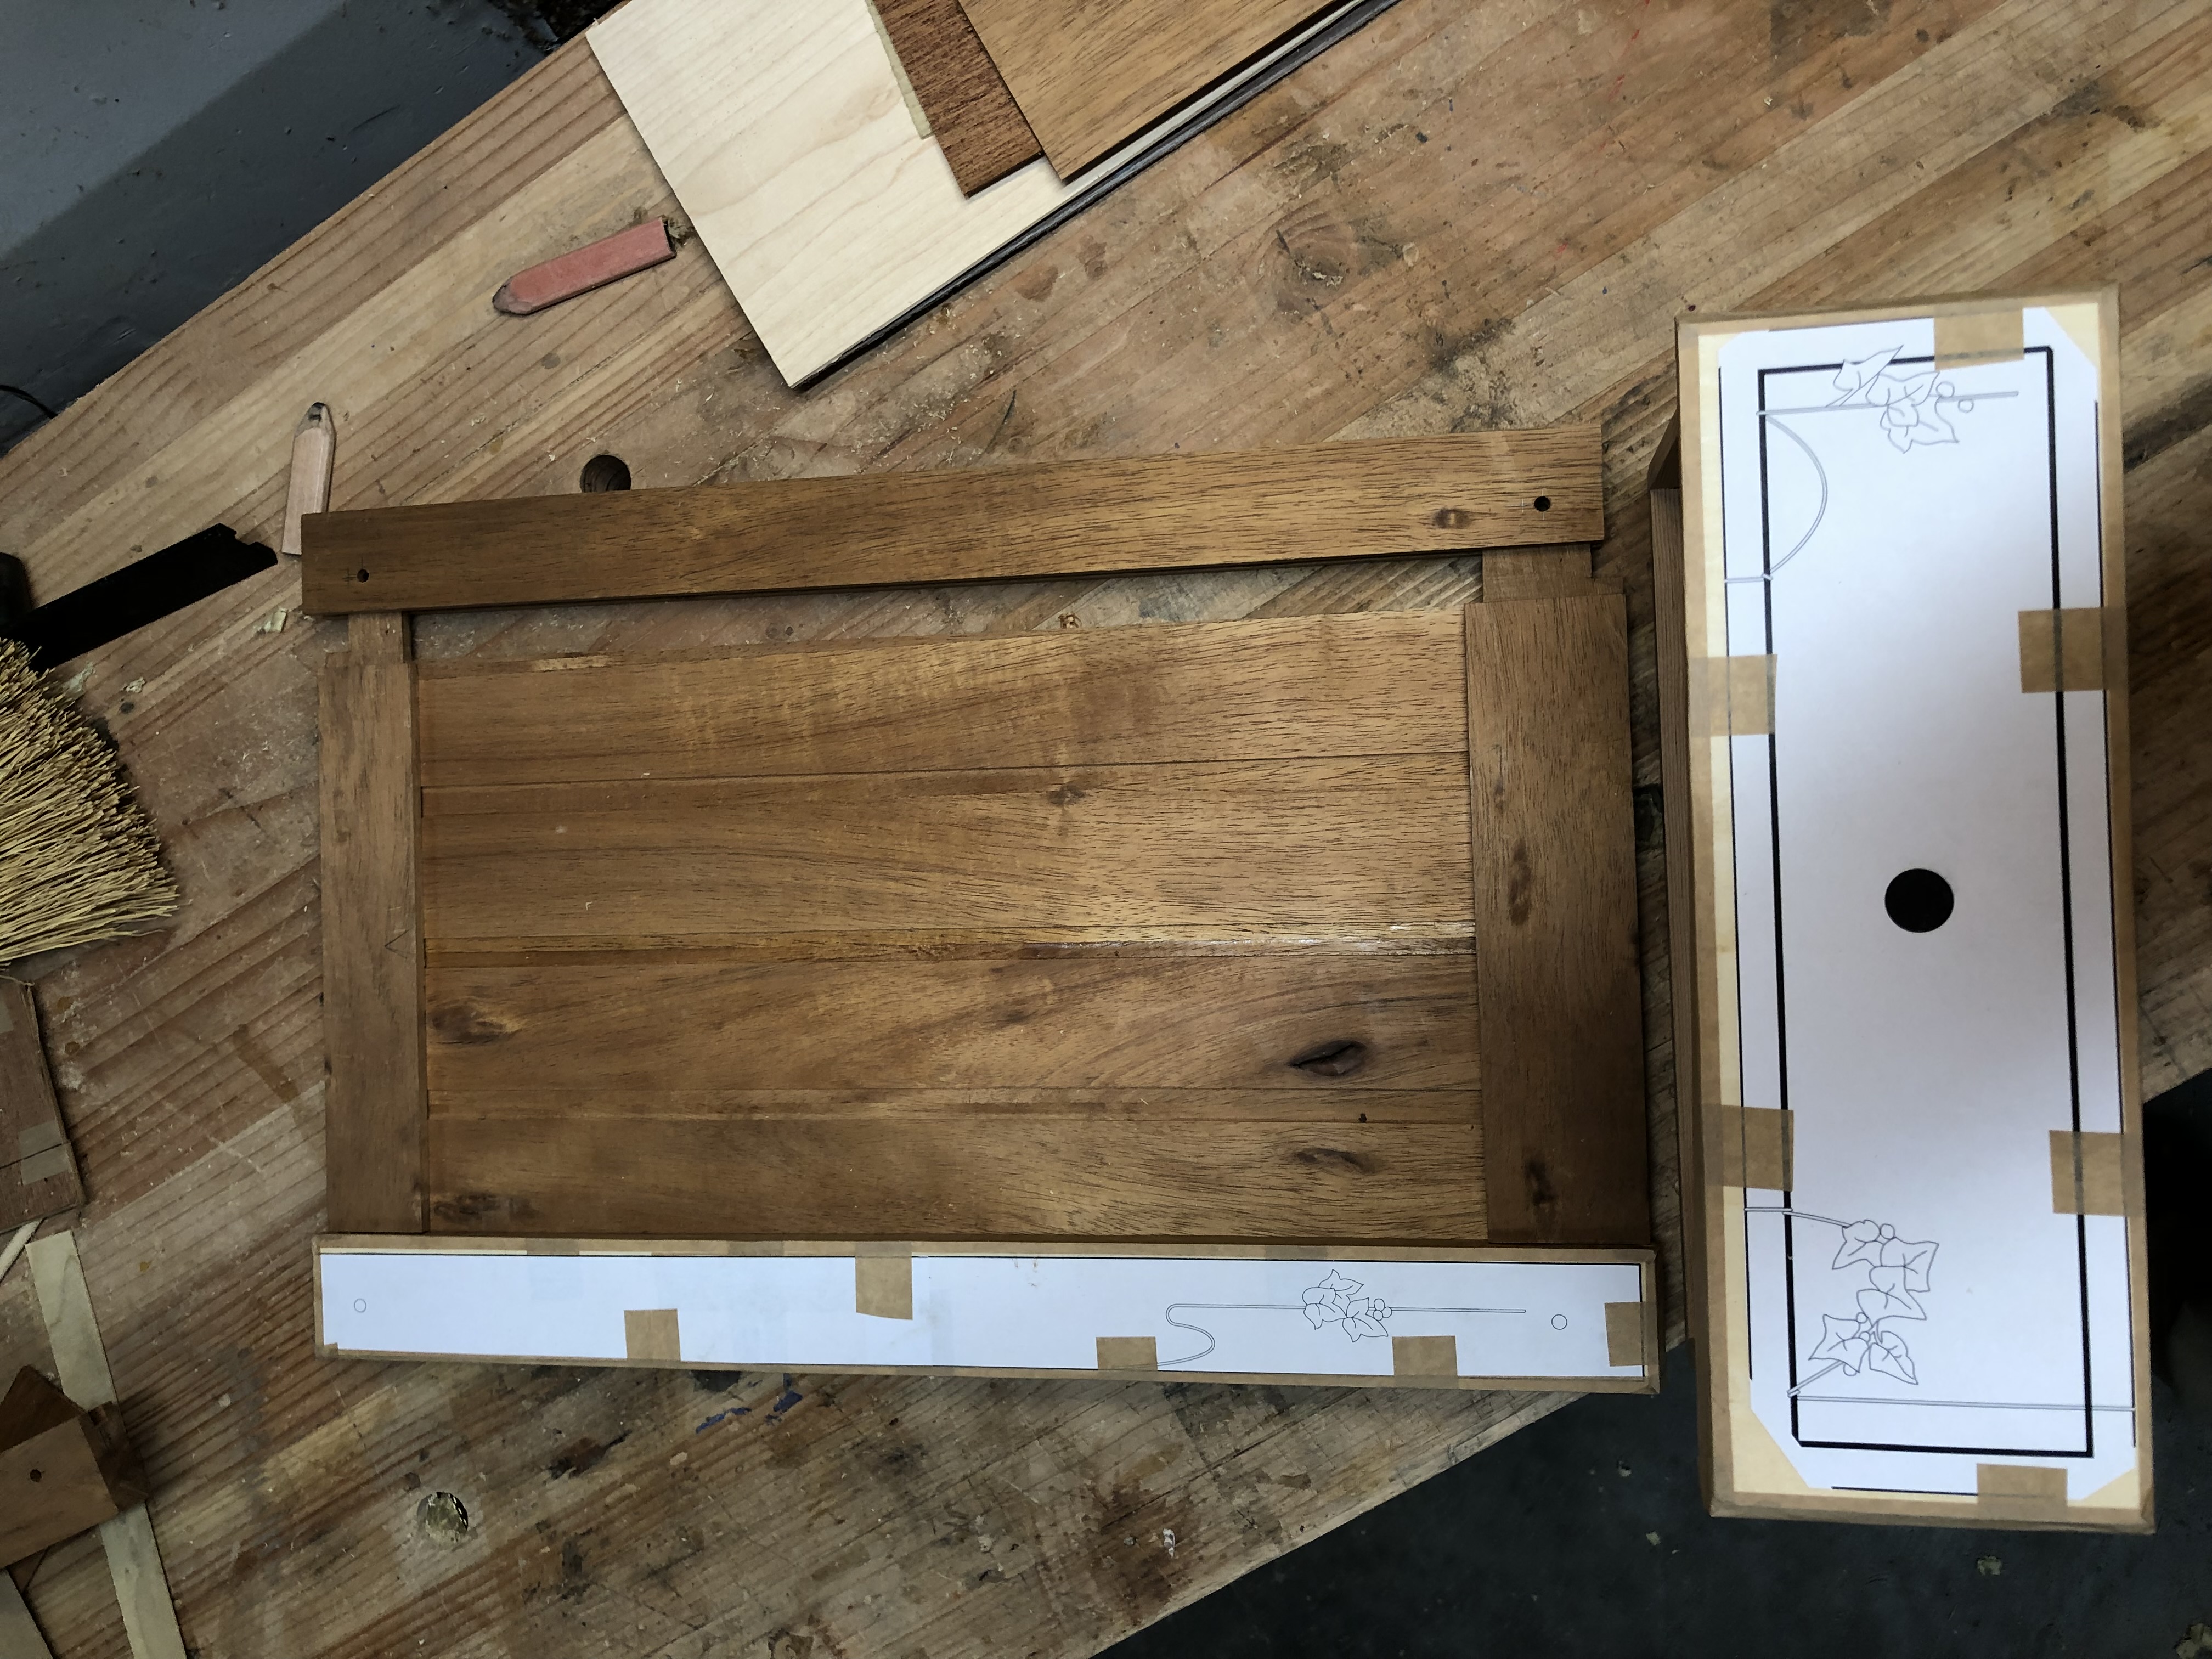
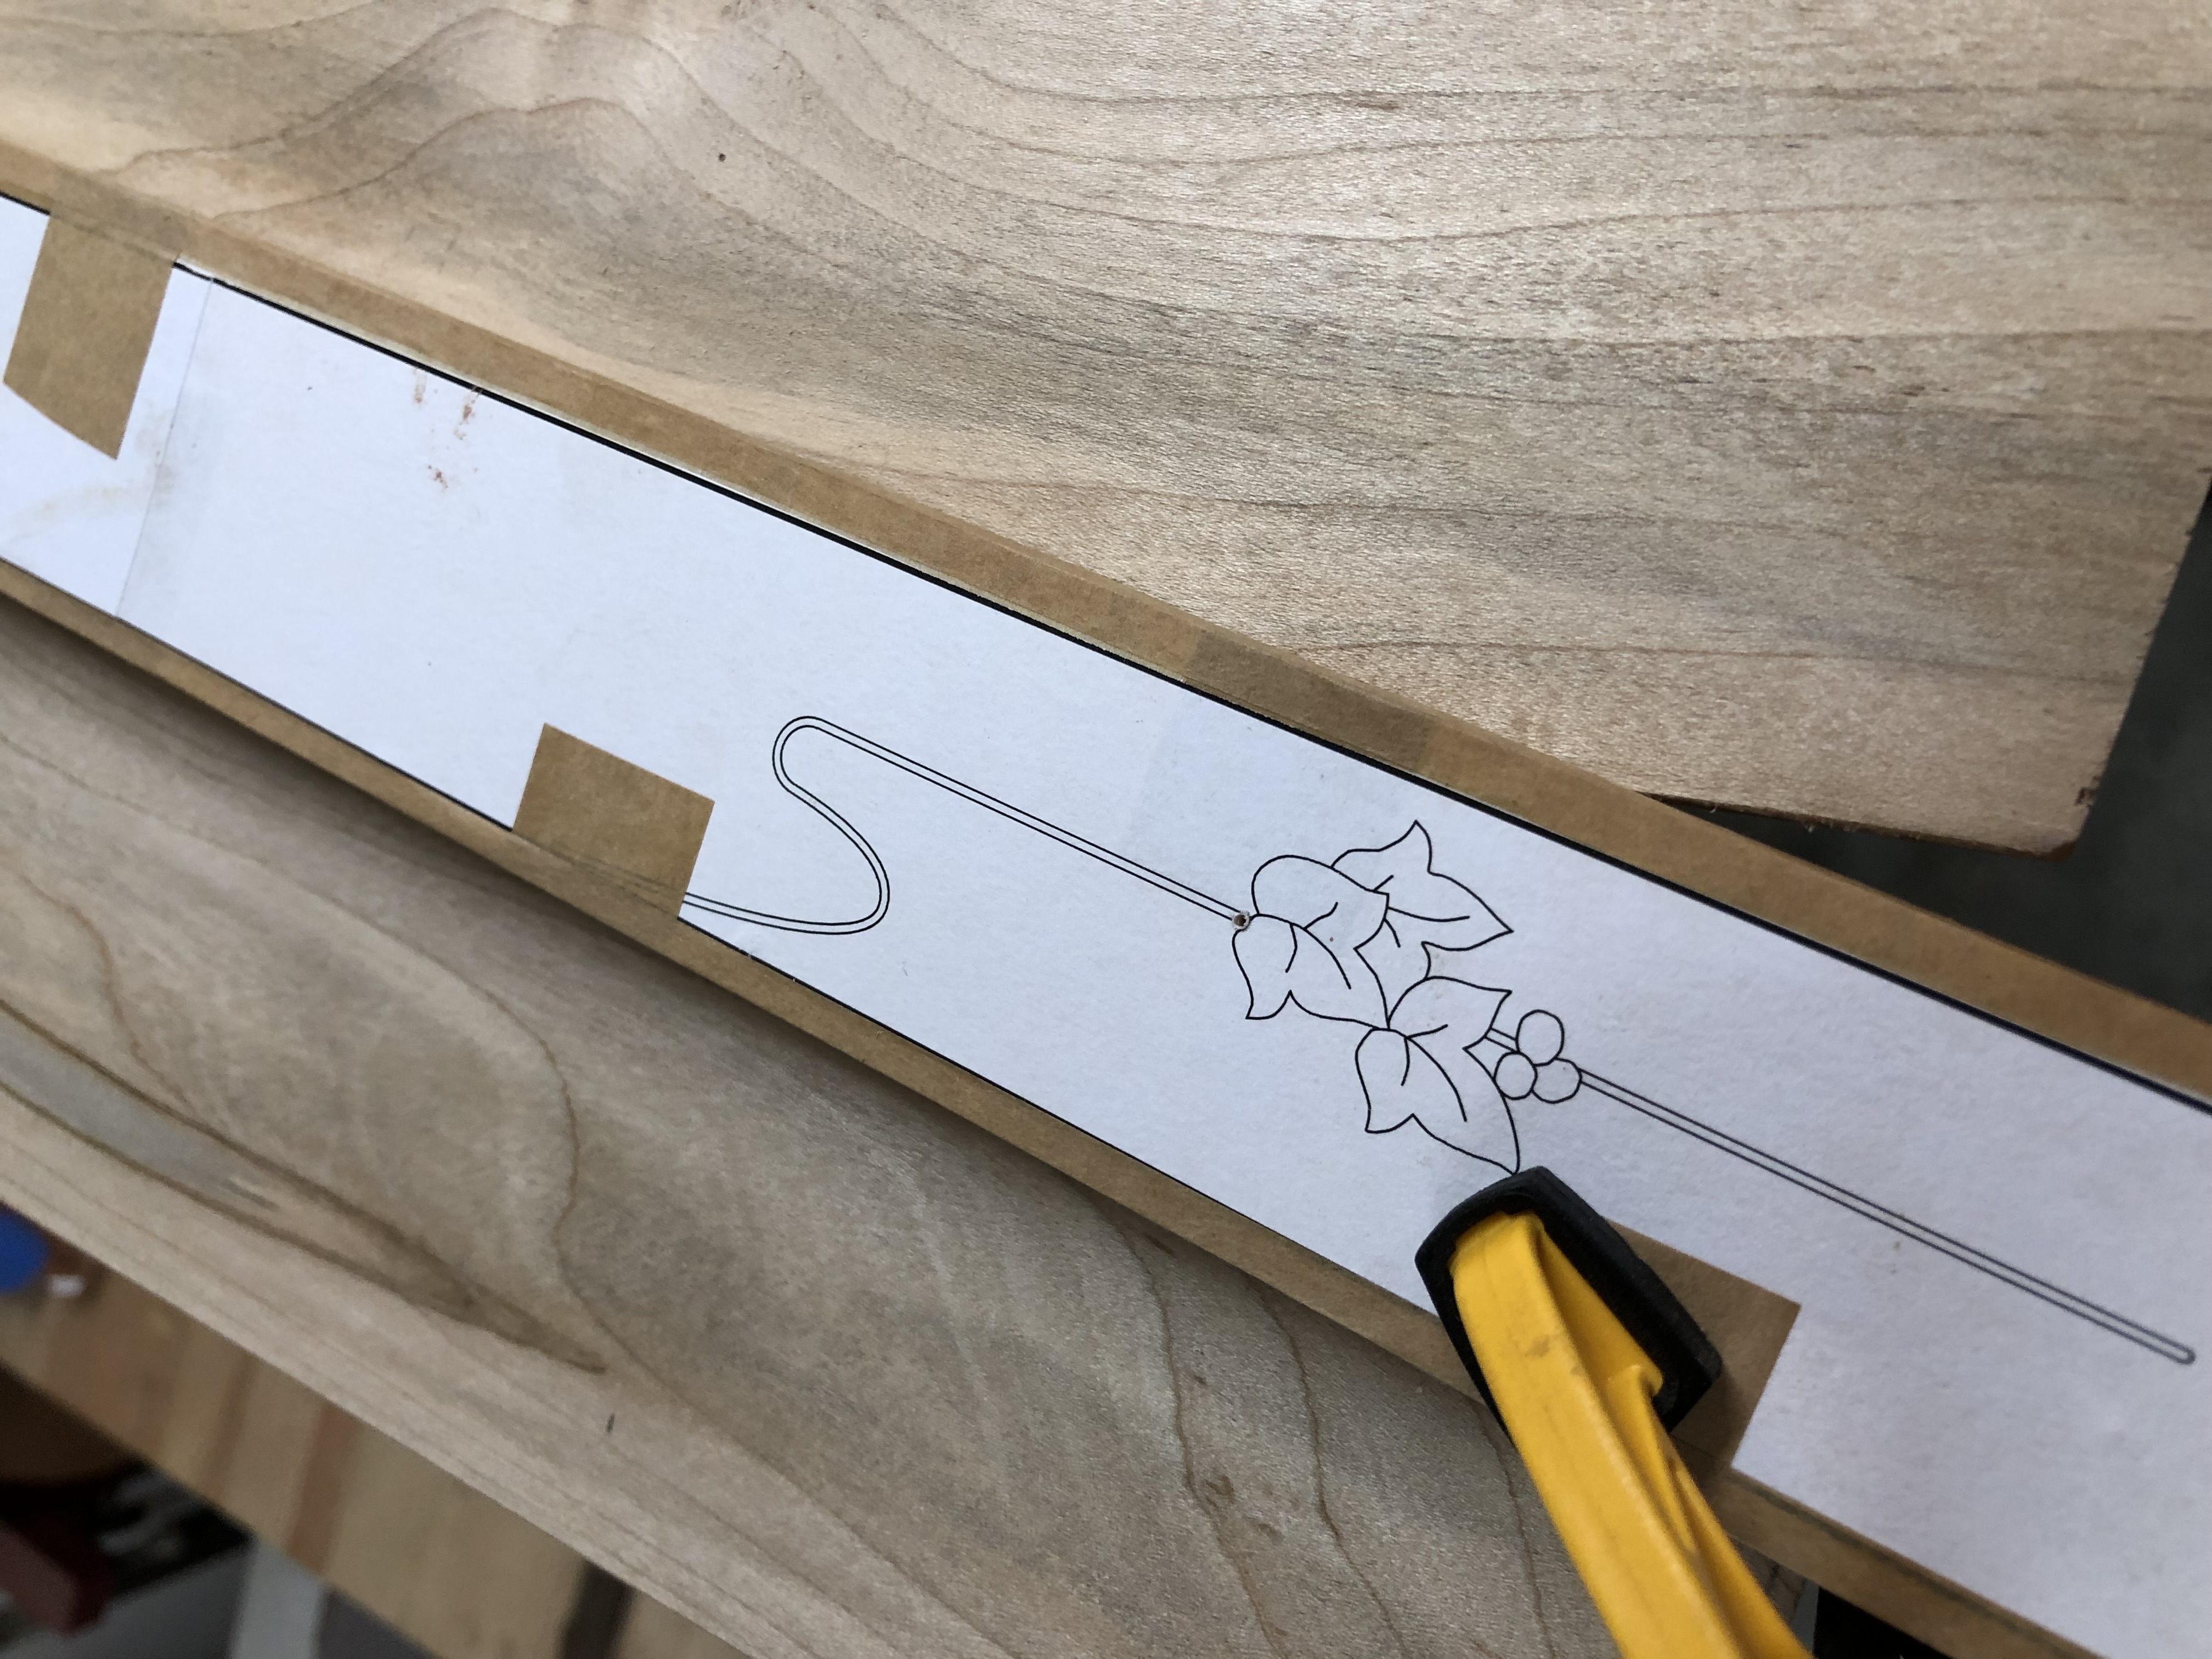
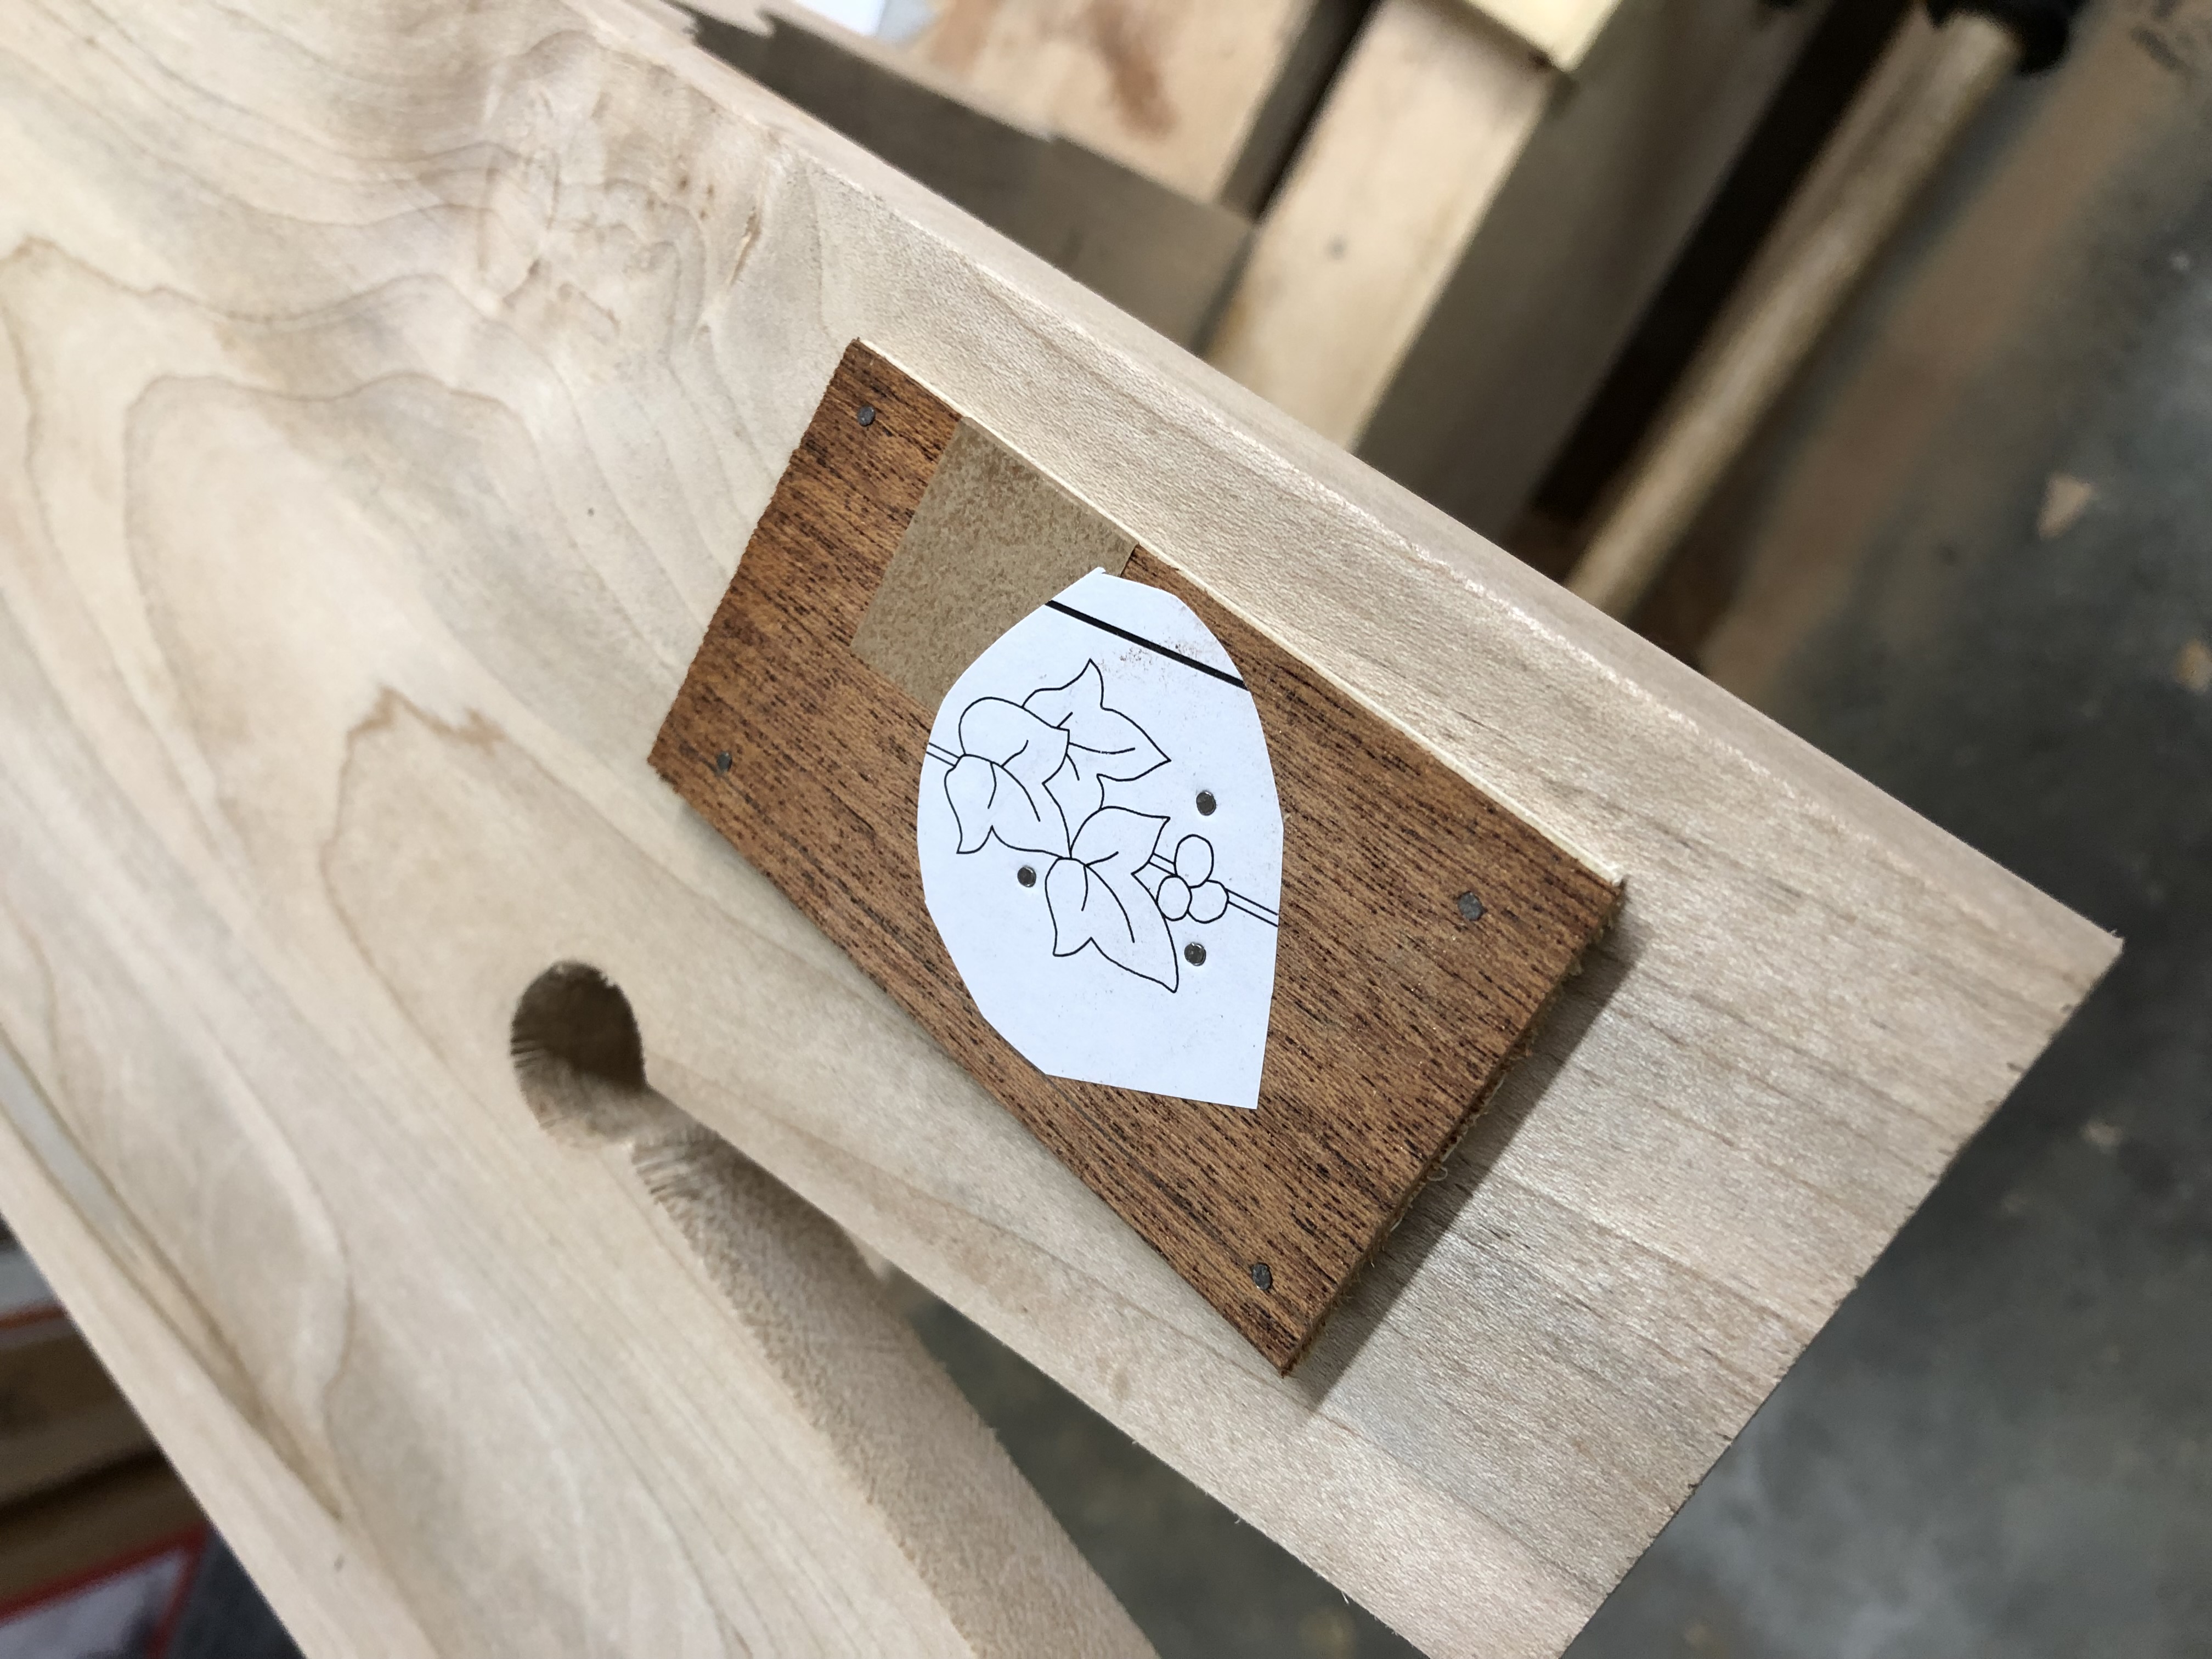
The design is draped vines with ivy leaves and berries, in the Arts and Crafts spirit. I took foliage from a piece that was dated appropriately for Arts and Crafts out of one of Ramond's books and then proceeded to mix it up and drape it over the stile. It looks good on paper; here's hoping it looks good on the piece too.
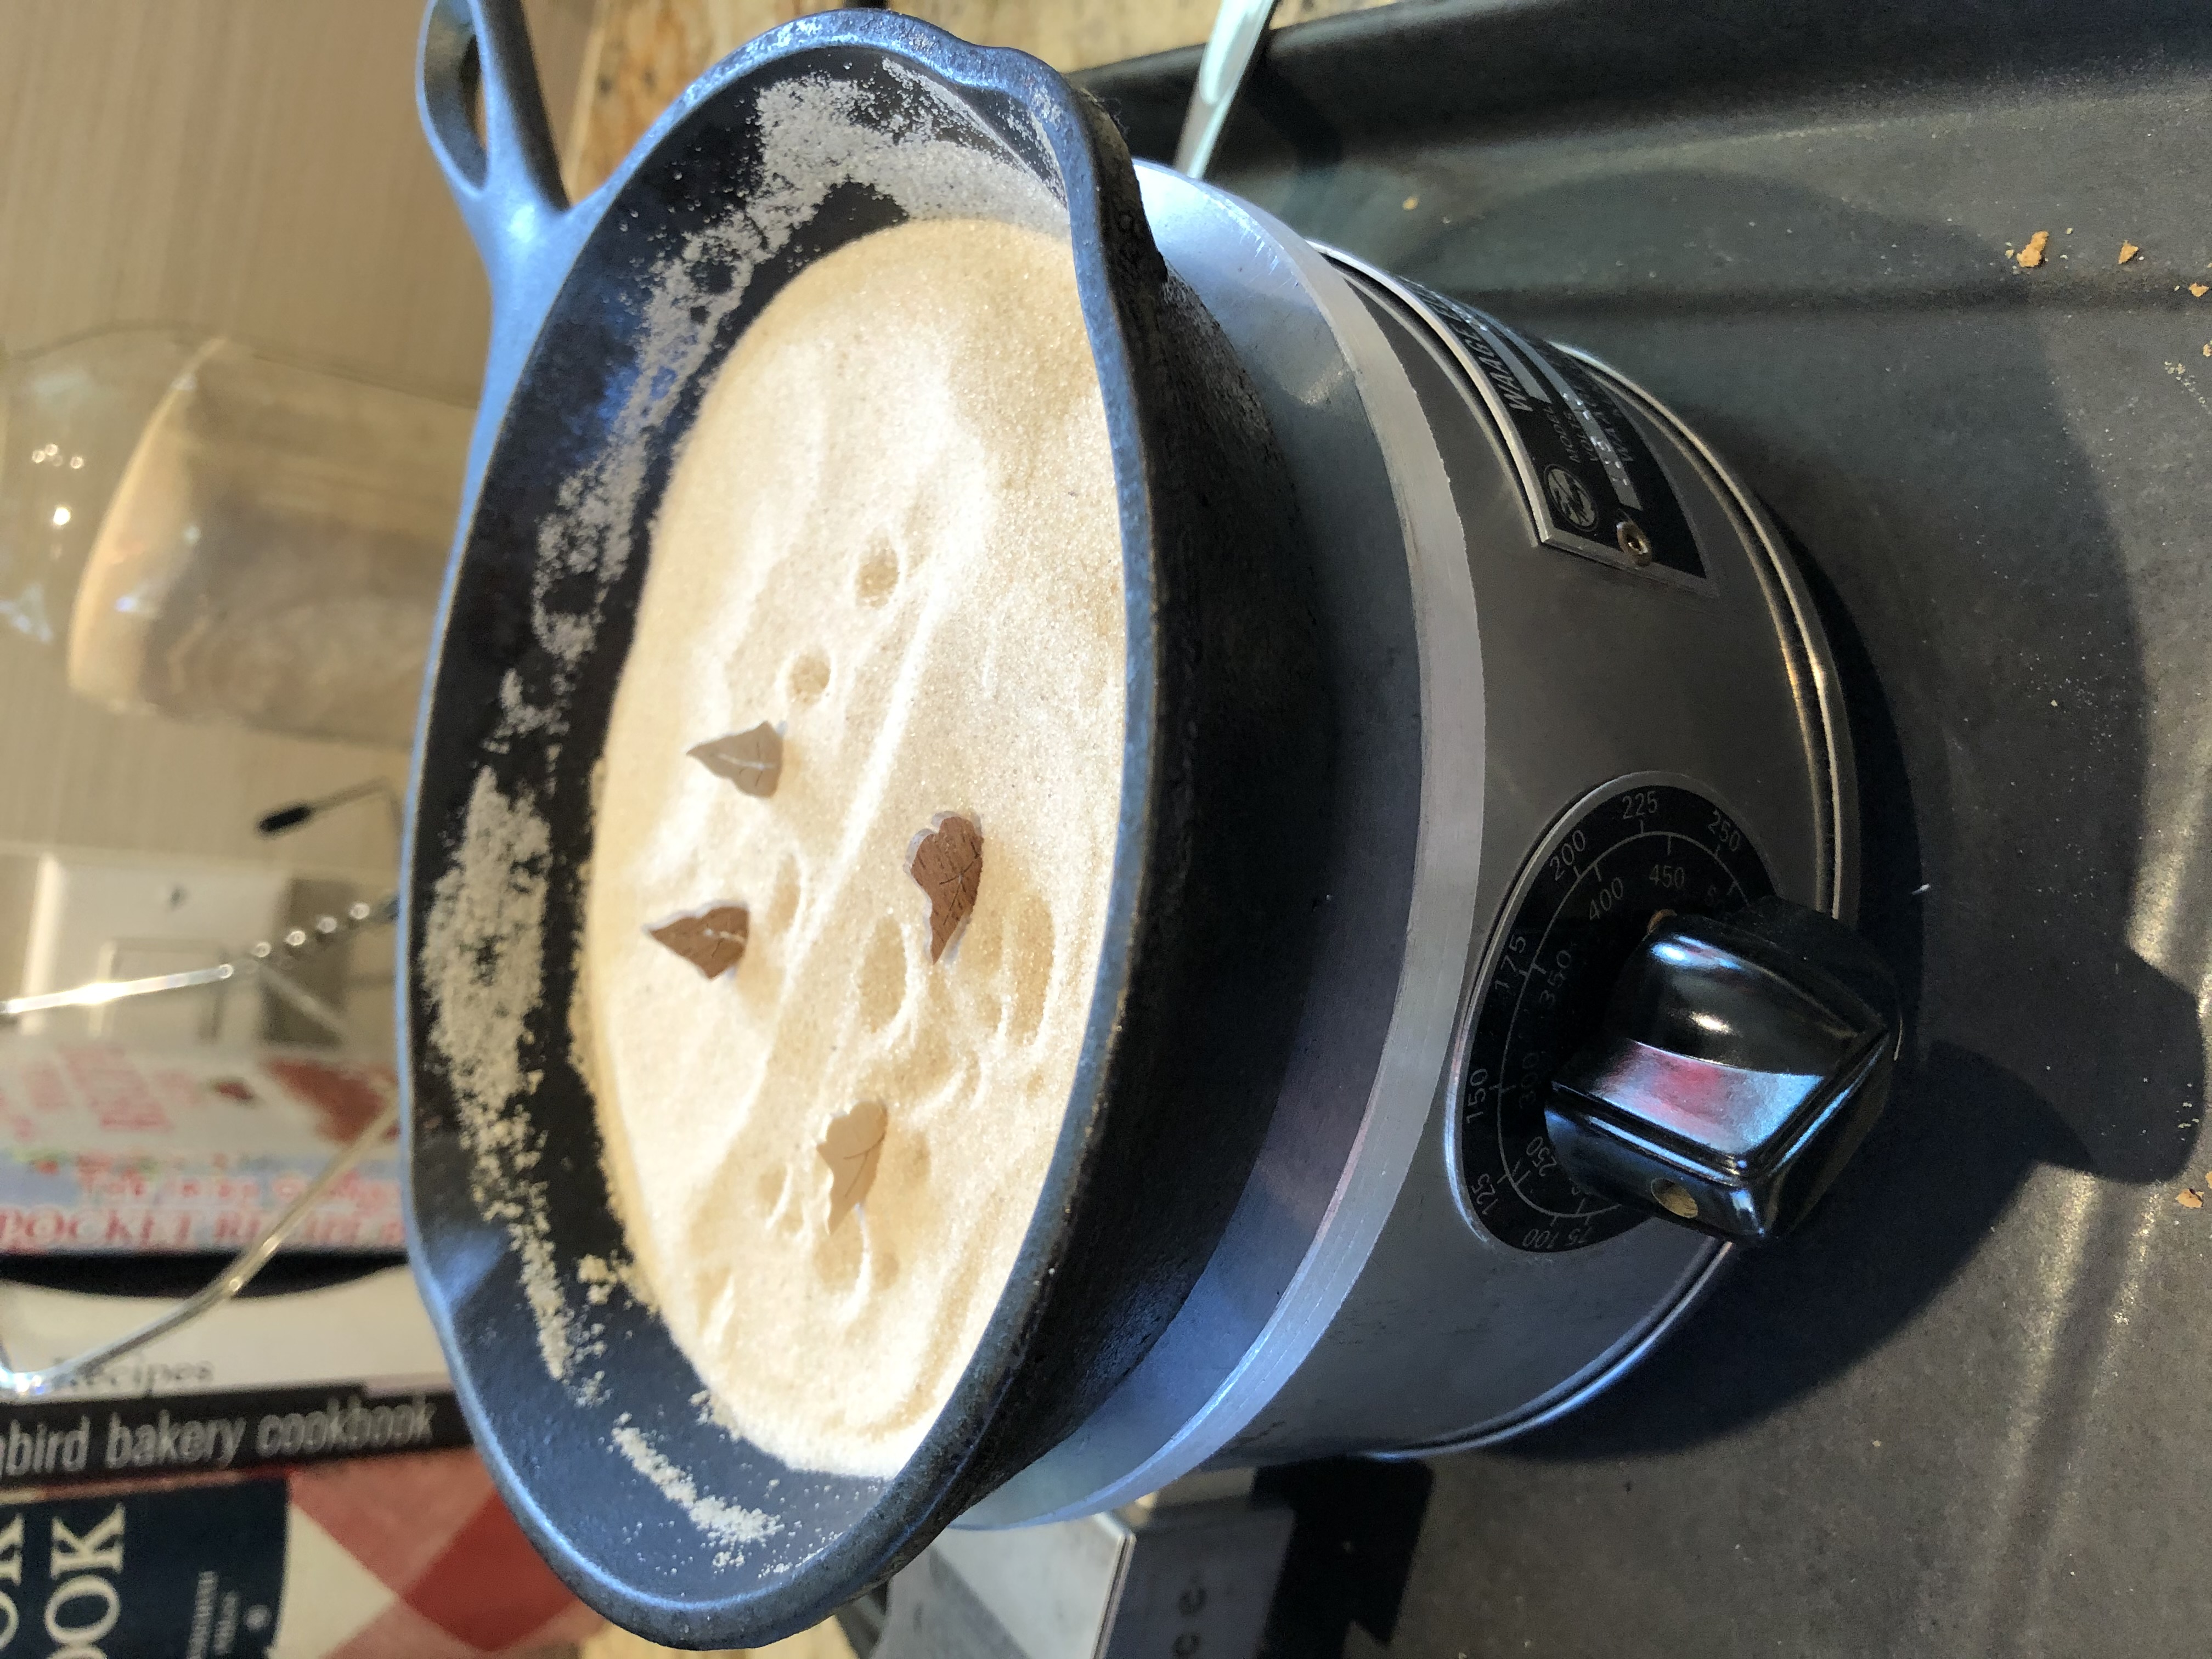
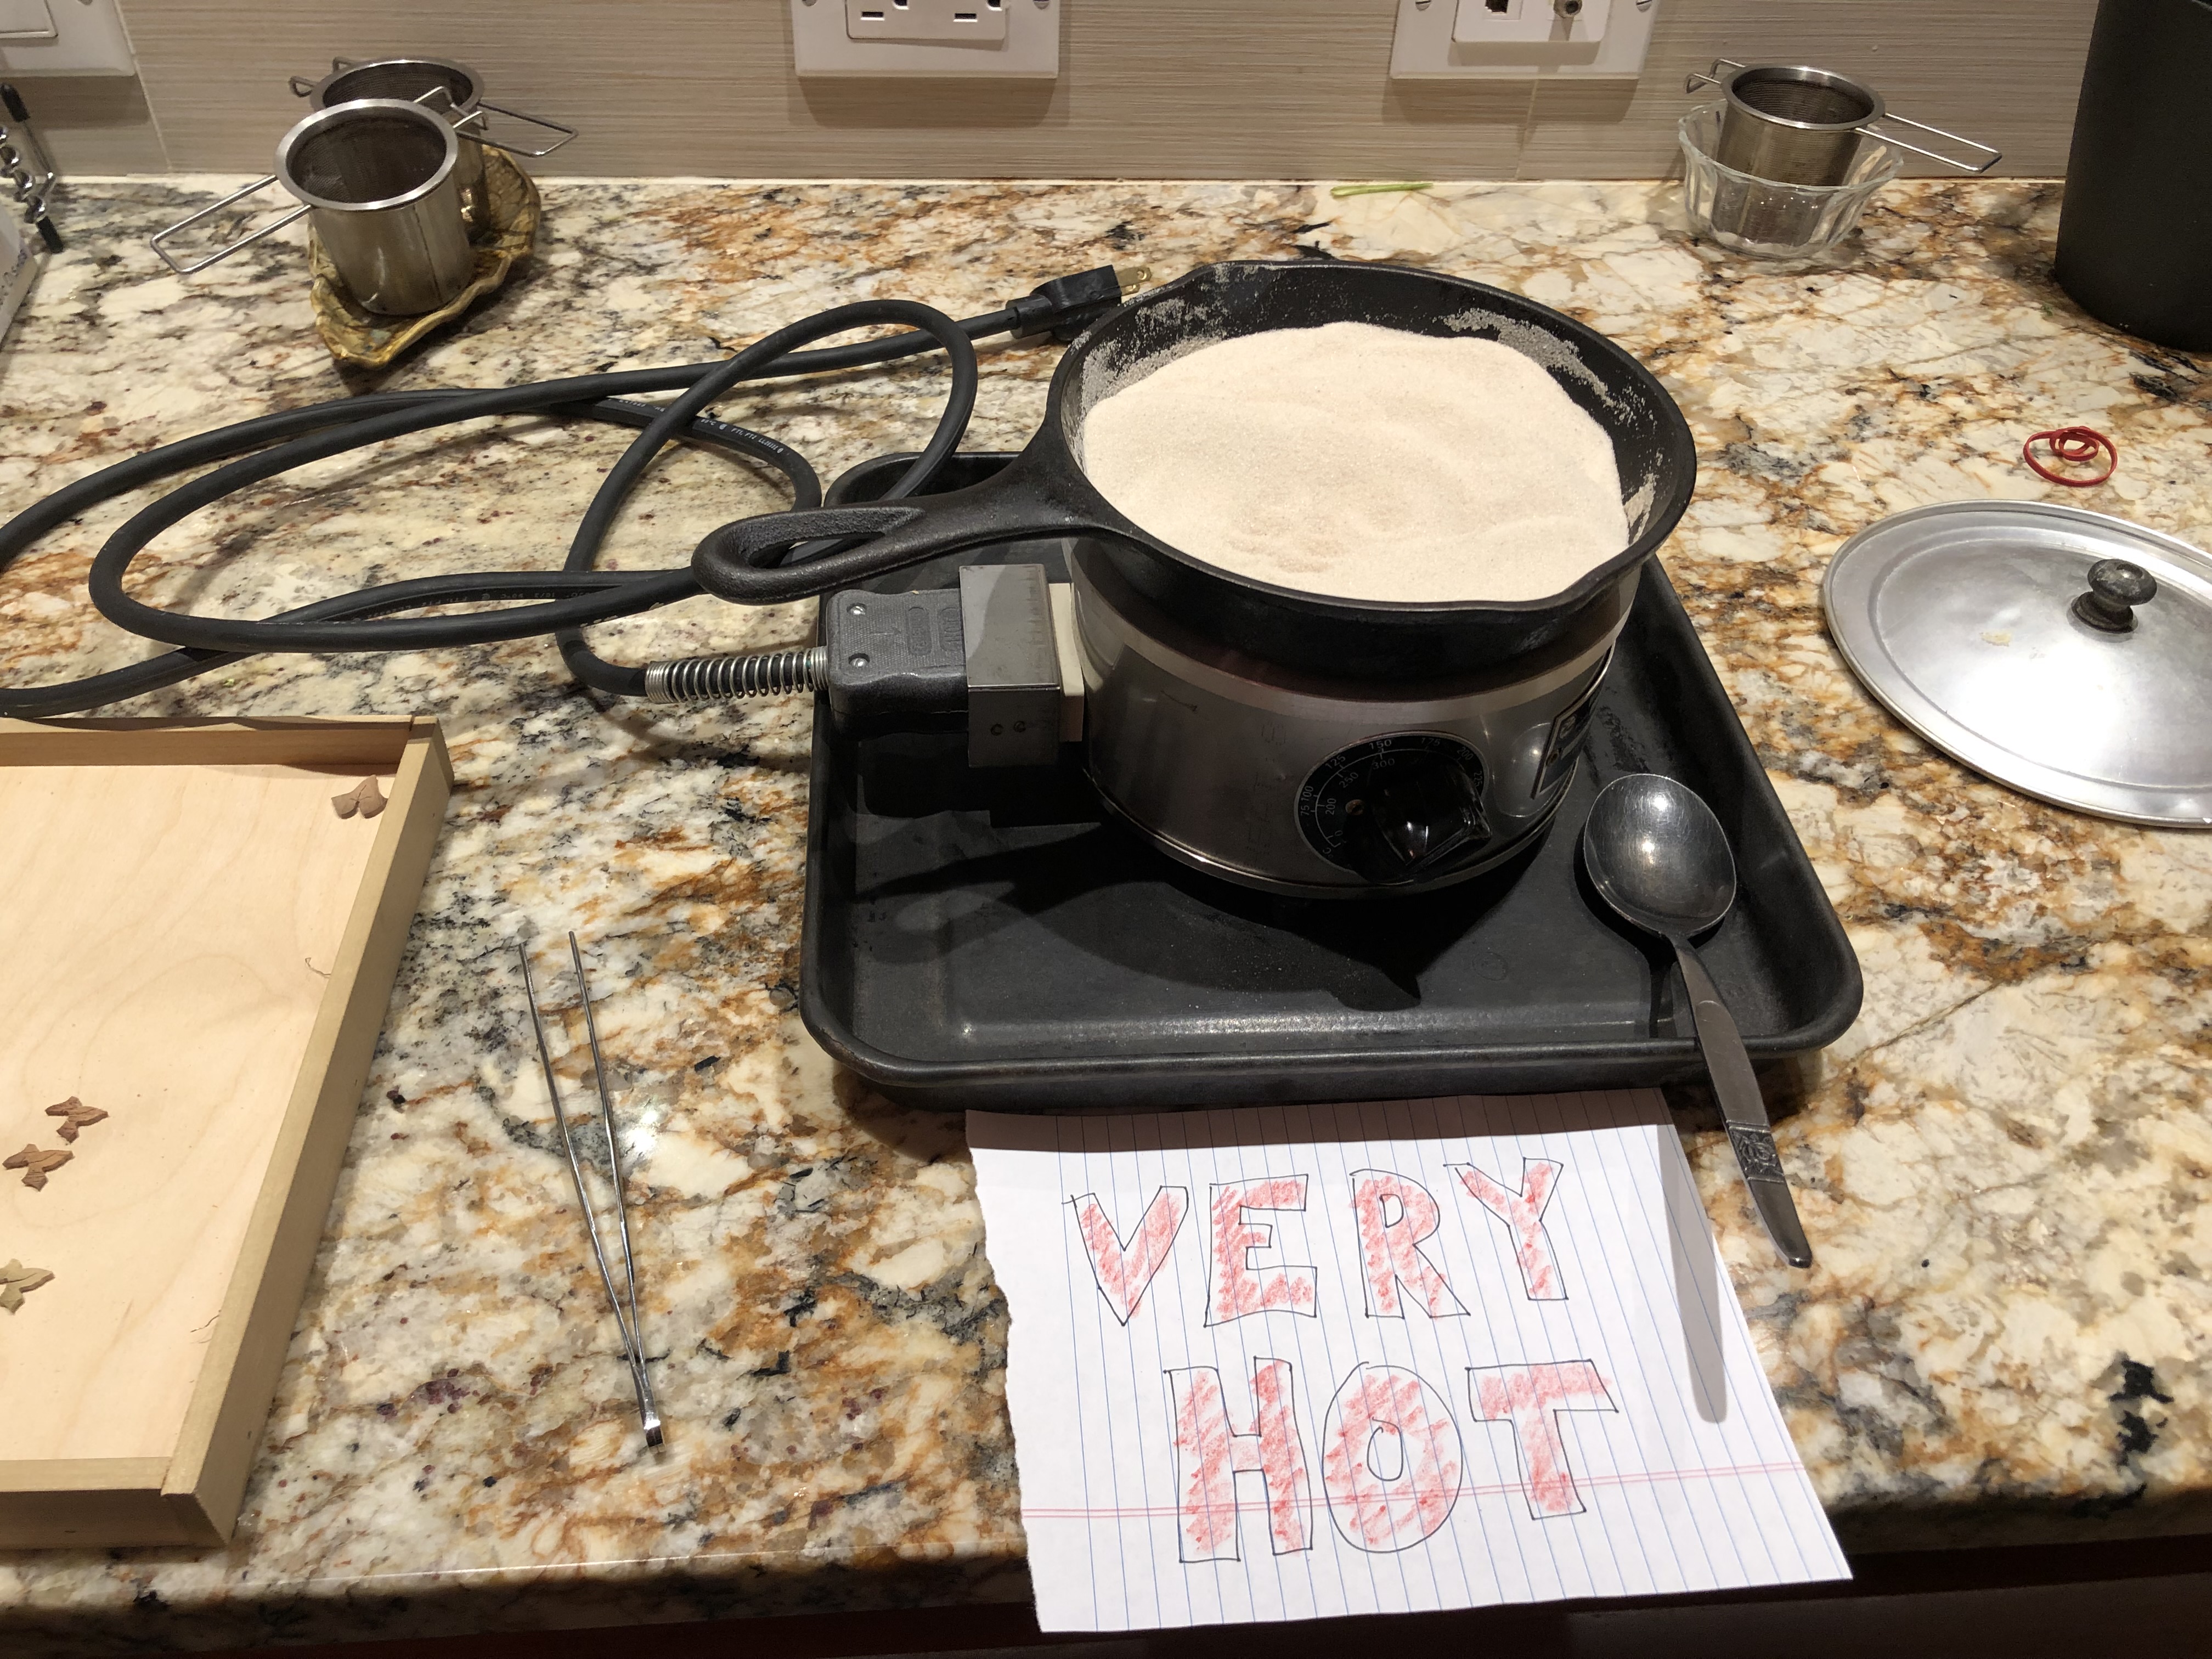
I just finished my first attempt at hot sand shading for the leaves. I'm pretty pleased with it.
Of course I over-complicated the design, which involves overlapping stringing of two colors and marquetry on the same faces. This is why projects linger so long in my shop.
But it's fun. Onward.
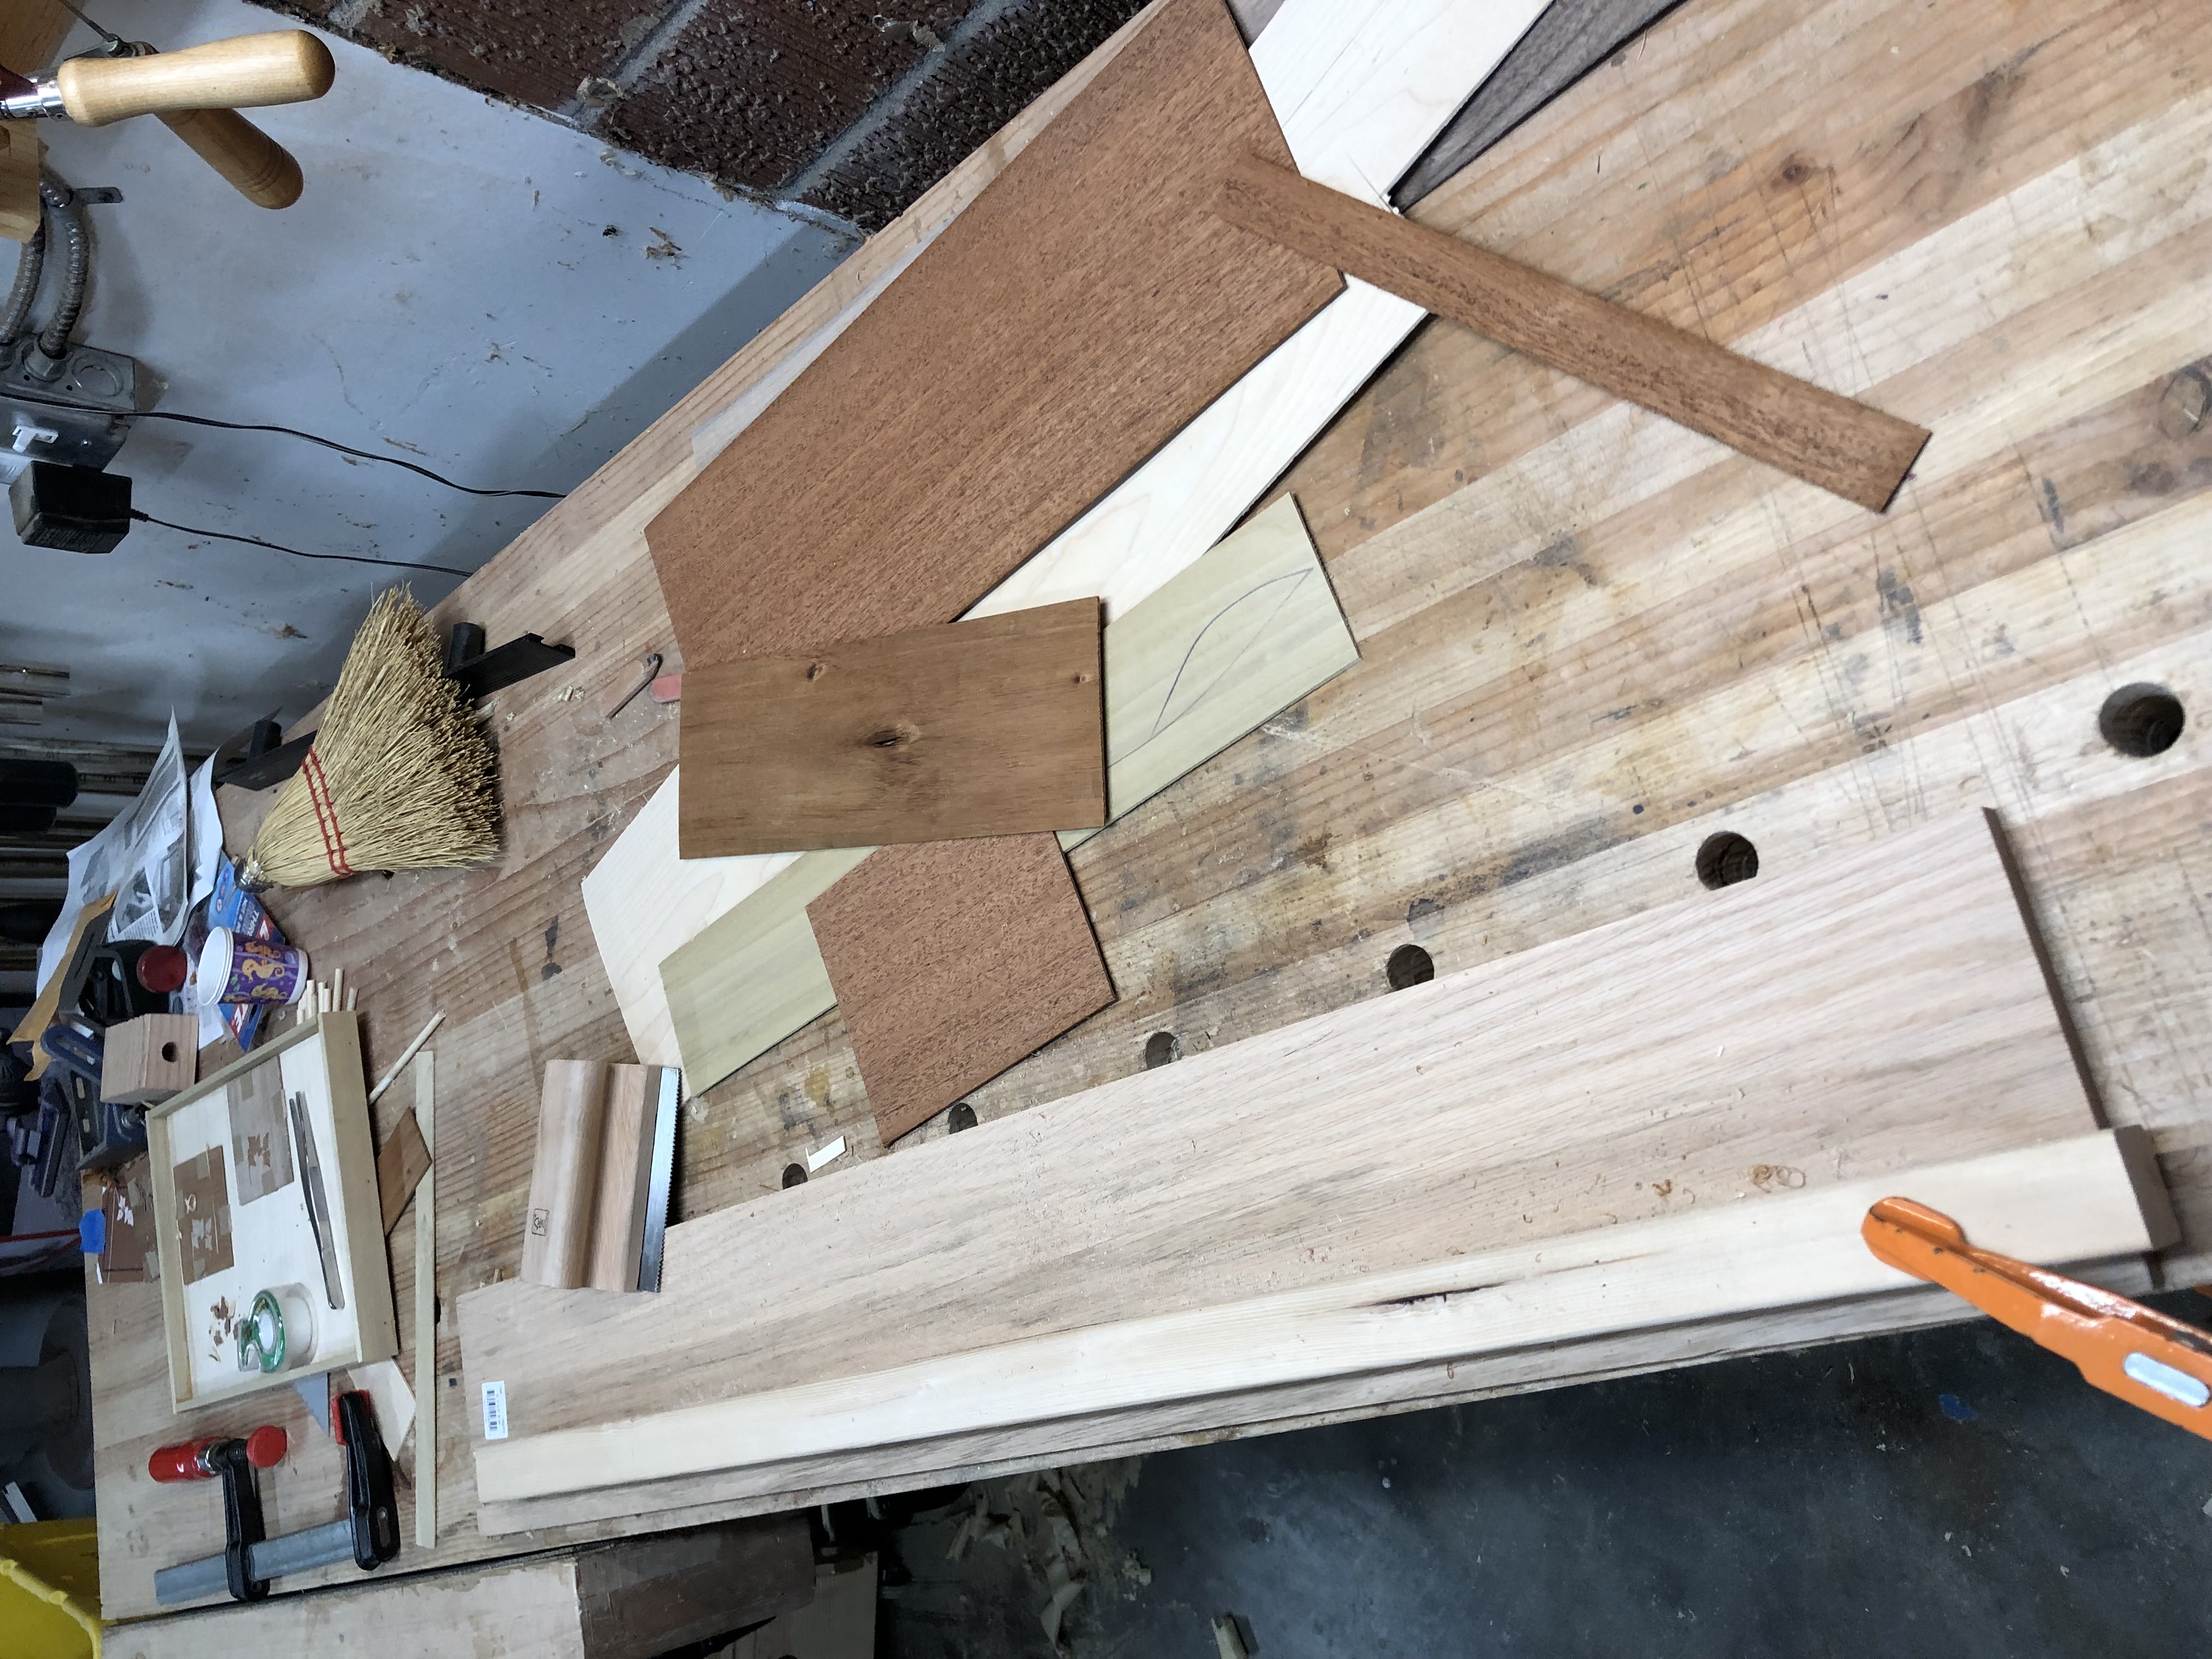
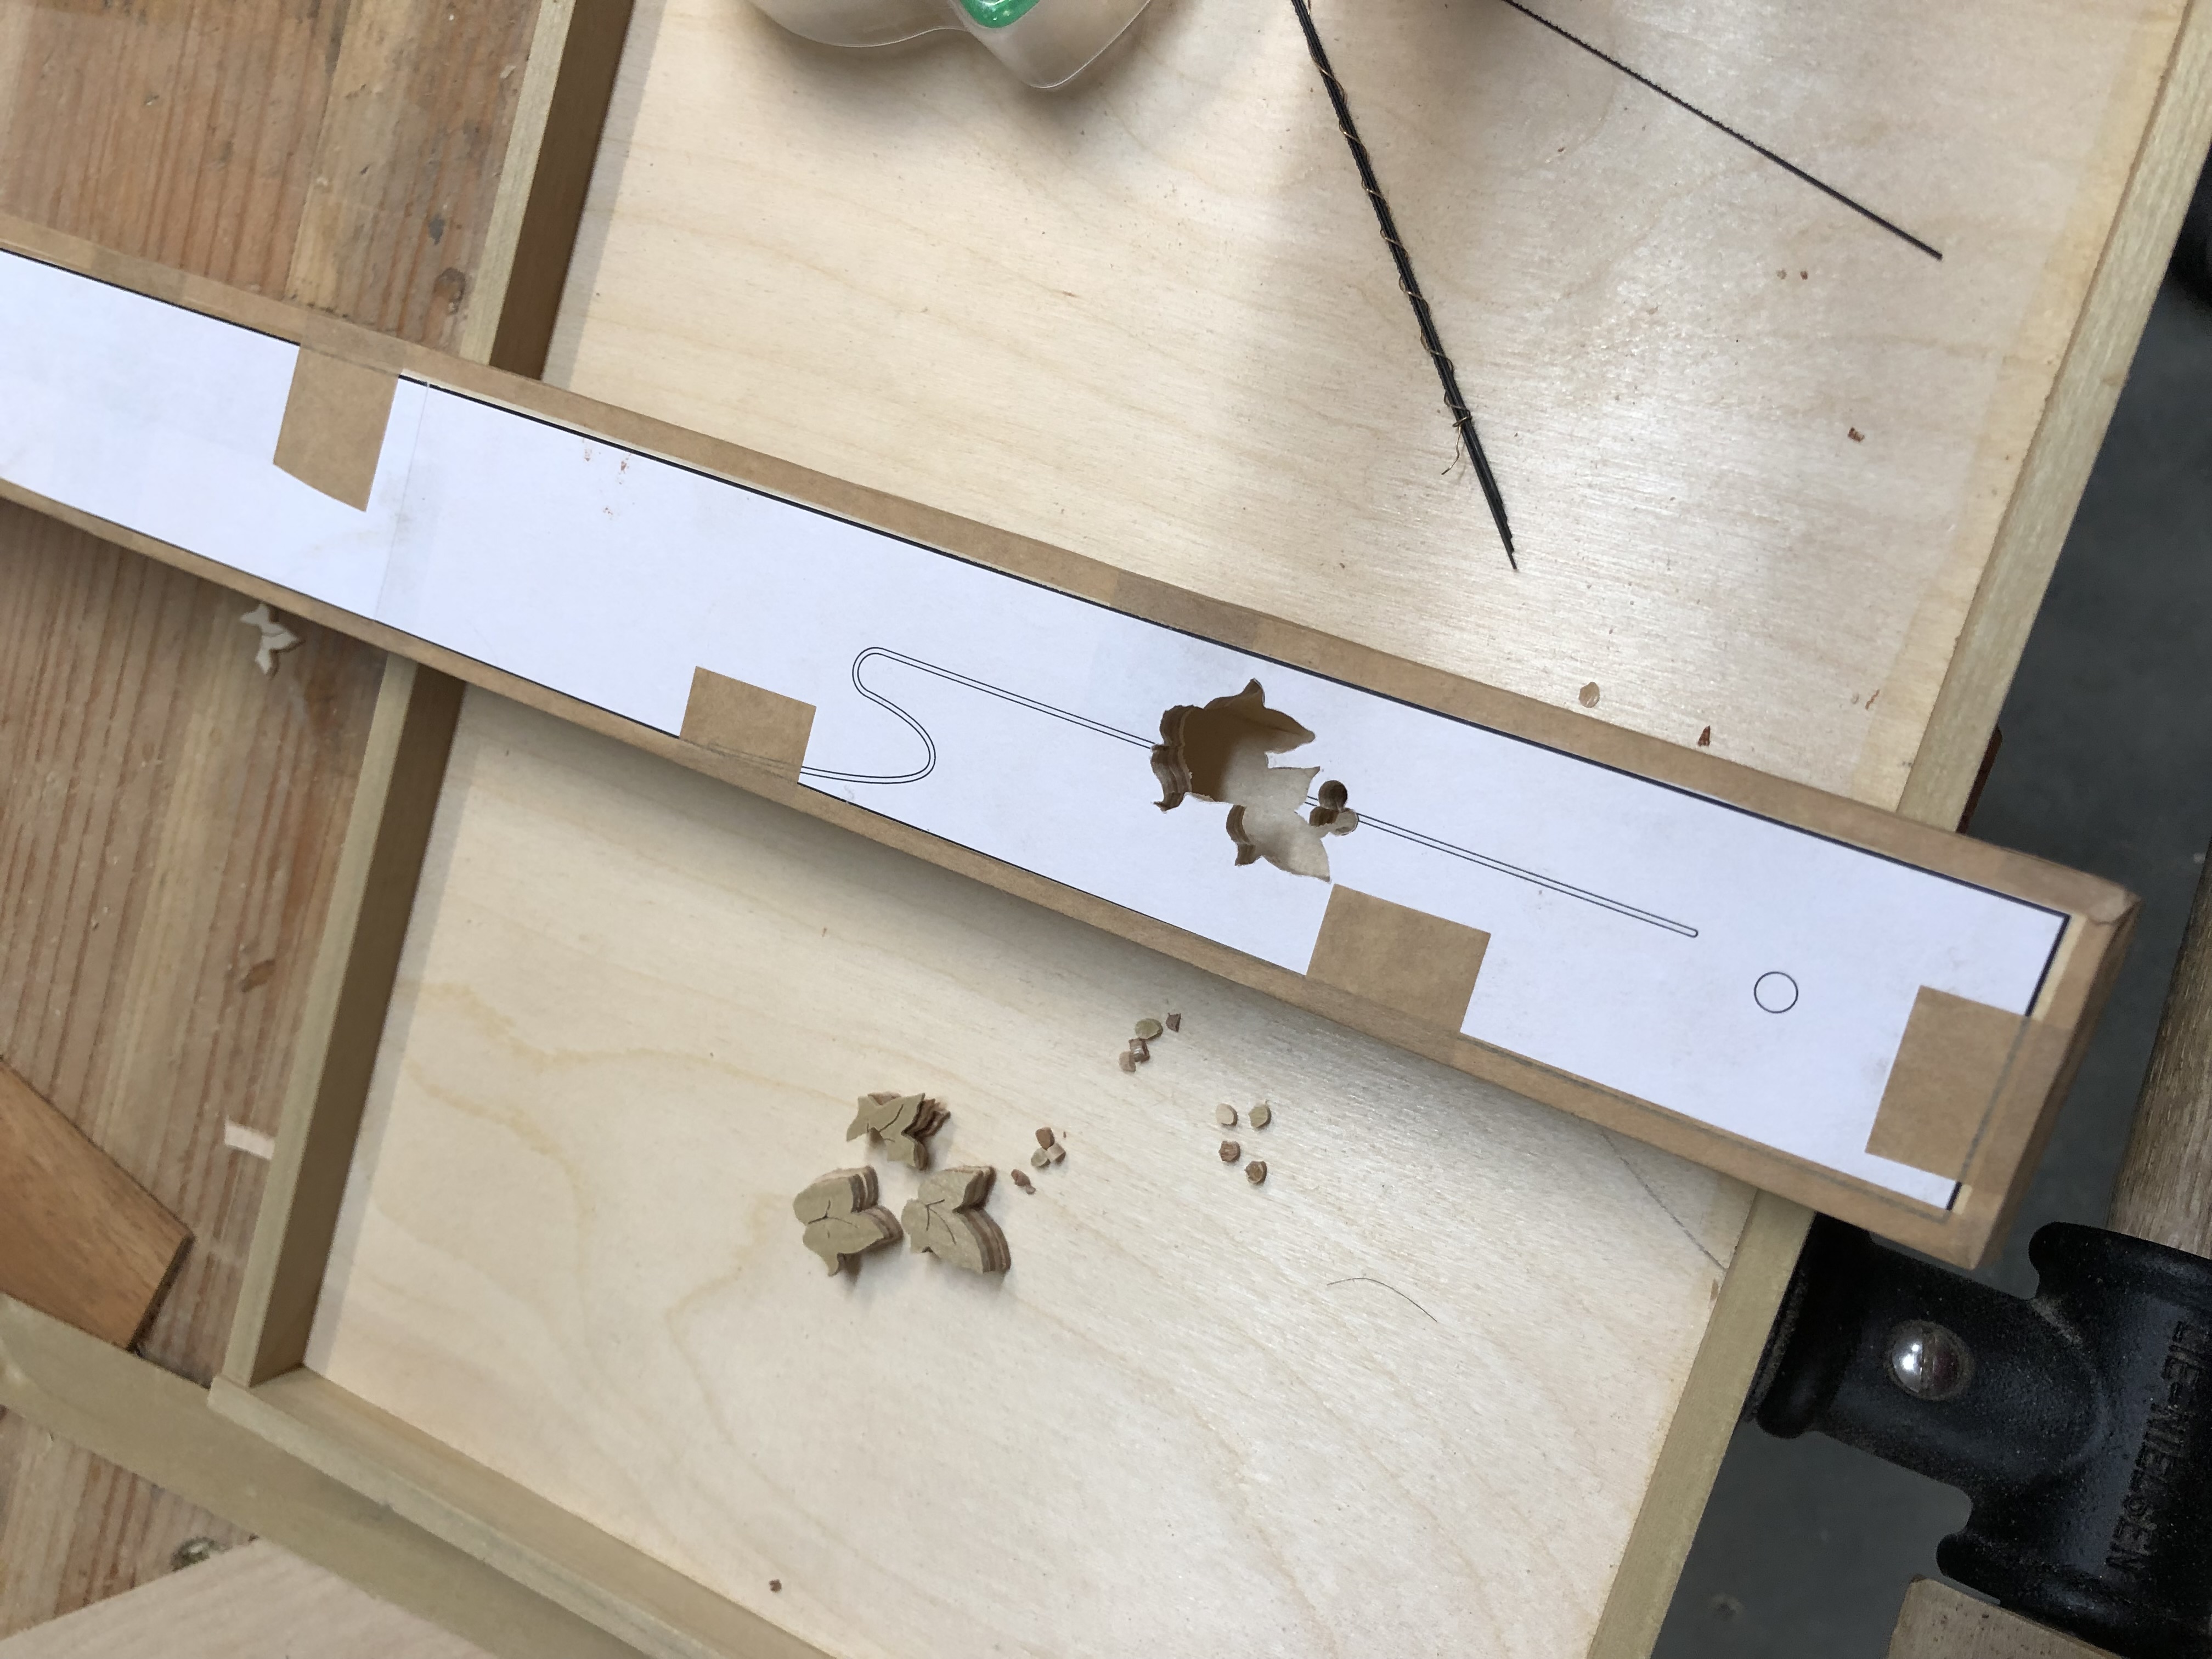
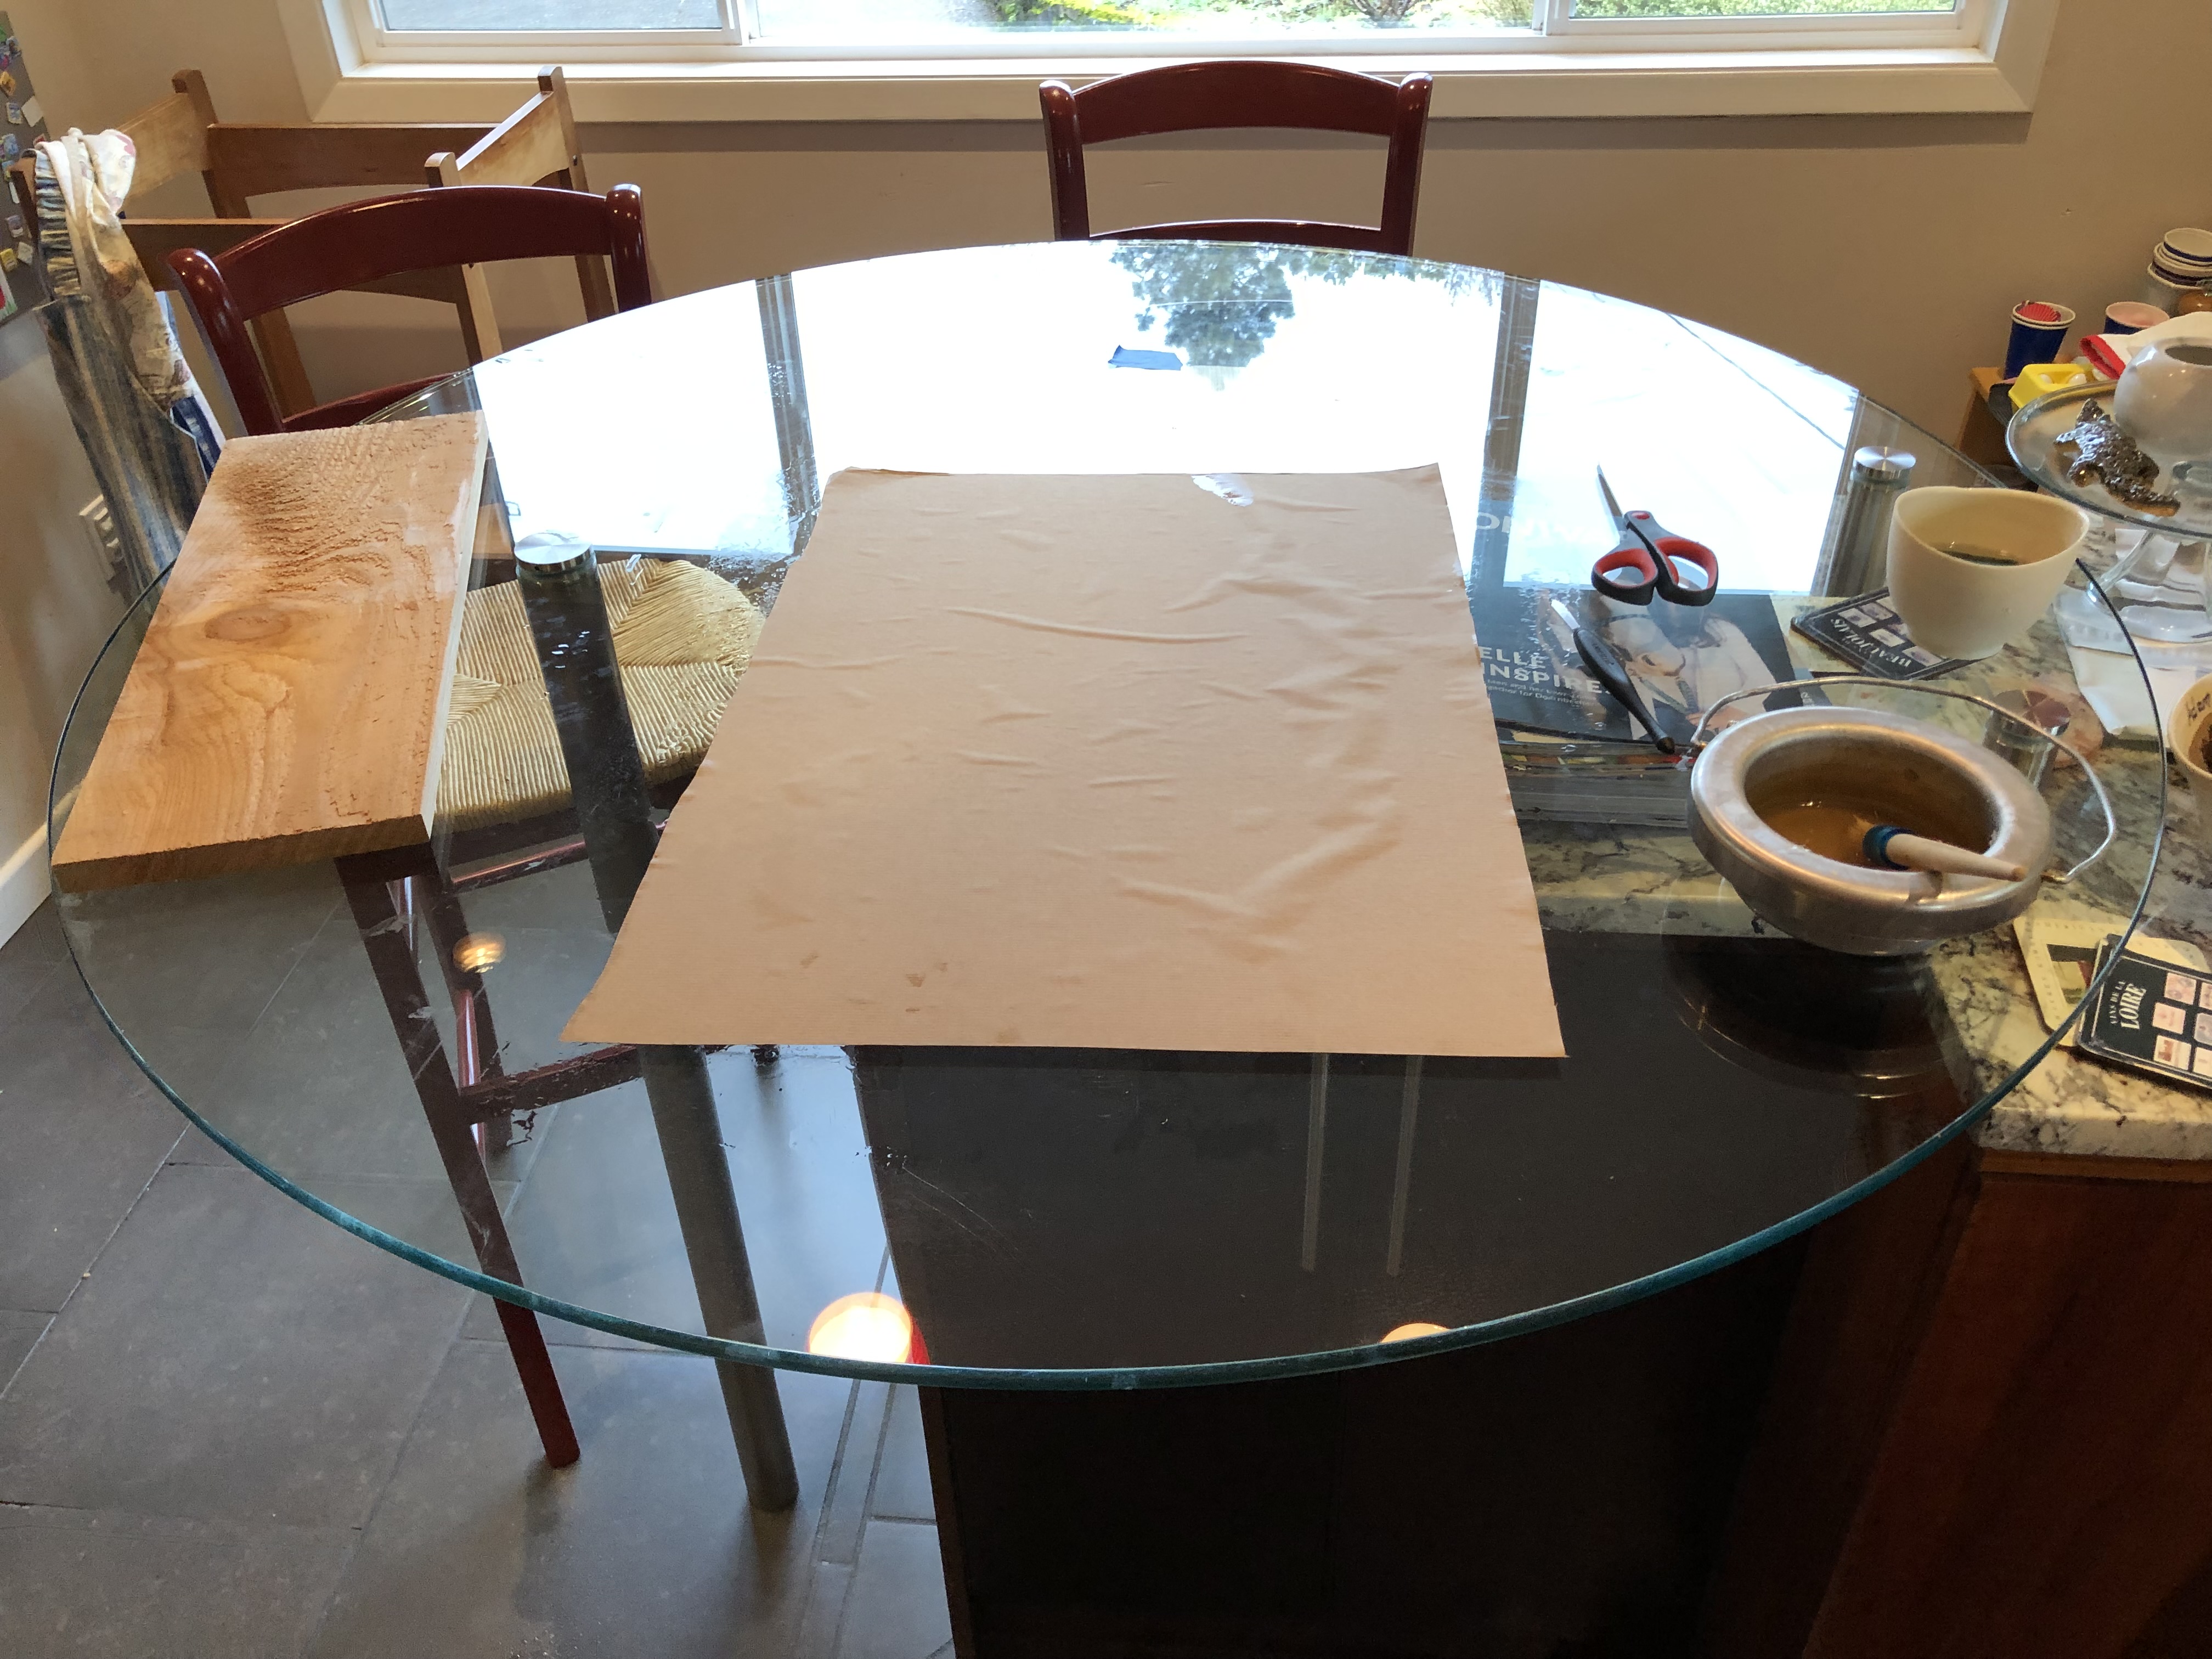
Materials for the stile: koa ground, poplar, maple, and mahogany veneer leaves, holly and ebony stringing.Sawing veneers off the koa stock.Stile design drawn out: stringing vine dropping down to a knot of ivy leaves and berries.Design taped to the veneer stack, ready to cut.Fret saw in progress on the packet. Chips from the first leaf.Four veneers in the packet: poplar, mahogany, maple, and more mahogany, each with the leaves cut out.Leaf sets pushed back into their home pieces for test-fit.First attempt at hot sand shading. Heated sand darkens the leaves in patches for depth.Glue pot on the kitchen counter. The 'VERY HOT' sign exists because this is a shared kitchen.Koa carcass and drawer, first forum-thread photo.
A Board of Koa from Kauai
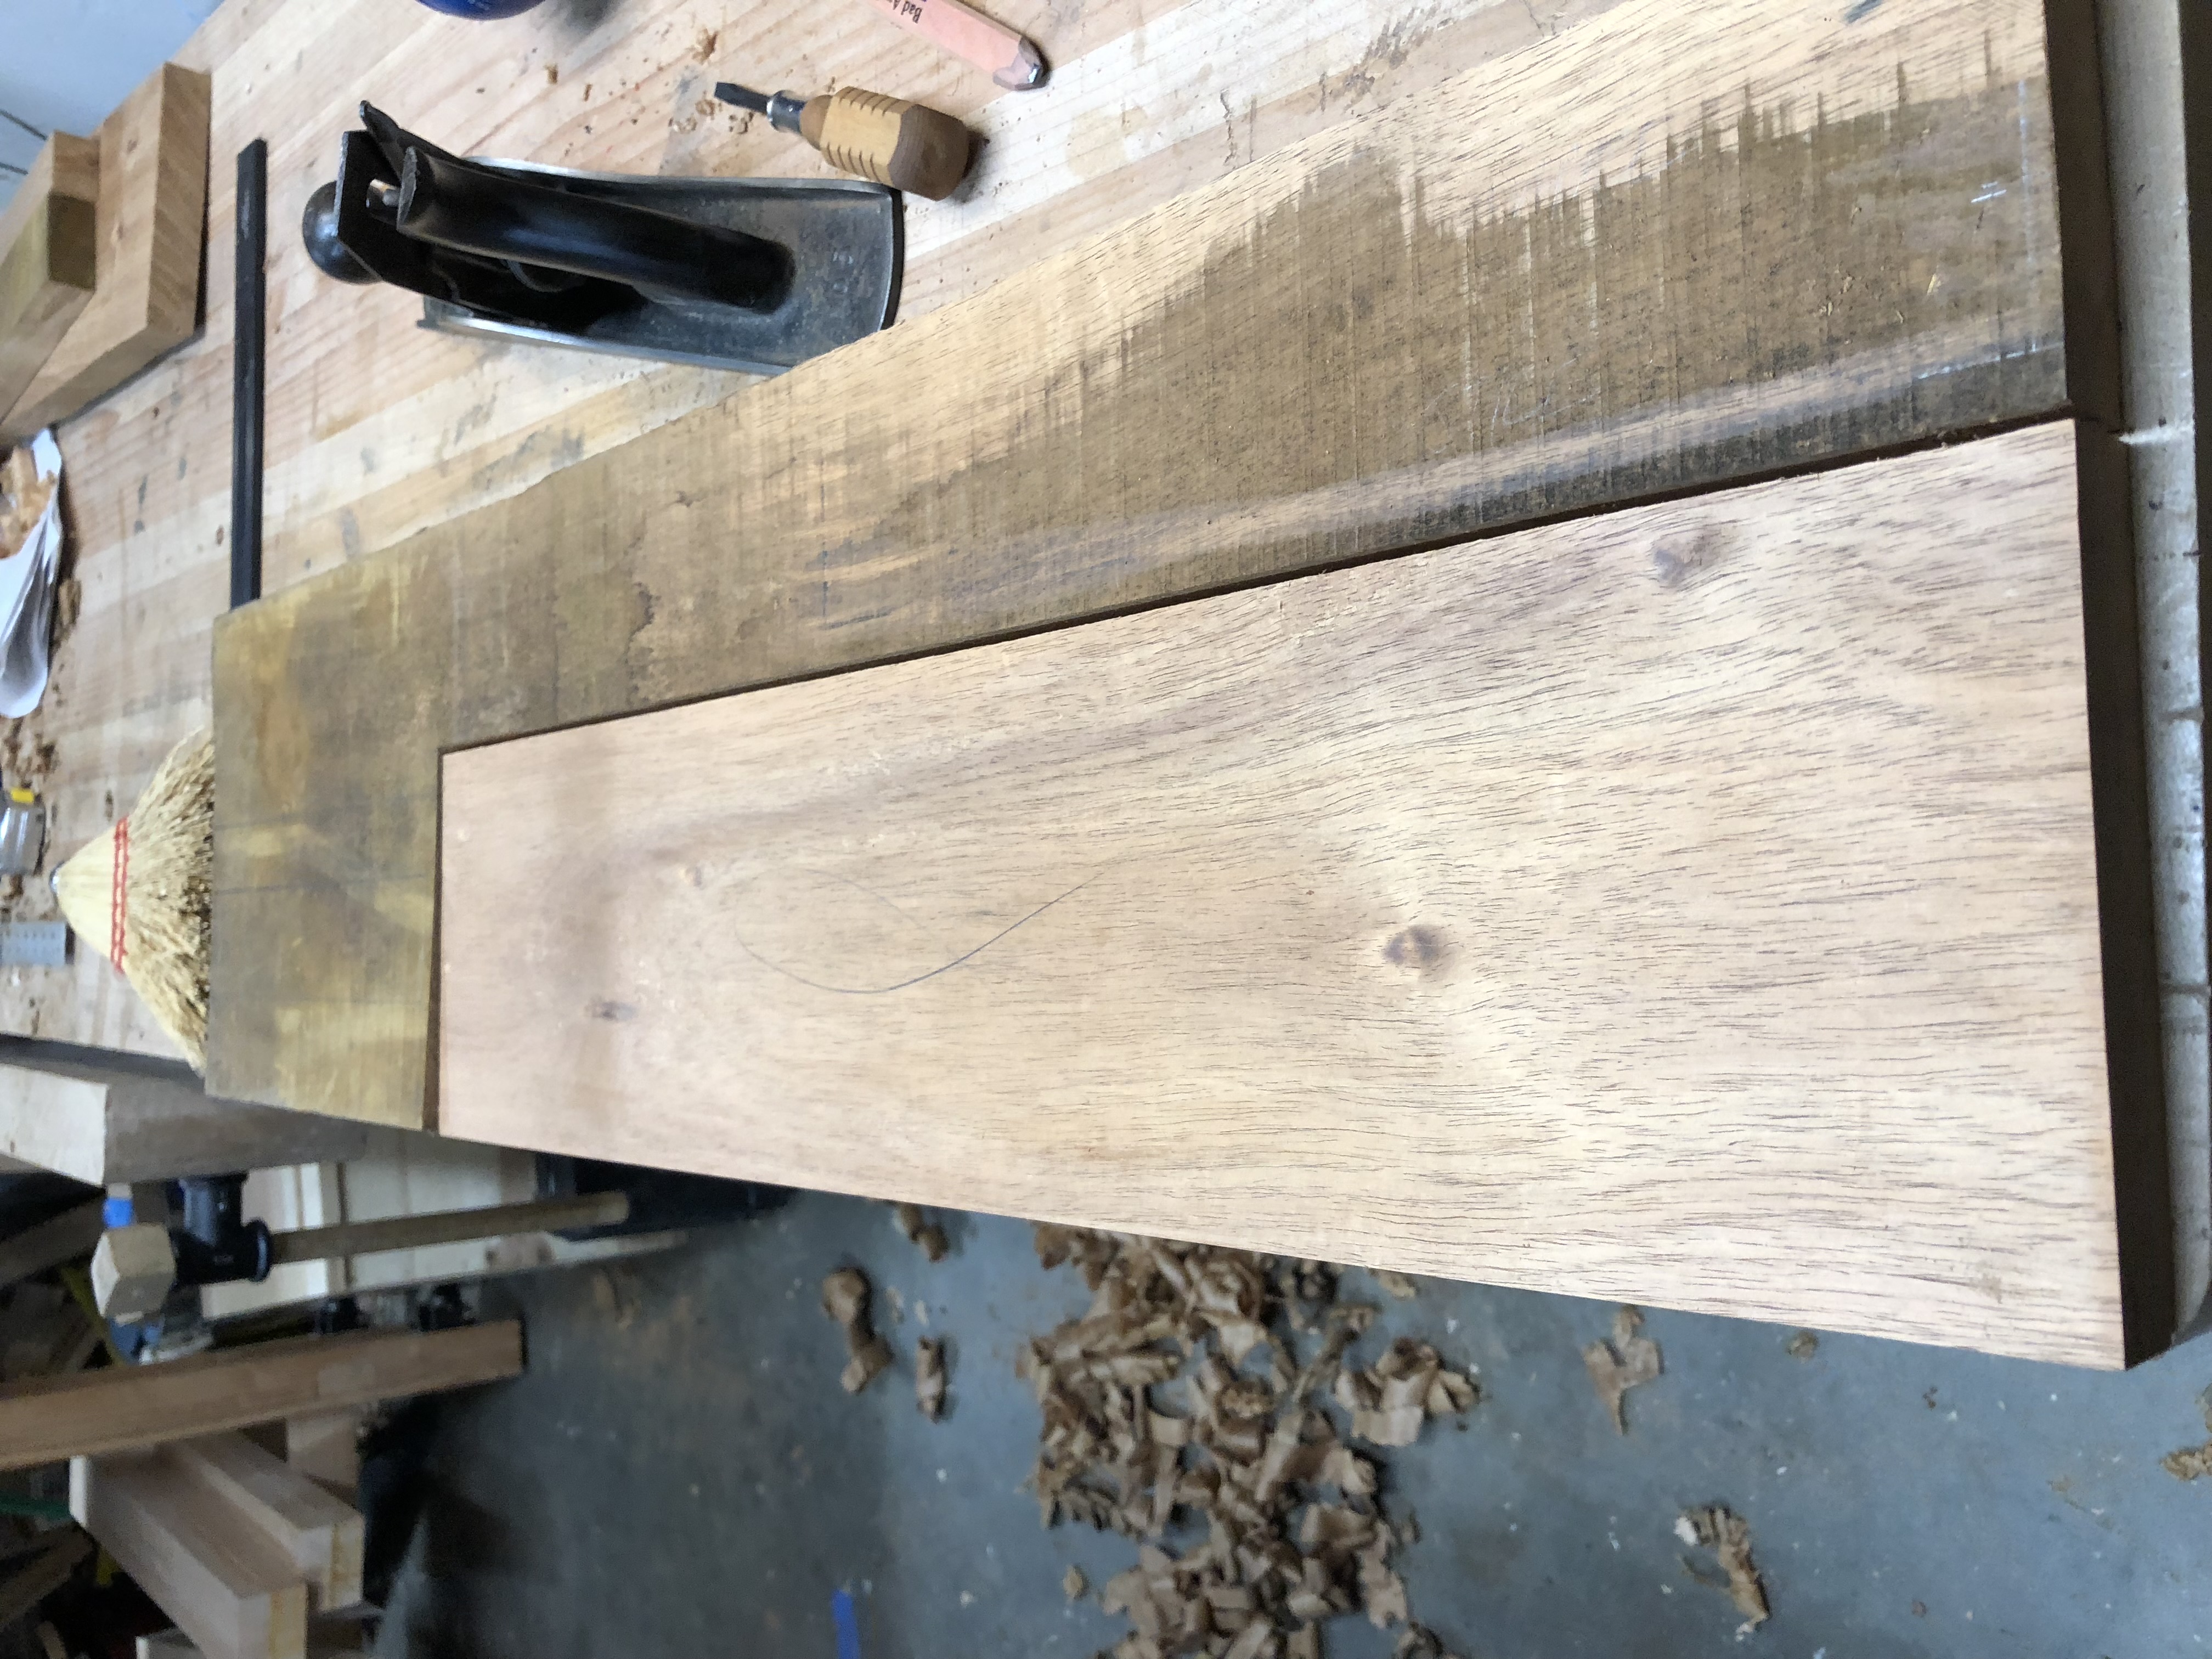
Koa stock after rough-cutting into three 36-inch lengths for the flight home.
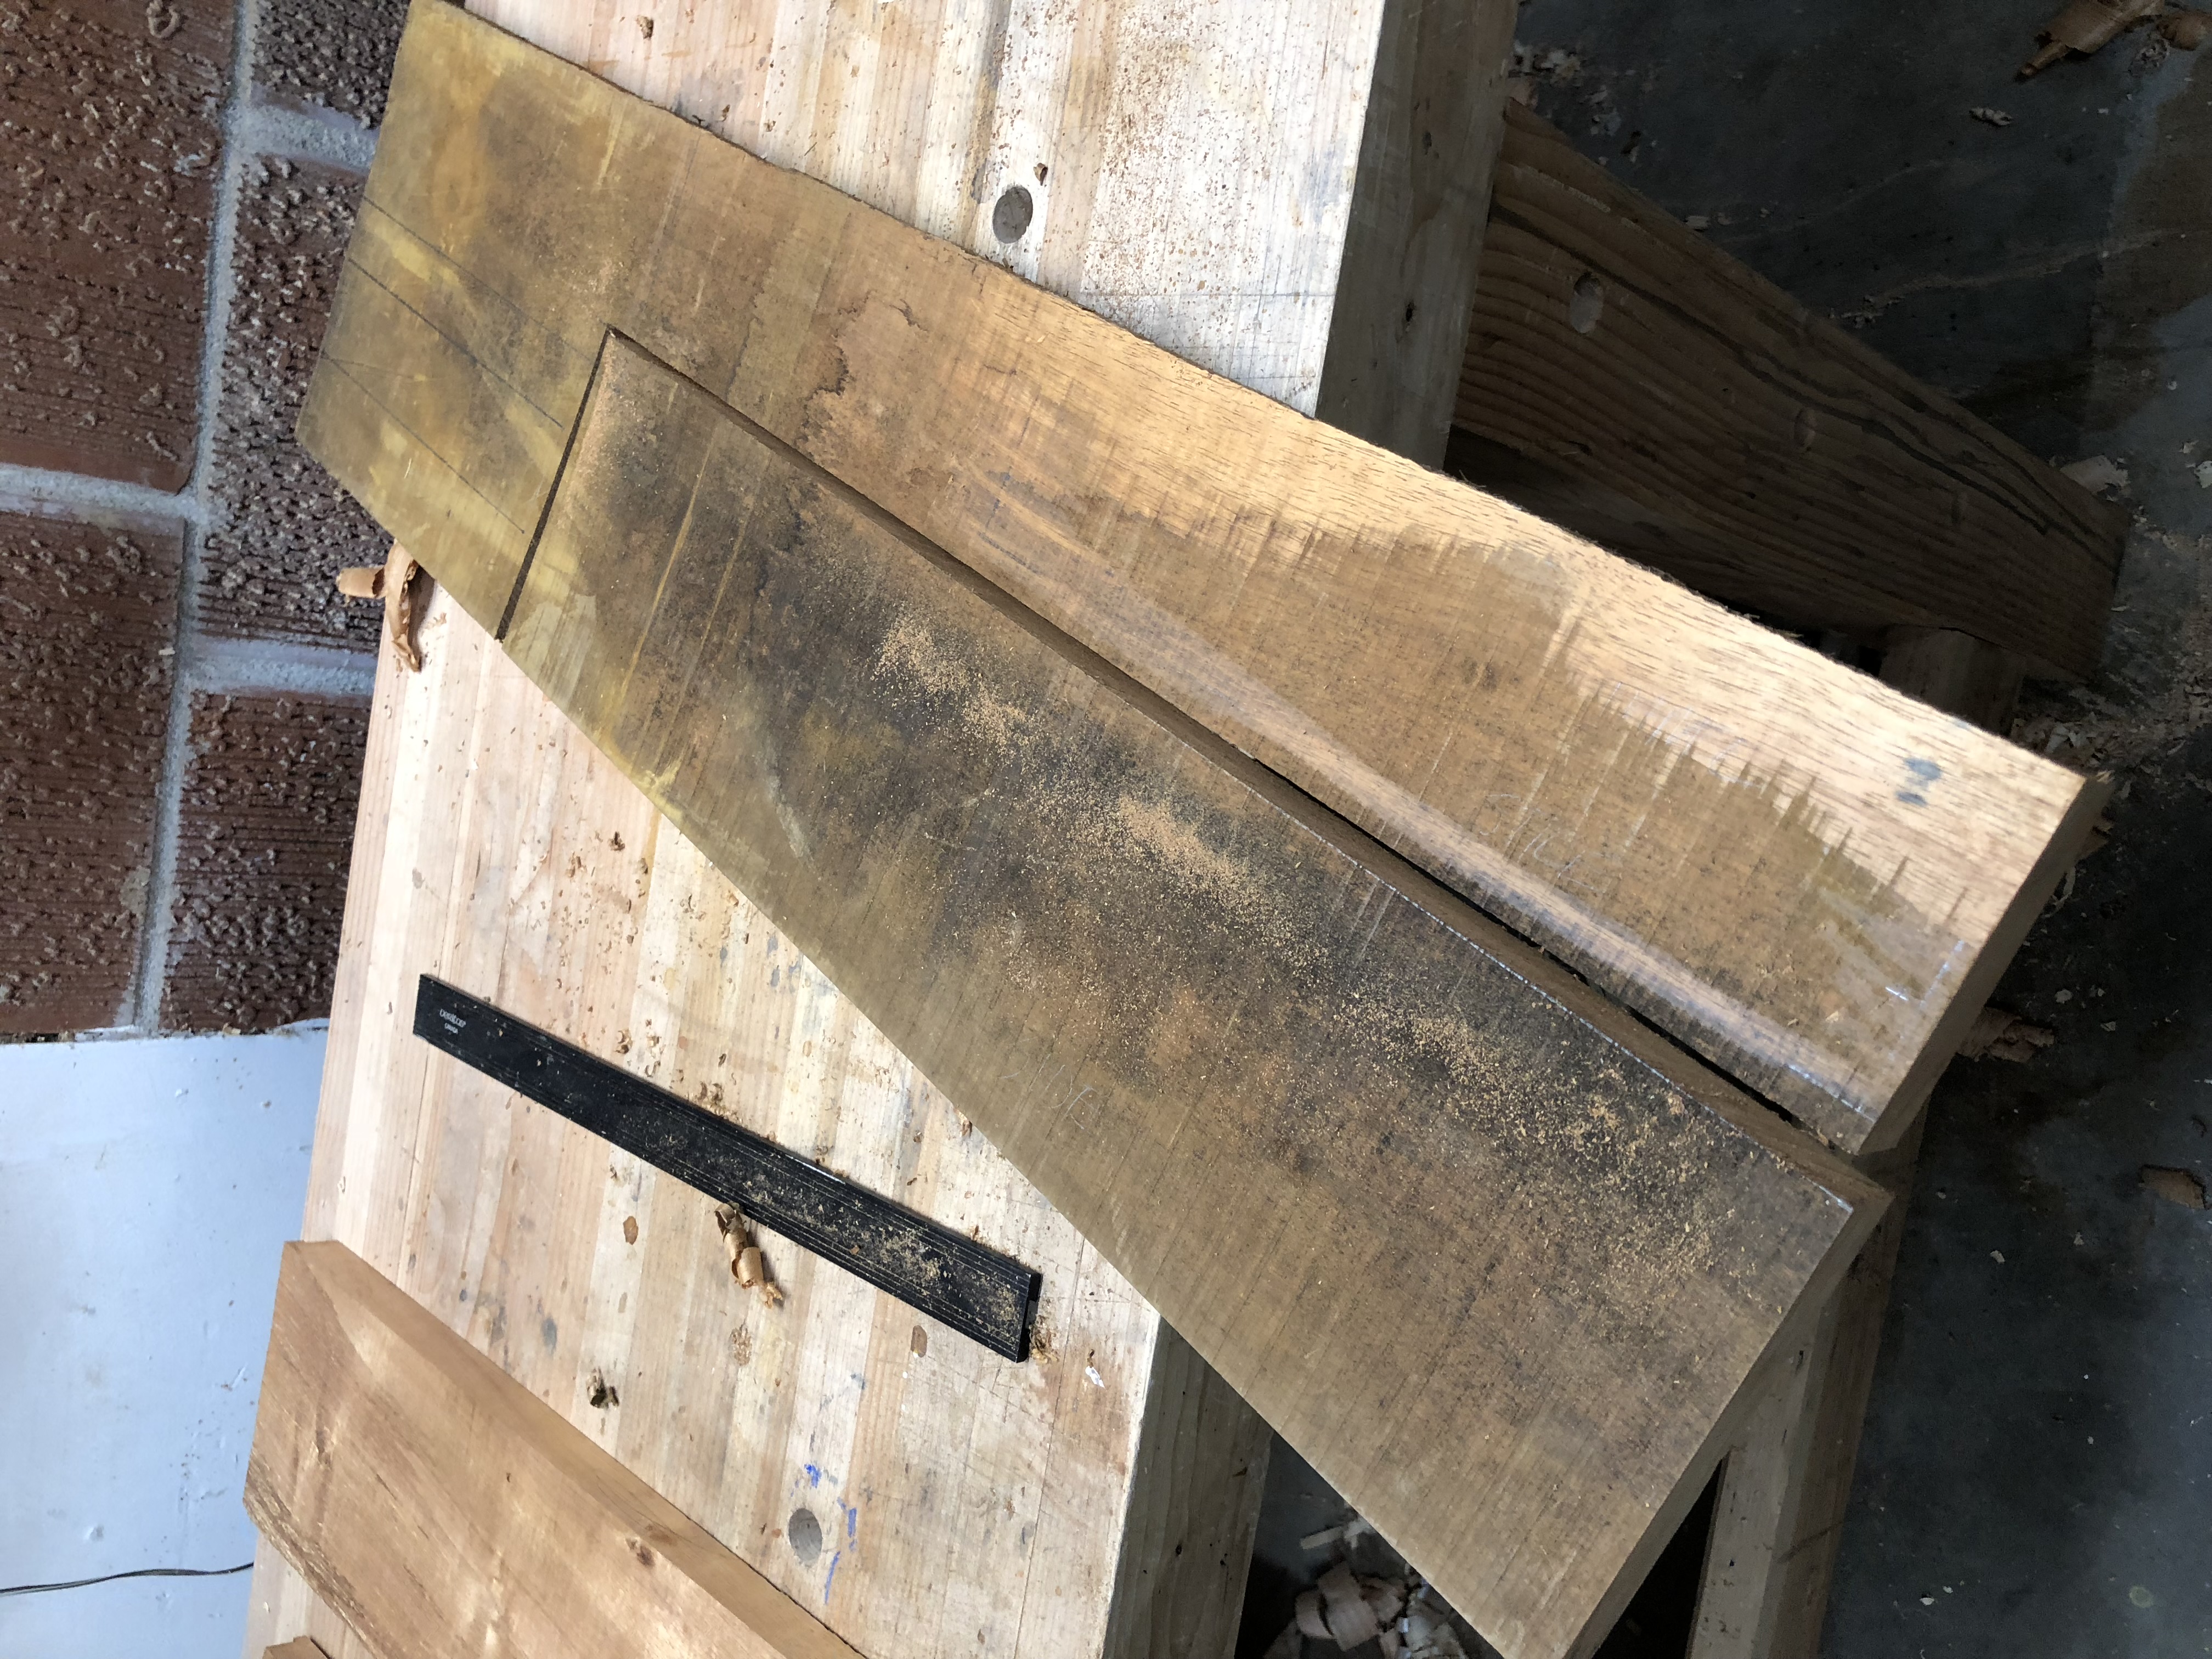
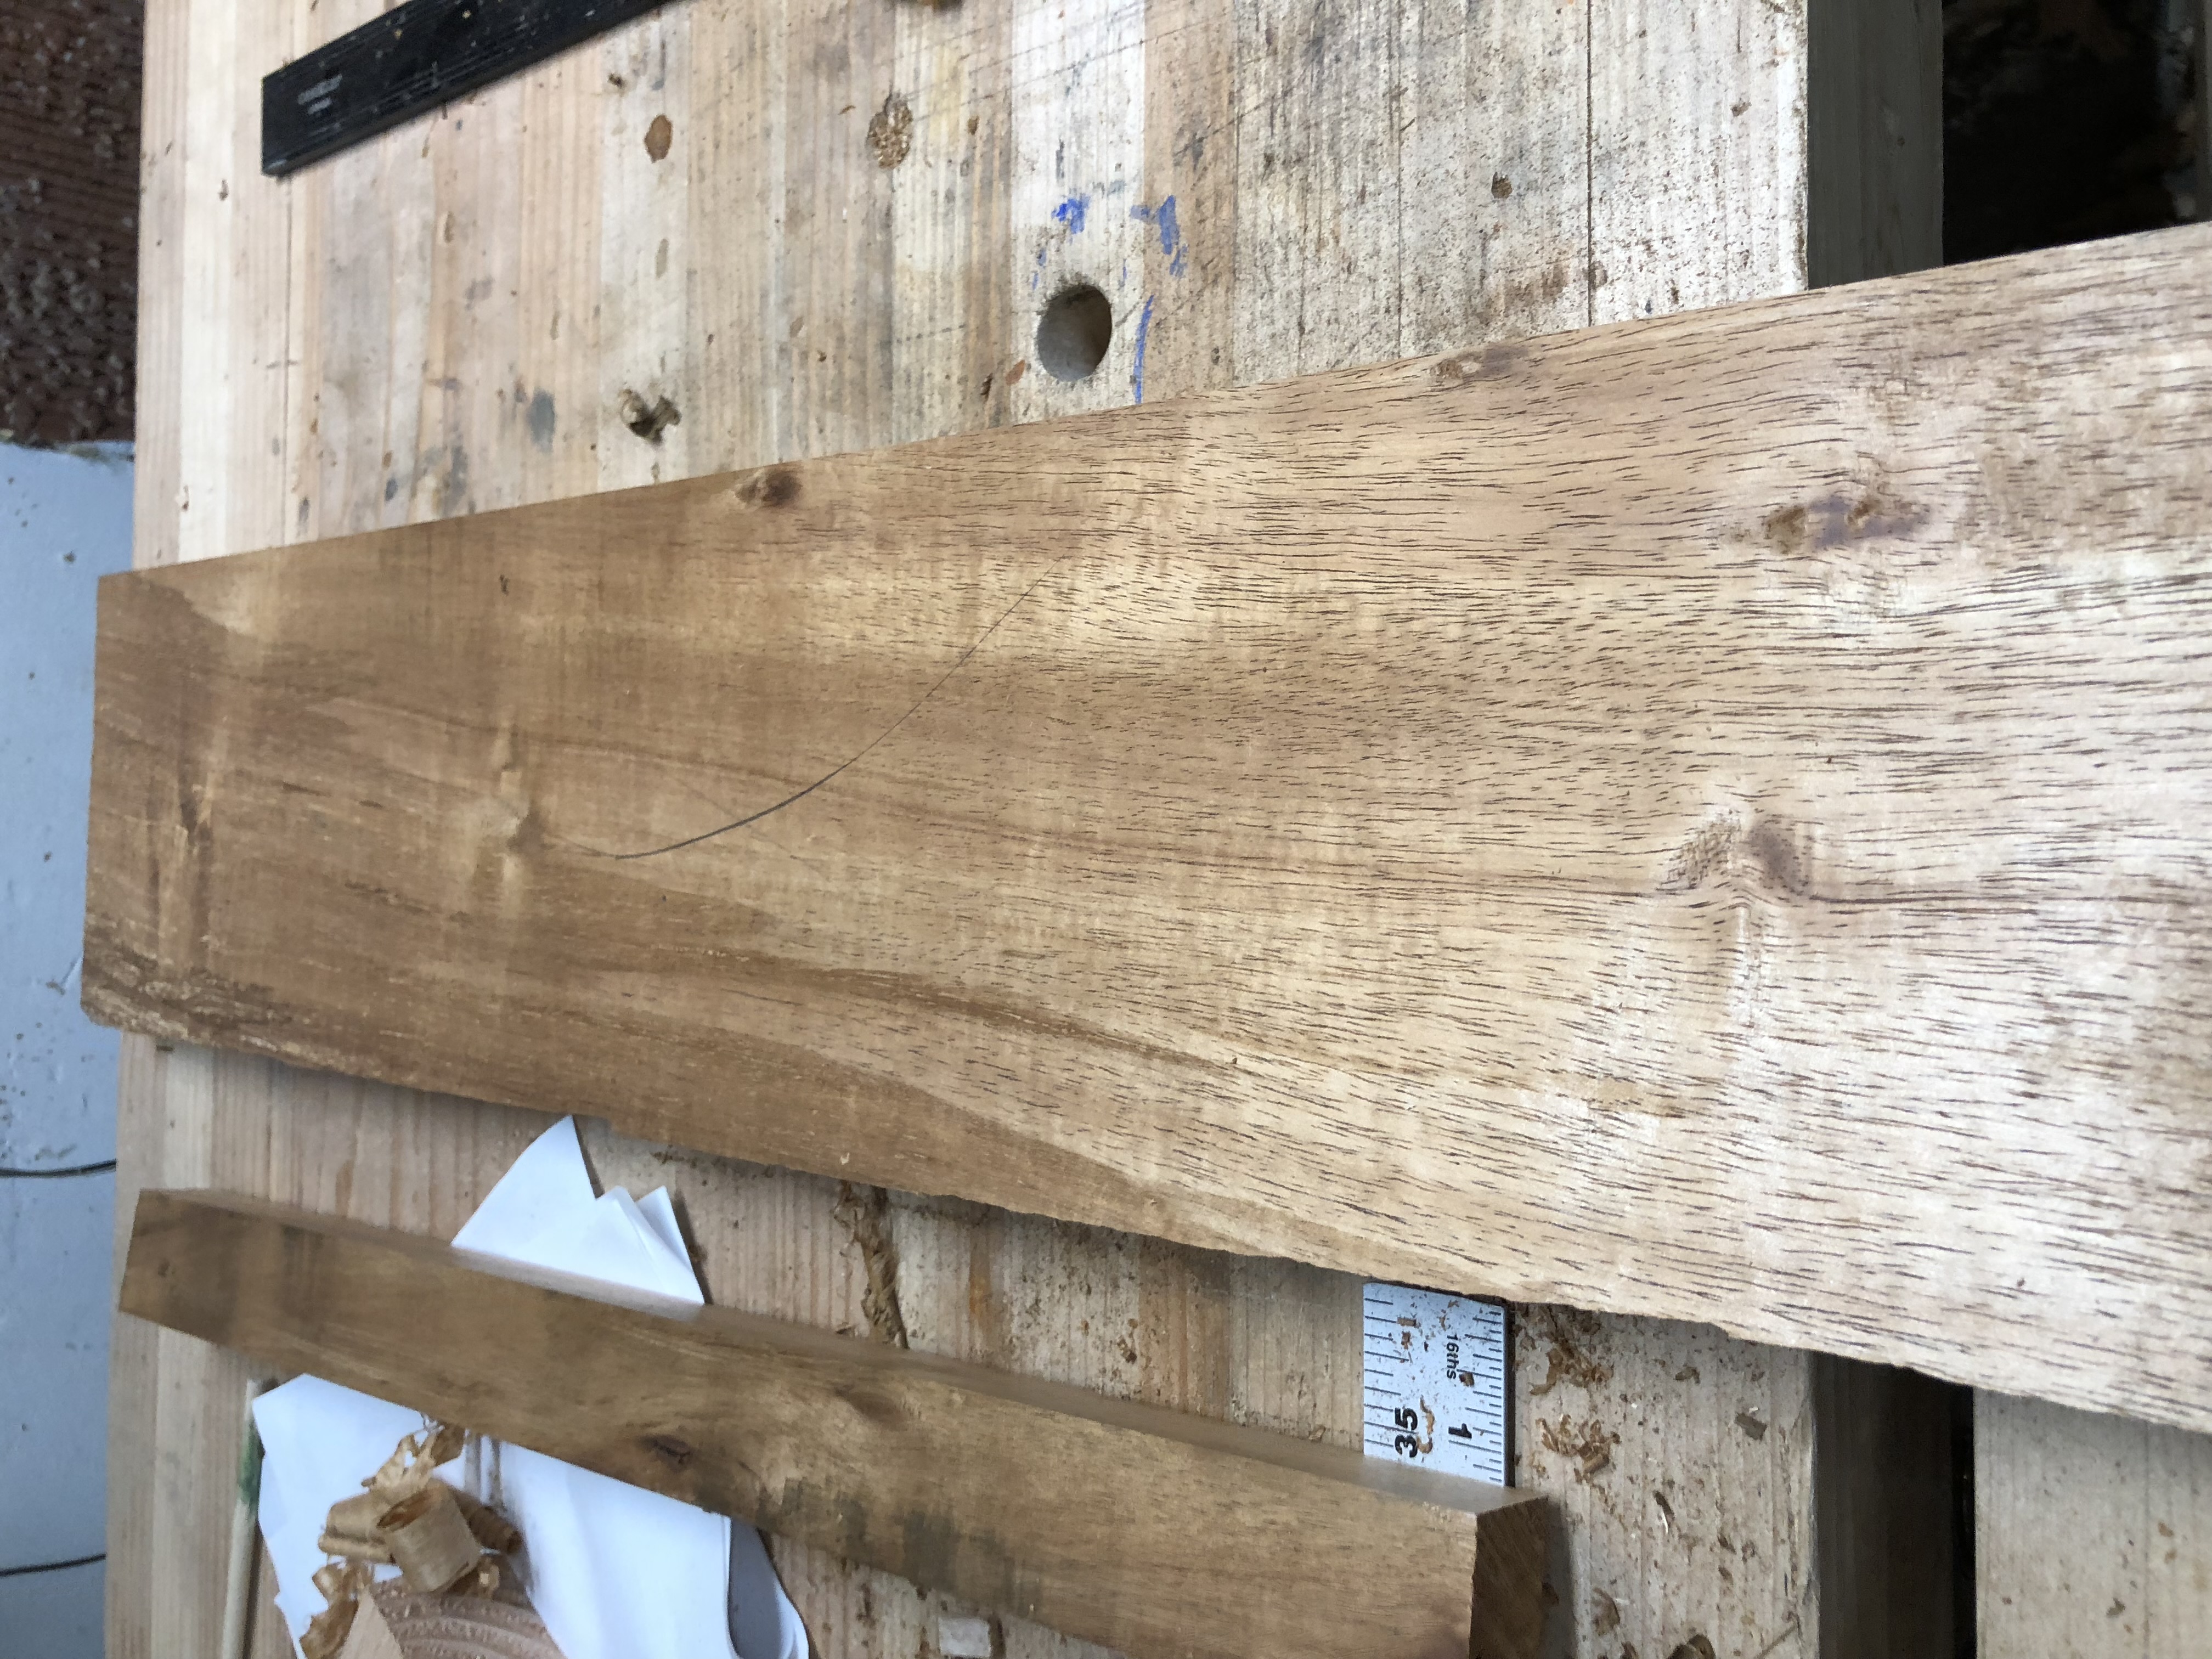
My wife and I took our last pre-kids vacation to Kauai while she was pregnant with our first. One of the places we went was the only cocoa farm in the US (very cool). What I wasn't expecting is that the guy also sells local wood out of his shed. So I came home with a board of ~10" wide 4/4 koa and a hunk of camphor.
To get it into luggage that would pass as checked I had it cut into three 36" lengths. Then it sat. After kicking around for about five years I finally decided what to make out of it: a wall cabinet from Mike Pekovich's book.
The secondary wood is some gorgeous tight-grained VG fir I stumbled on at my lumber yard. I didn't have a use in mind so I only bought one of the two boards they had; kicking myself I didn't get the other now. What I have will be plenty for the shiplapped back and the drawer sides and back.
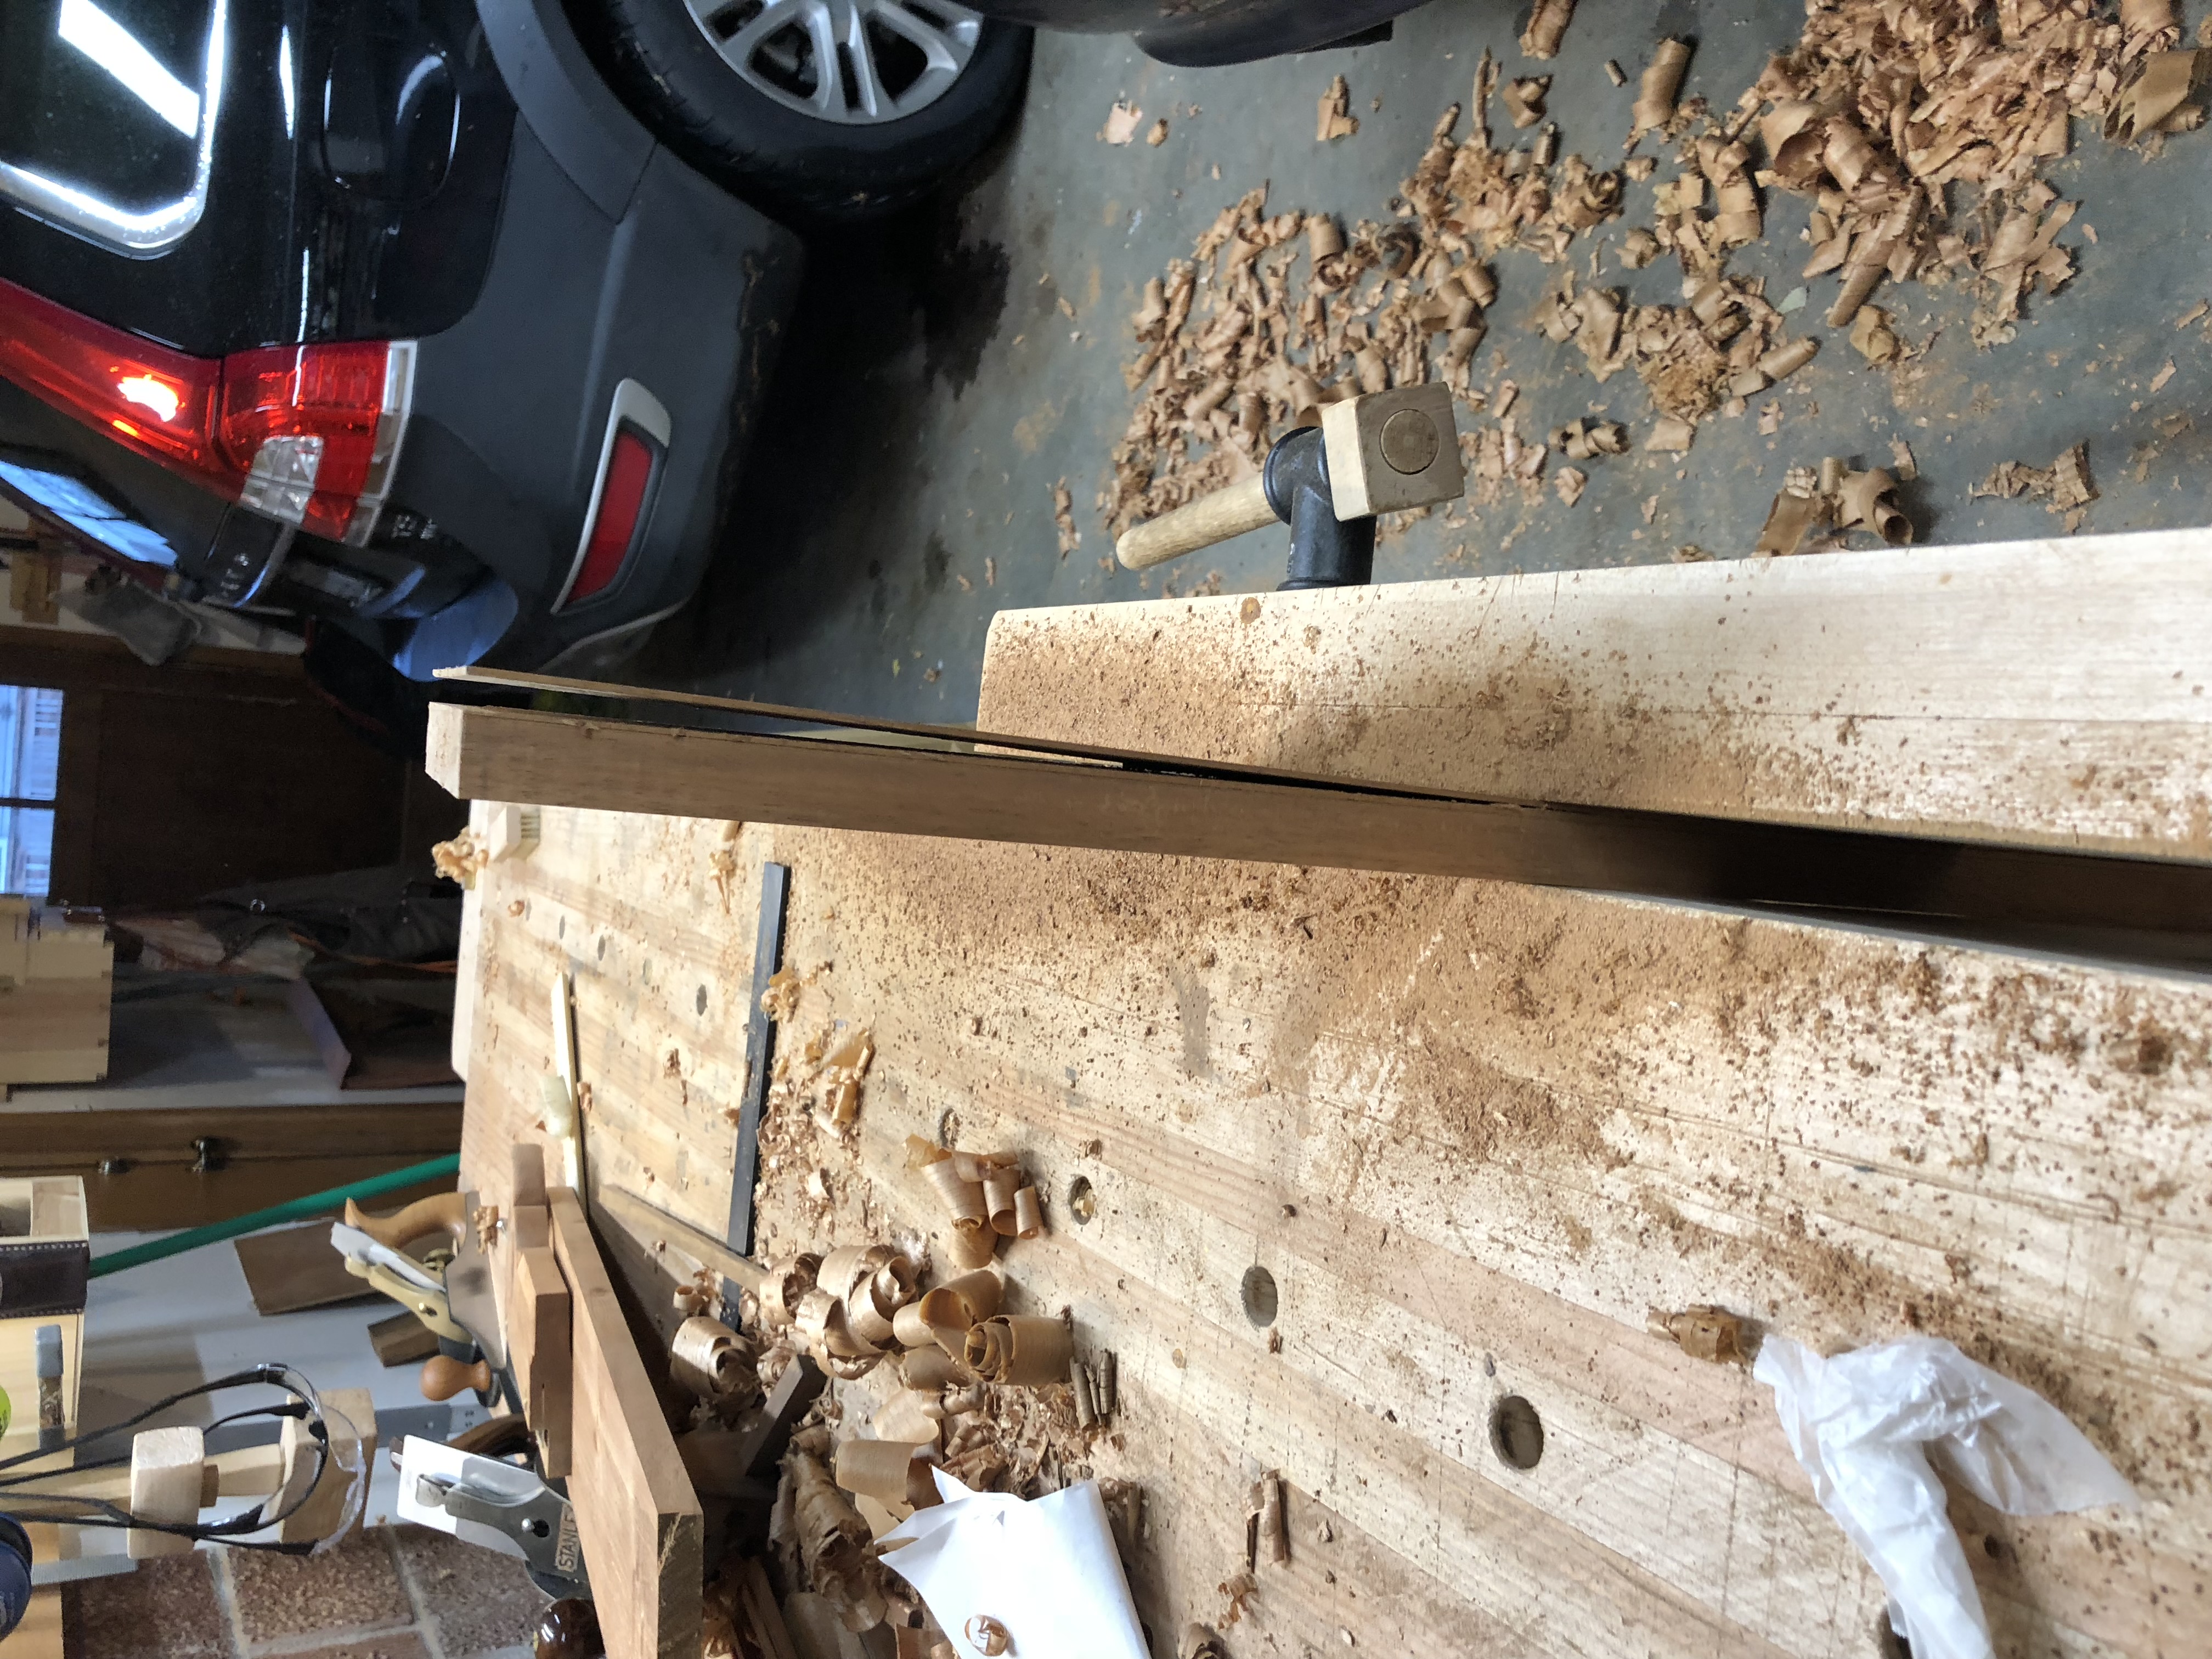
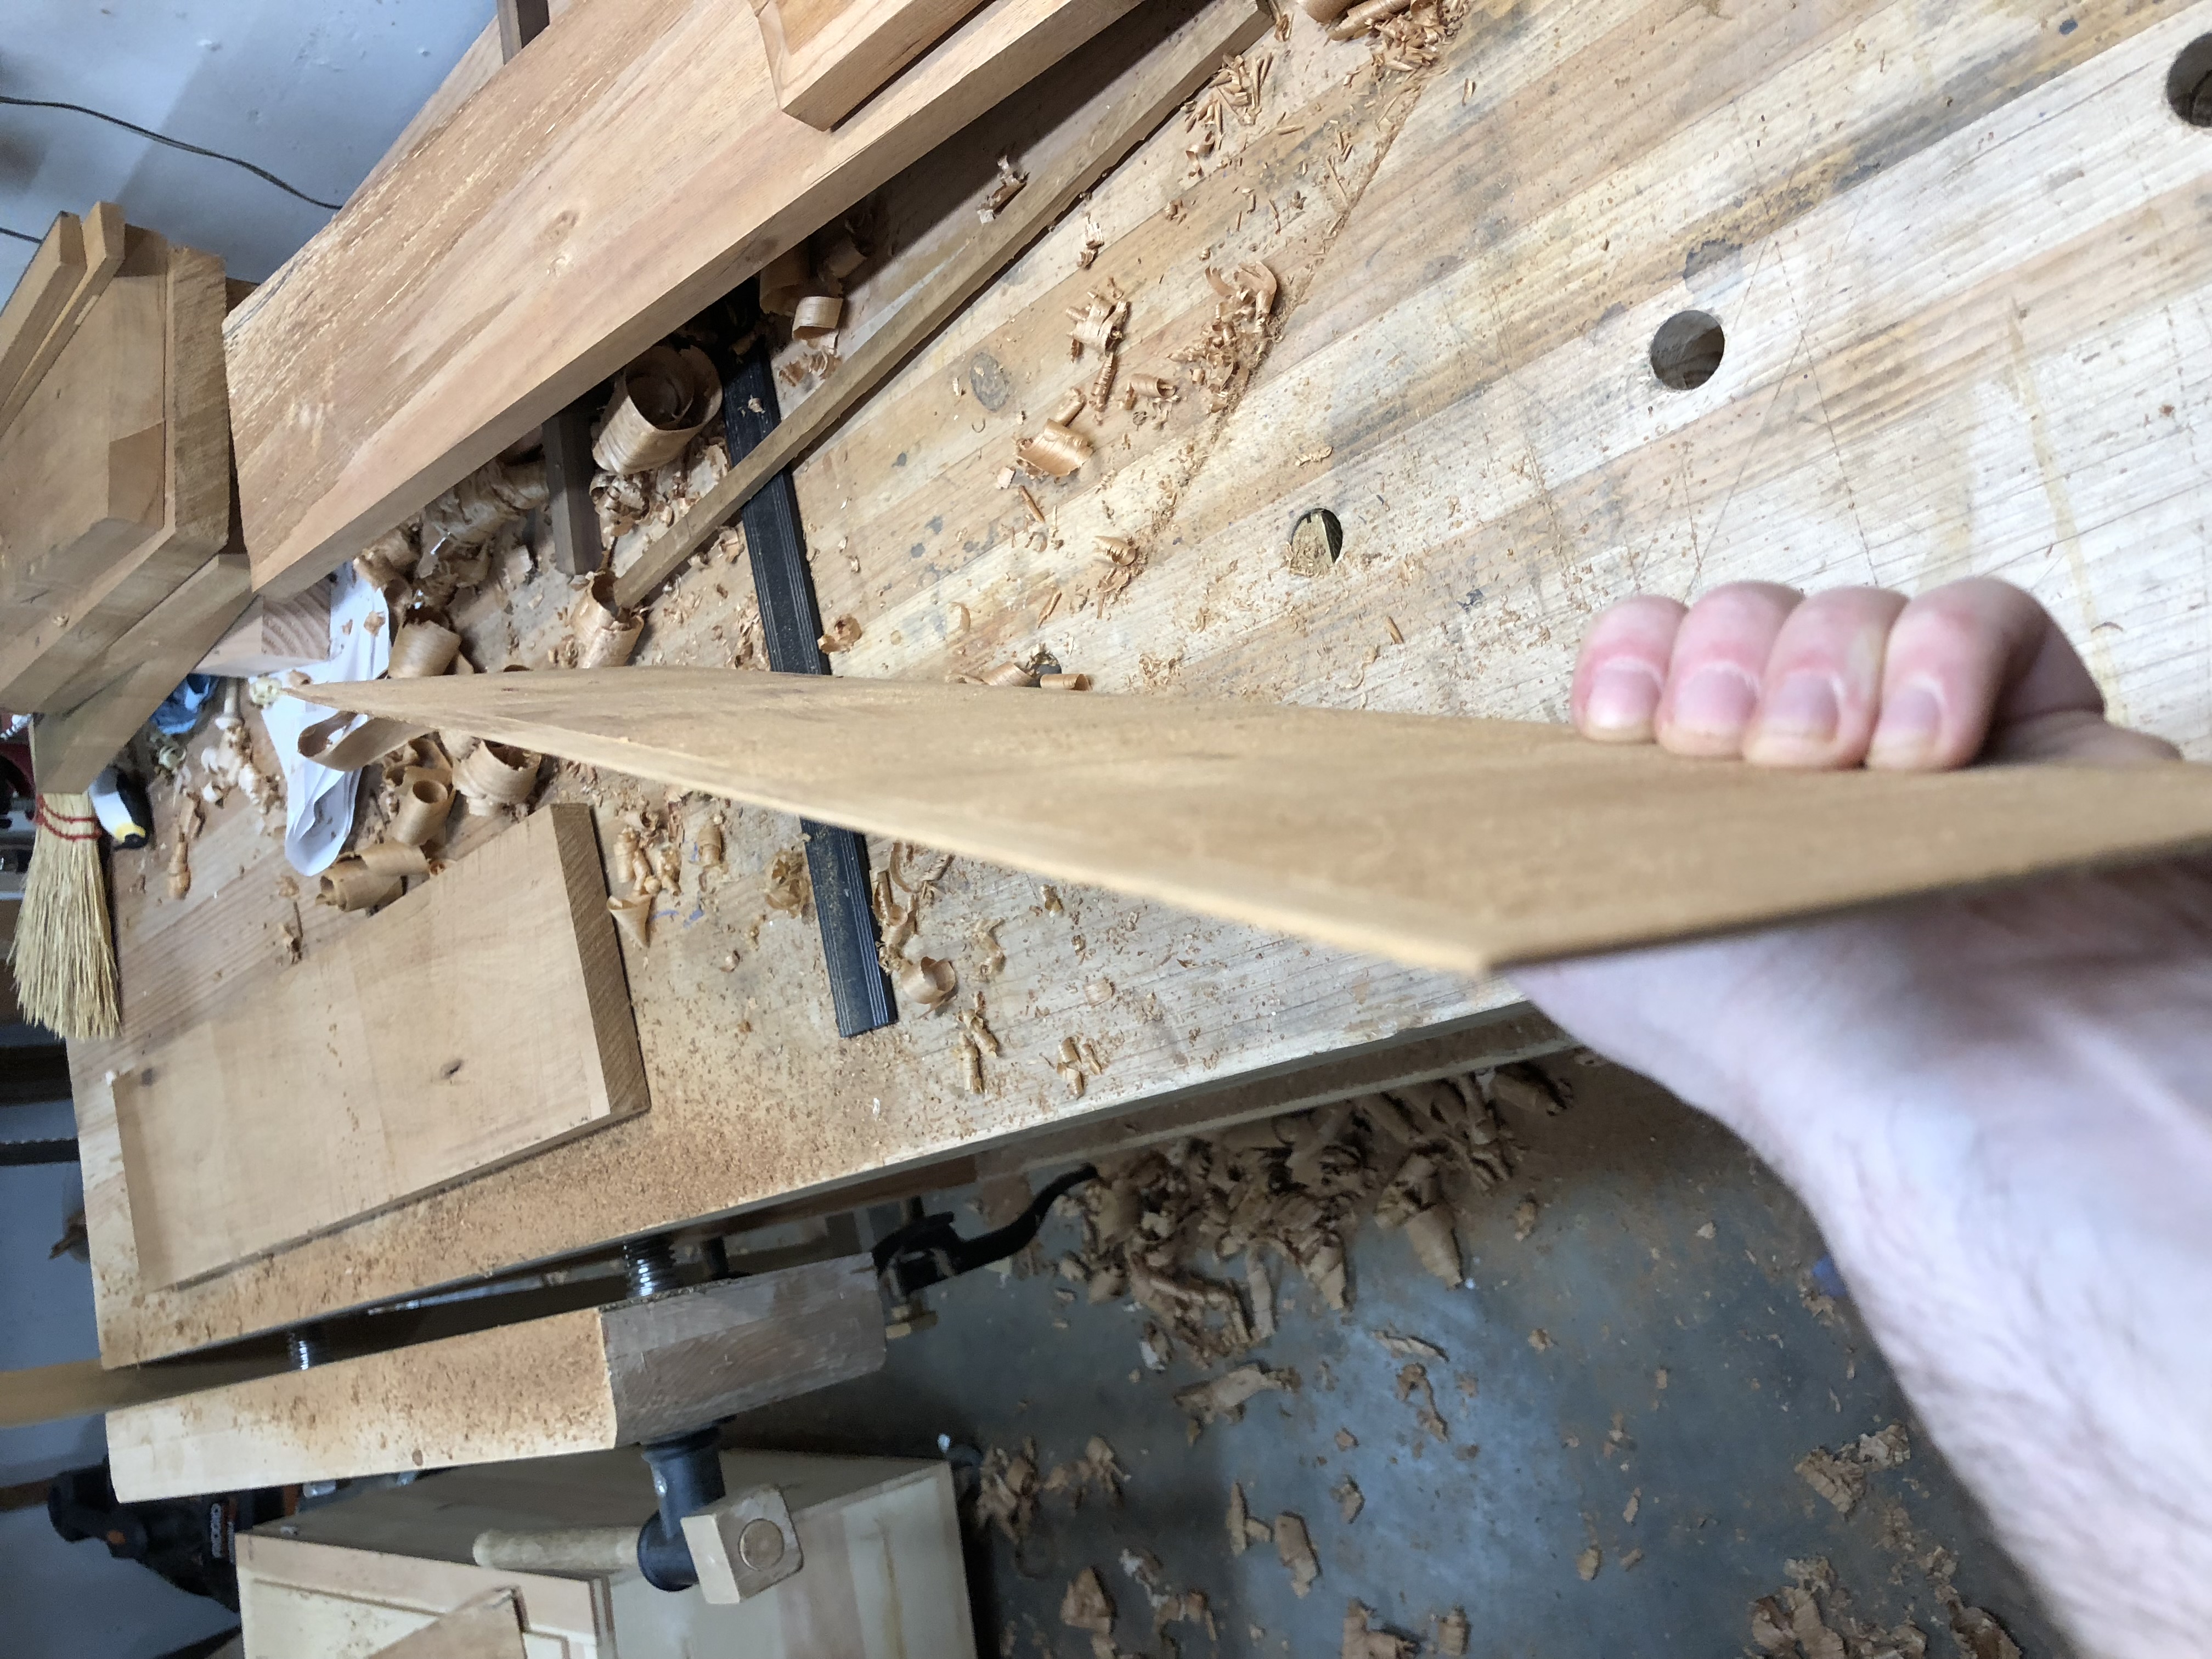
There was going to be serious Tetris to get all the parts out of the koa I had, with absolutely no room for error. Instead of thickness planing I sawed off veneers, which came in handy later.
This post is the prehistory. The build log proper starts with the carcass.
Face of one of the koa boards. About 10 inches wide, 4/4.Hand plane down to show the grain under the rough.Early rough work at the bench.More rough stock prep.Same session. Deciding what to do with this wood.Resawn parts stacked up, with Pekovich's cabinet plans nearby.